
This is a guide on how I upgraded my site from 7.15 flat all the way to 1912. I covered the basics of upgrading Licensing, D.D.C. upgrades, Storefront upgrades with NS VIP configuration, P.V.S. upgrades, WEM upgrades, V.D.A. upgrades, and some re-configuration of Snap-ins with the Director for A.D.M. and session recording. I also included moving off 2012R2 to 2016 D.D.C.s with some troubleshooting situations you might run into.
References for detailed instructions
https://docs.citrix.com/en-us/citrix-virtual-apps-desktops/upgrade-migrate/upgrade.html
https://www.carlstalhood.com/delivery-controller-1912-ltsr-and-licensing/#licensingupgrade

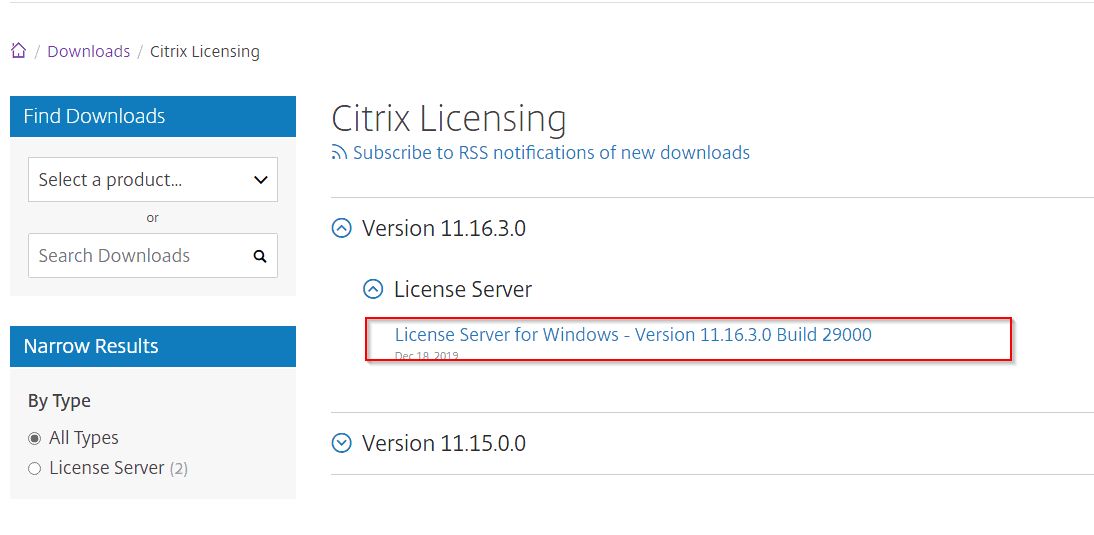
Upgrade the licensing Server
Go download the version you need. In this case, it 11.16.3.0 Build 29000
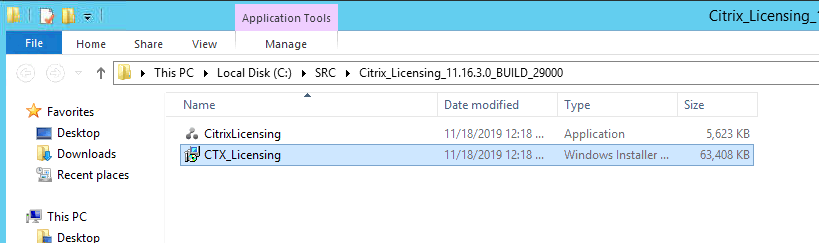
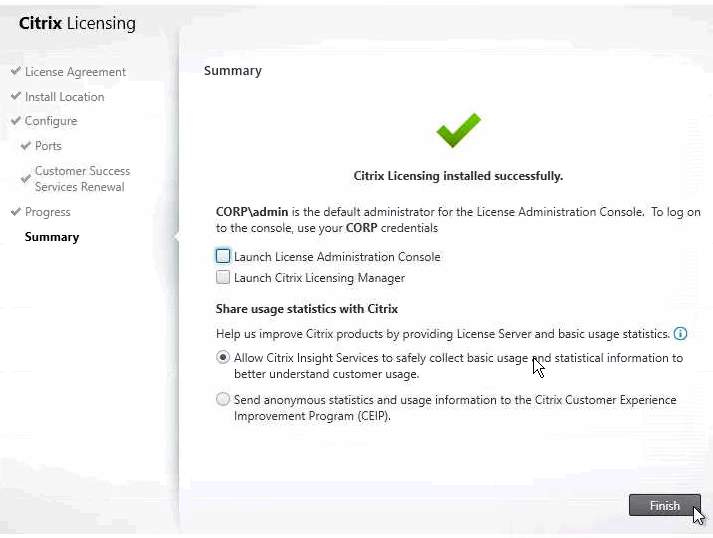
Run the CTX_licesning installer
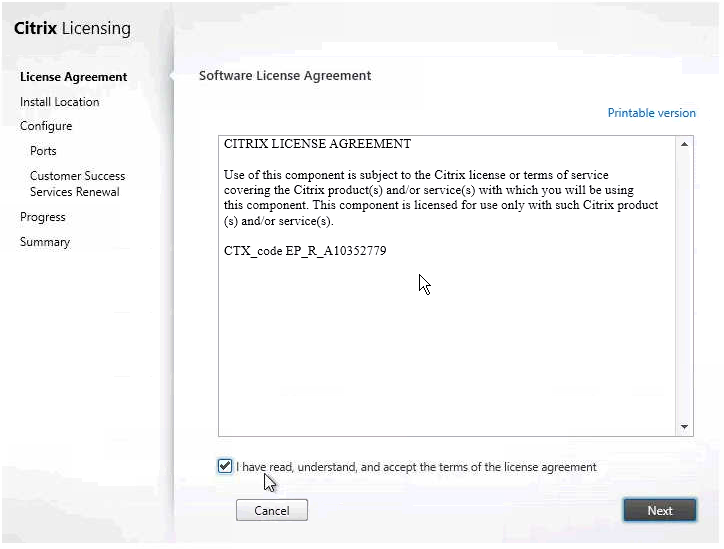
Check the box to agree.


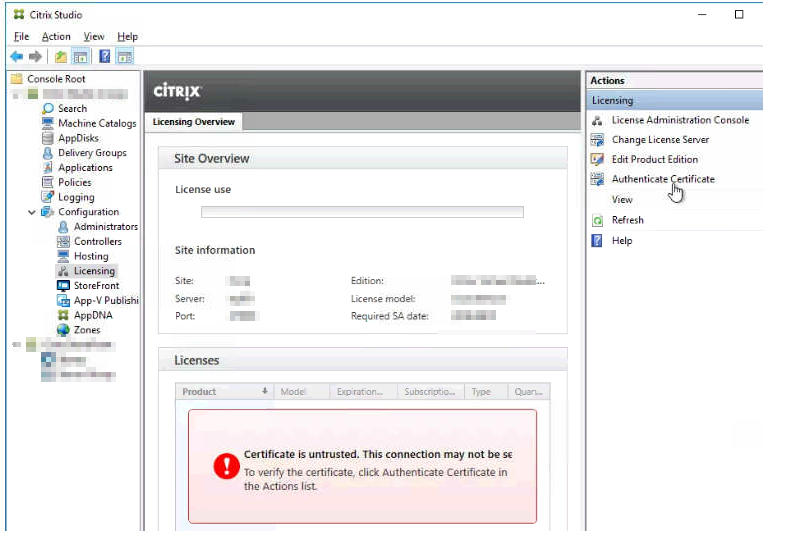
After upgrading Citrix Licensing Server, in Citrix Studio, go to Configuration and Licensing.
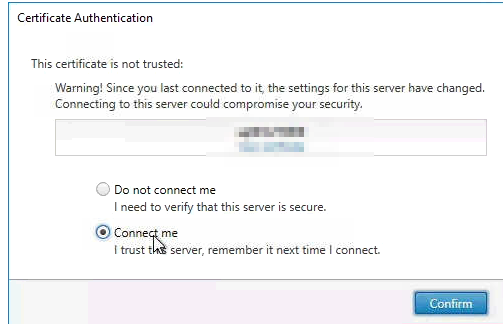
On the right, click Authenticate Certificate.
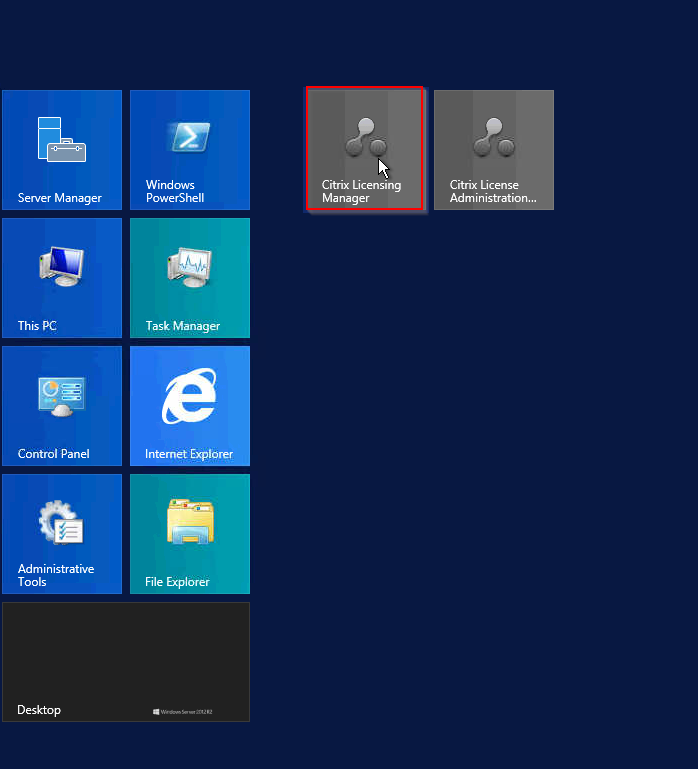
Open Citrix licensing Manager
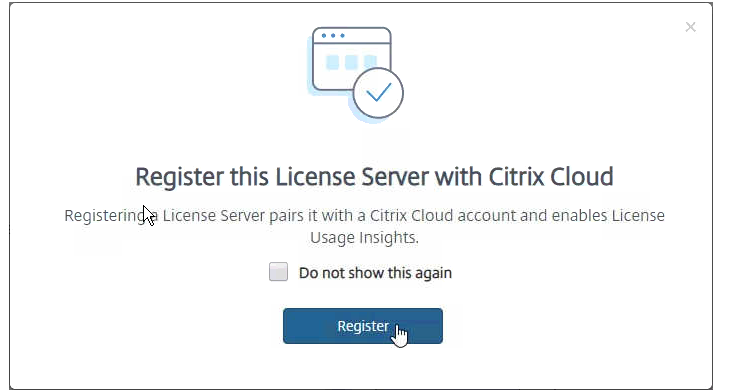
I was prompted to register my licensing Server with Citrix Cloud.
Licensing Manager might prompt you to register with Citrix Cloud.
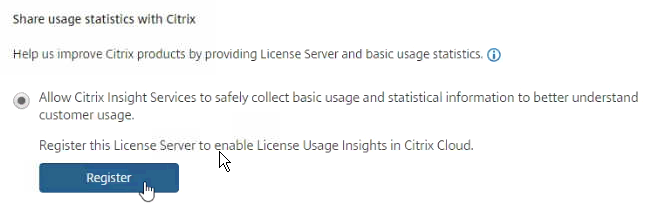
On the Settings > Usage and Statistics page, in the Share usage statistics with Citrix section, click Register.
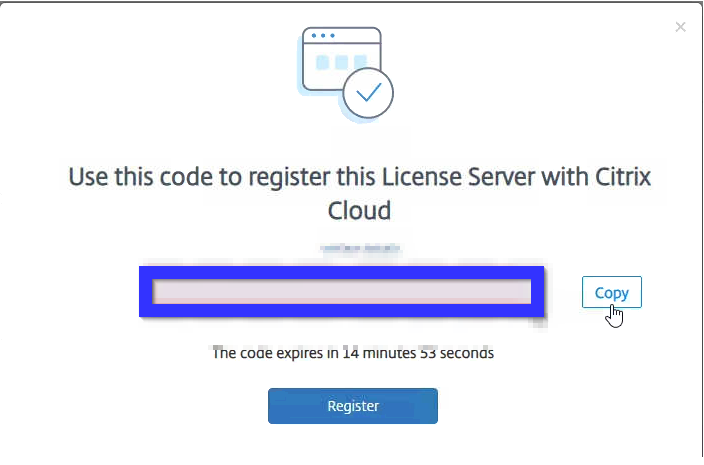
You'll see a screen with a registration code. Click the Copy button and then click Register to be taken to Citrix Cloud.
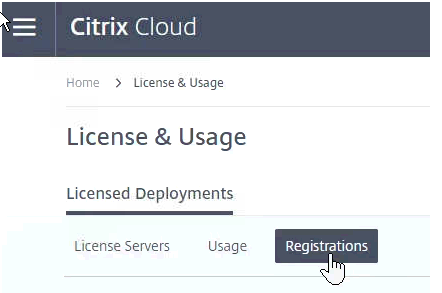
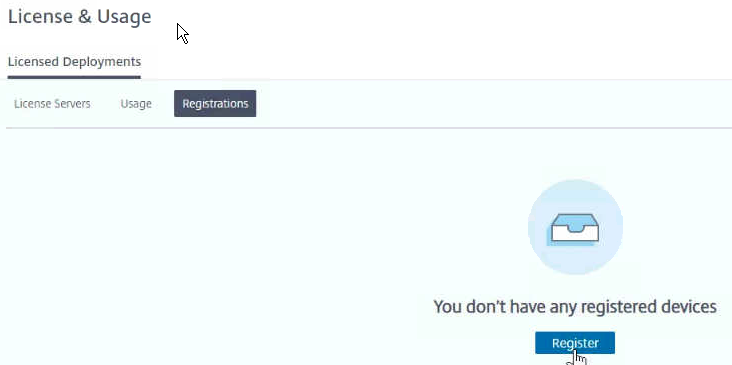
After logging in to Citrix Cloud, on the top left, click the menu (hamburger) icon and then click License & Usage. If you don't see this link, you might have to log out and log back in.

In the License & Usage service, switch to the Registrations tab.
Click the blue Register button in the middle of the page to register.
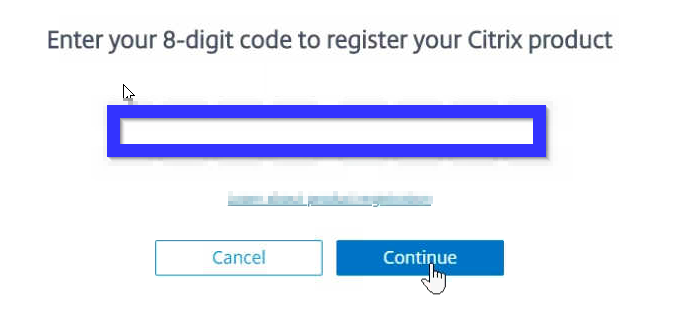
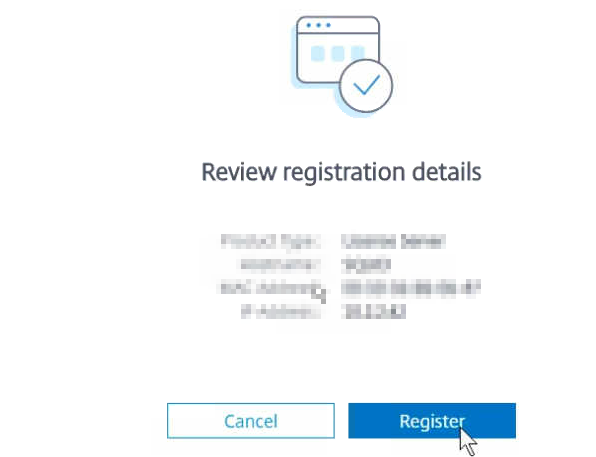
Paste in the copied code and then click Continue. Click Register.
On-premises Licensing Manager, it will eventually show as Registered.
On the same Usage & Statistics page, scroll down and click Upload now. This should cause data to upload to Citrix Cloud and appear in Citrix Cloud License & Usage.
Citrix.cloud.com reporting

*Note*For me, I always check and make sure it shows activated within Studio and is set to the right product edition


Upgrade V.D.A. to 1912
I also upgrade my V.D.A.s ahead of time. It's easy and something I just do.
Depending on your provision side. P.V.S., M.C.S. or old fashion servers( which is still used)
Mount ISO and upgrade


Upgrade Delivery Controllers 7.15.5000
Snapshot your Delivery controller
Backup your SQL databases
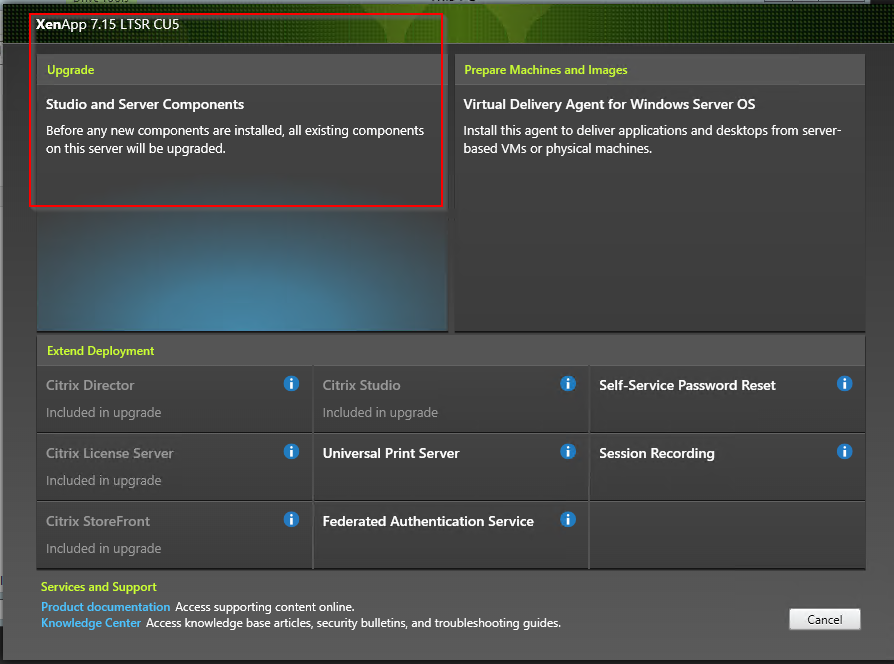
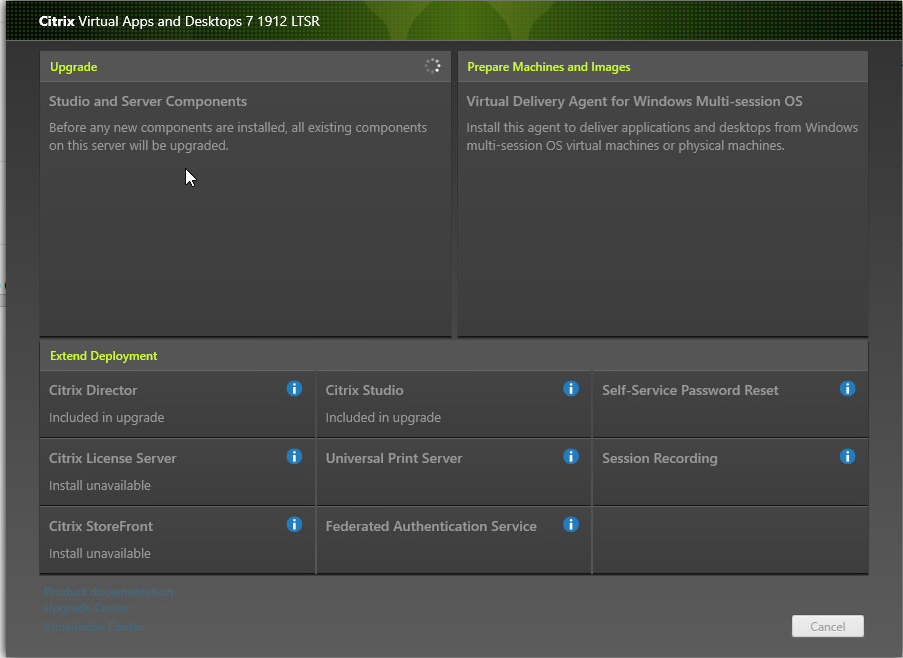
Attach the 7.15 CU5 media
Run the Studio and Server Components for the upgrade
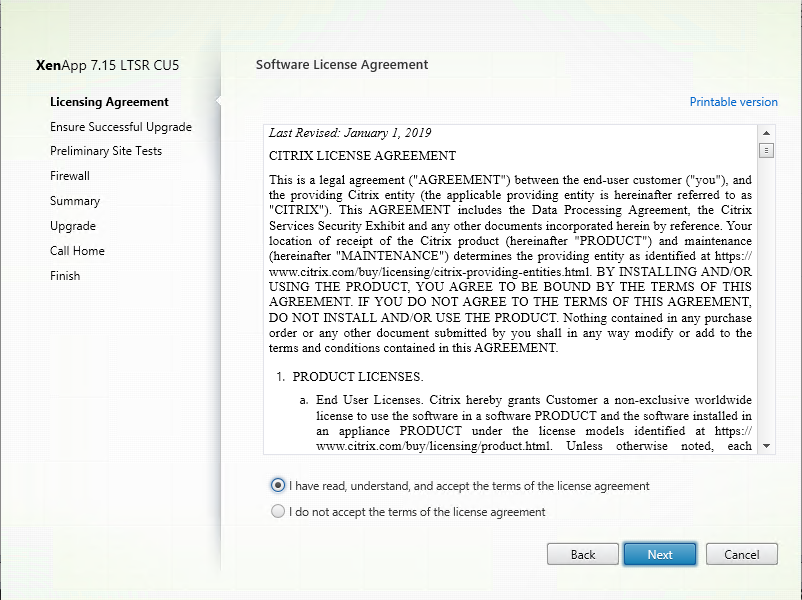
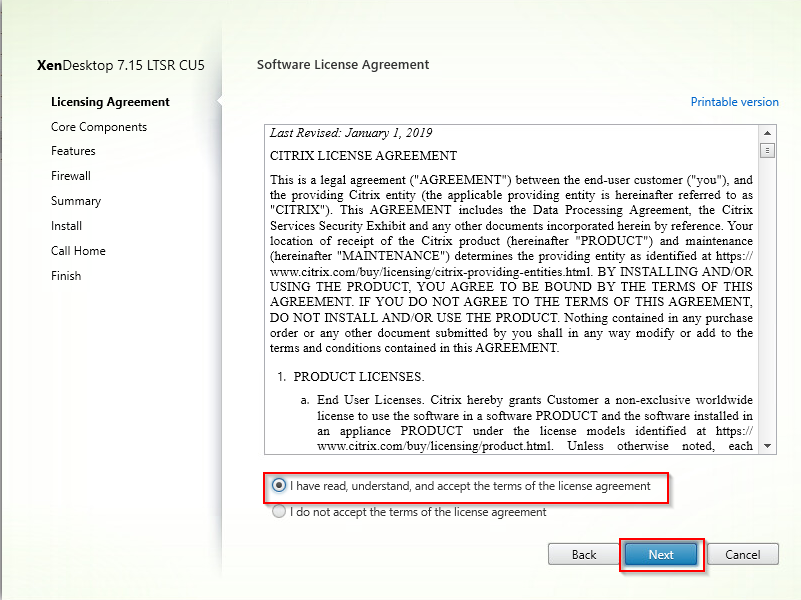
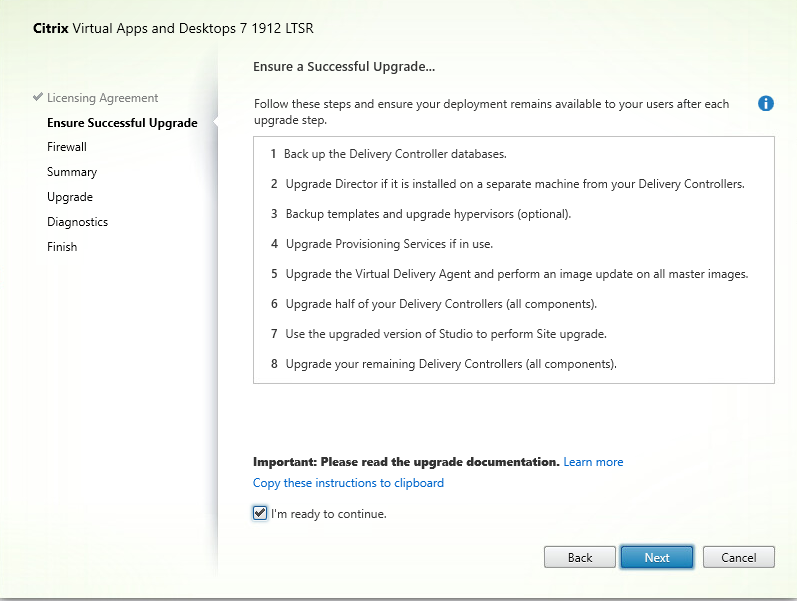
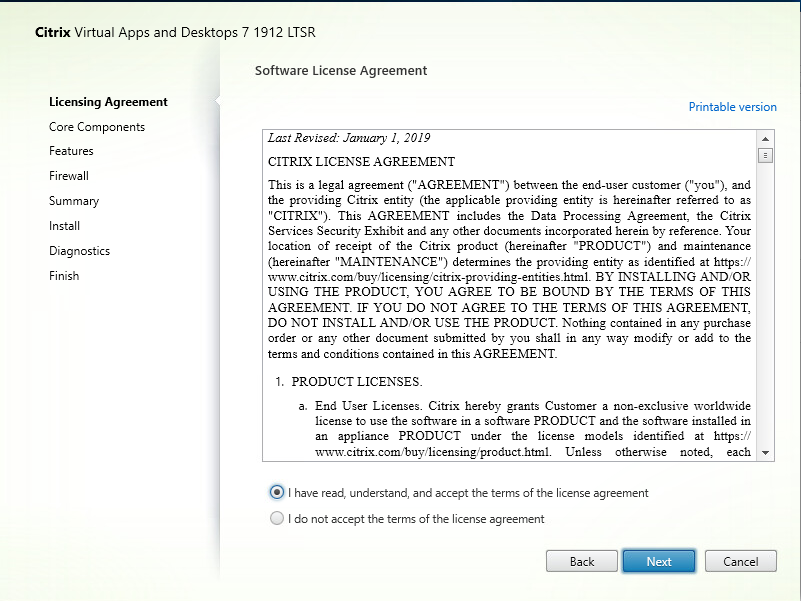
Read and Accept
Read and make sure you take the correct actions you need in your environment.
Start your Preliminary Test and make sure you are good!

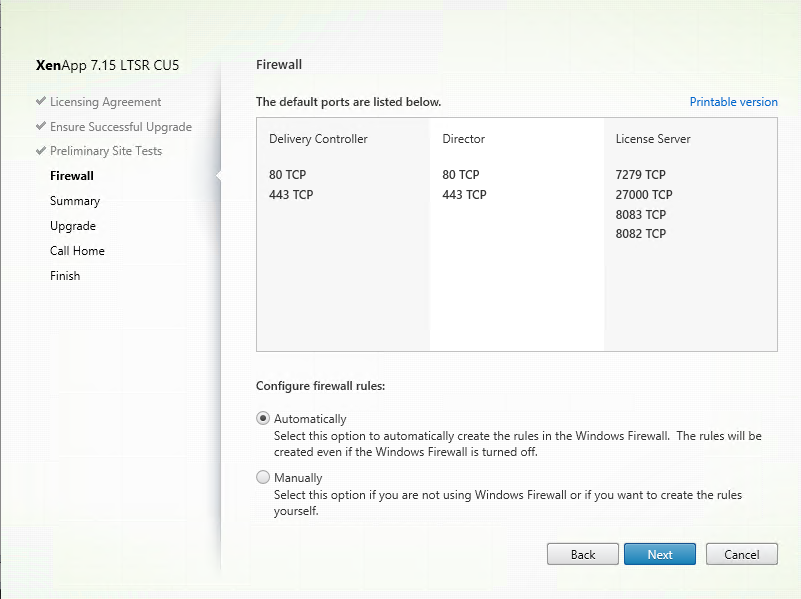
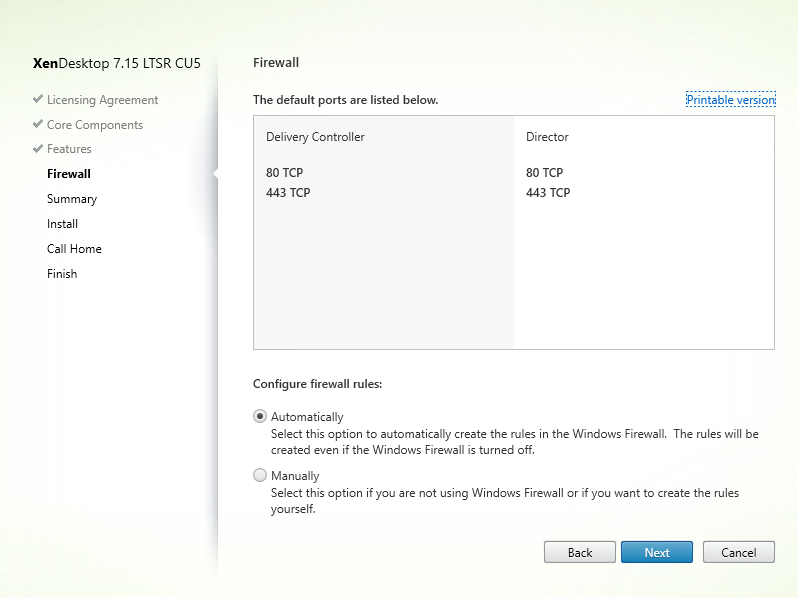
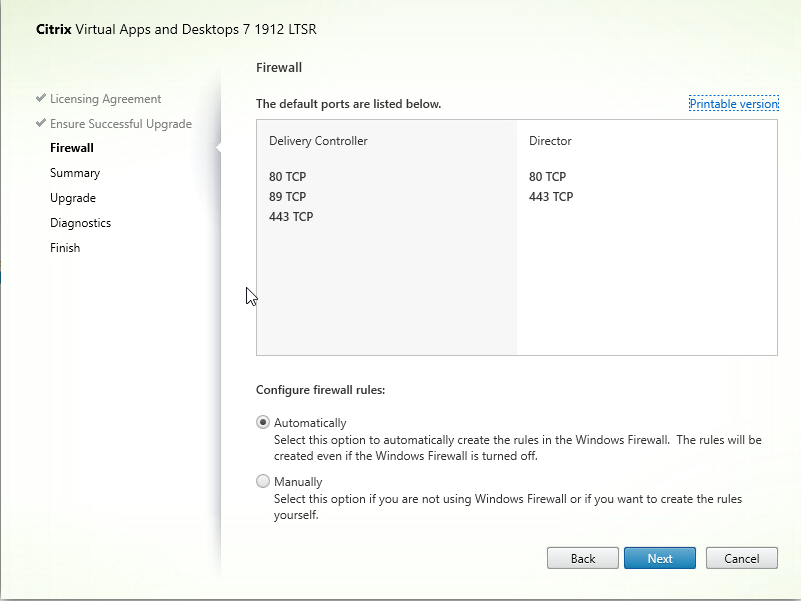
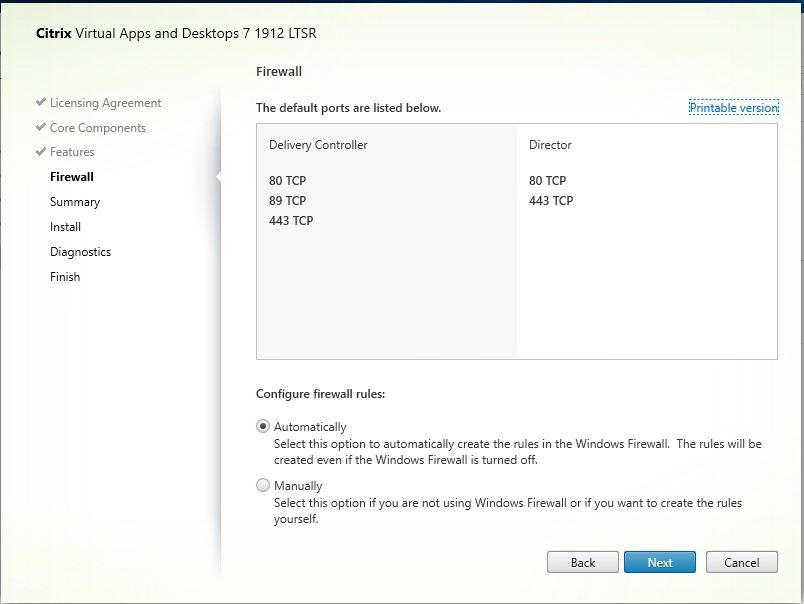
Firewall Ports
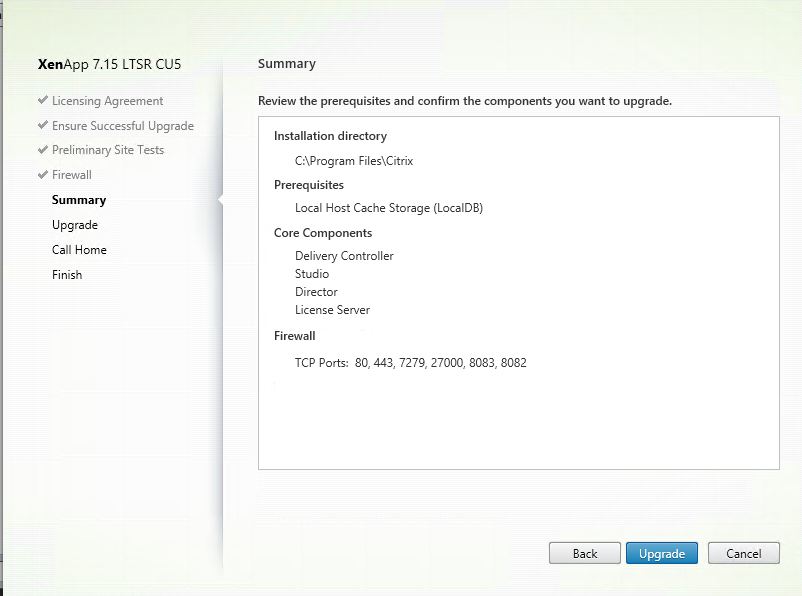
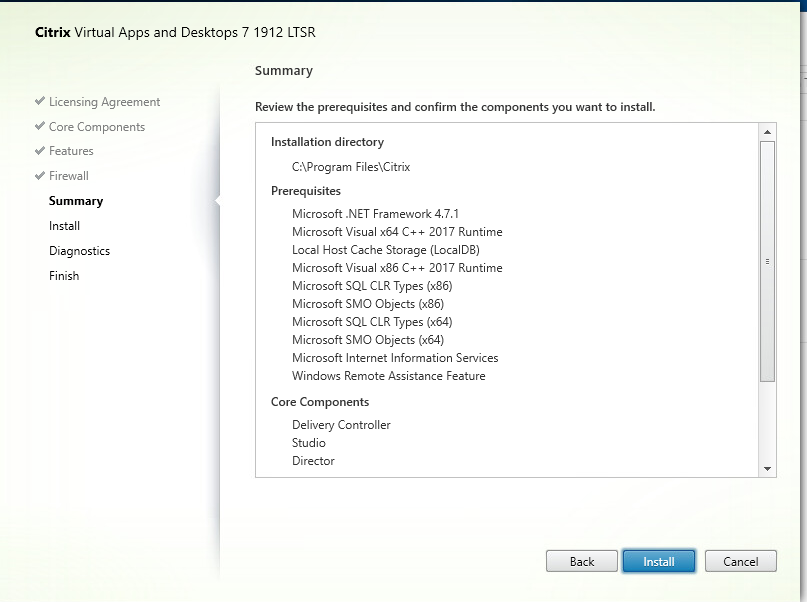
Summary


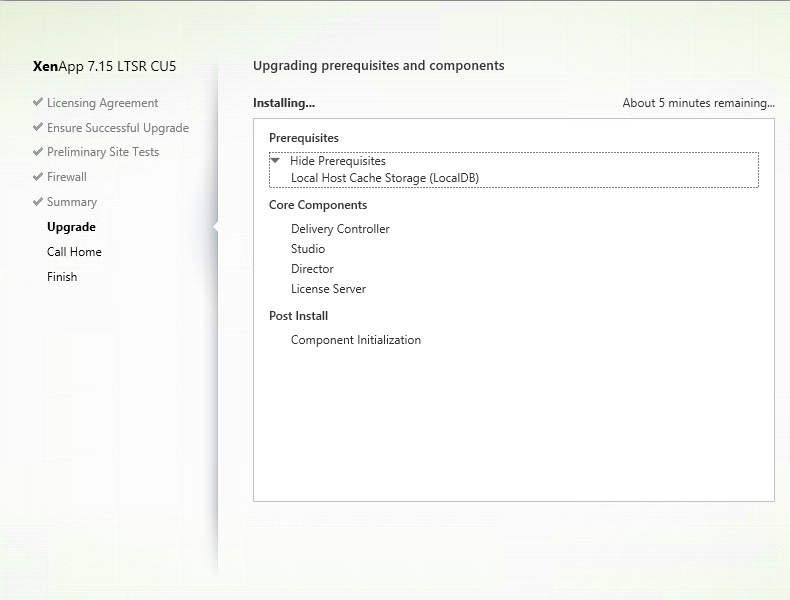
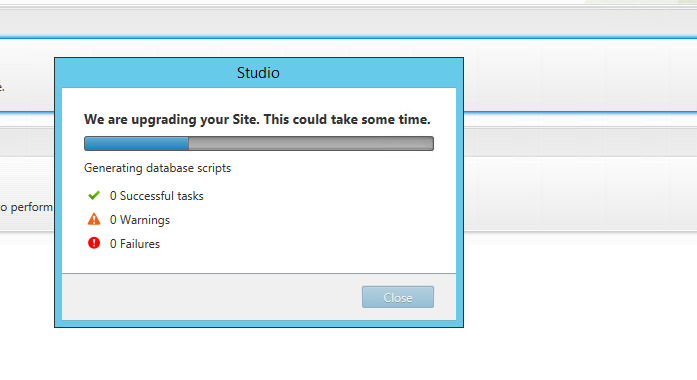
Upgraded process started


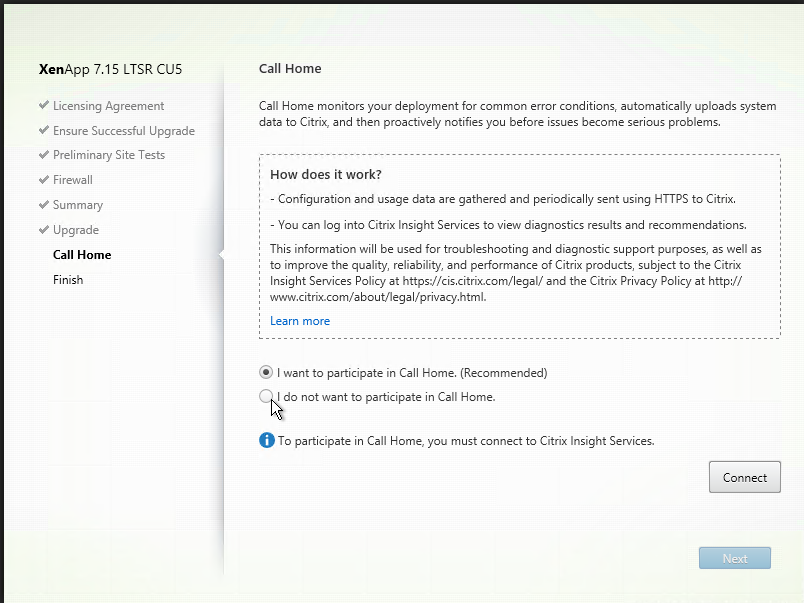
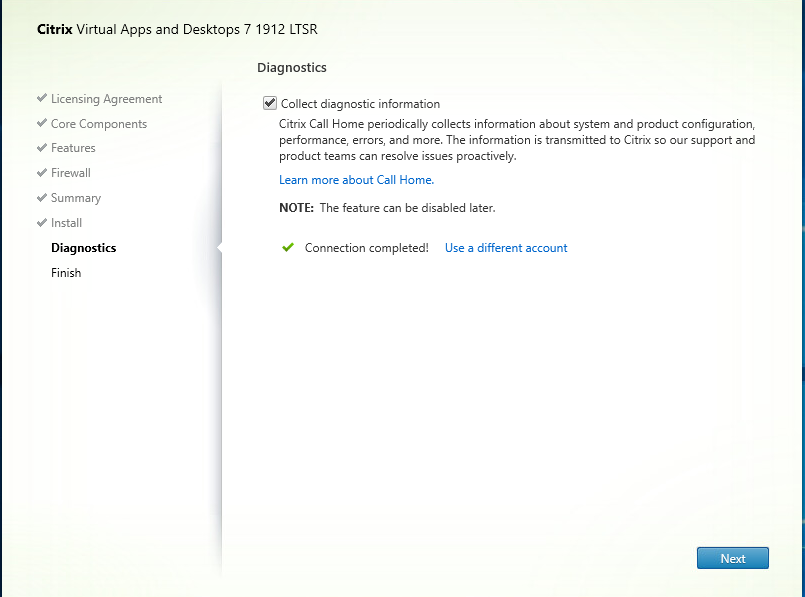
Connect to Call home if you need to
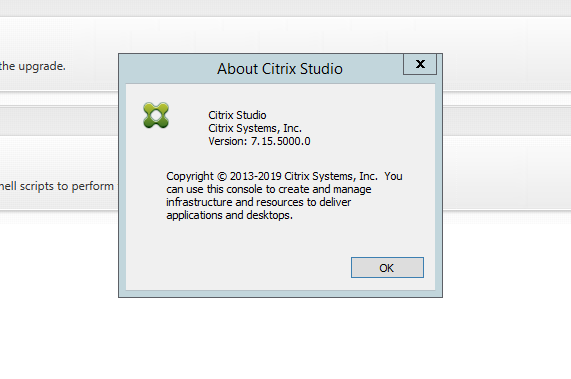
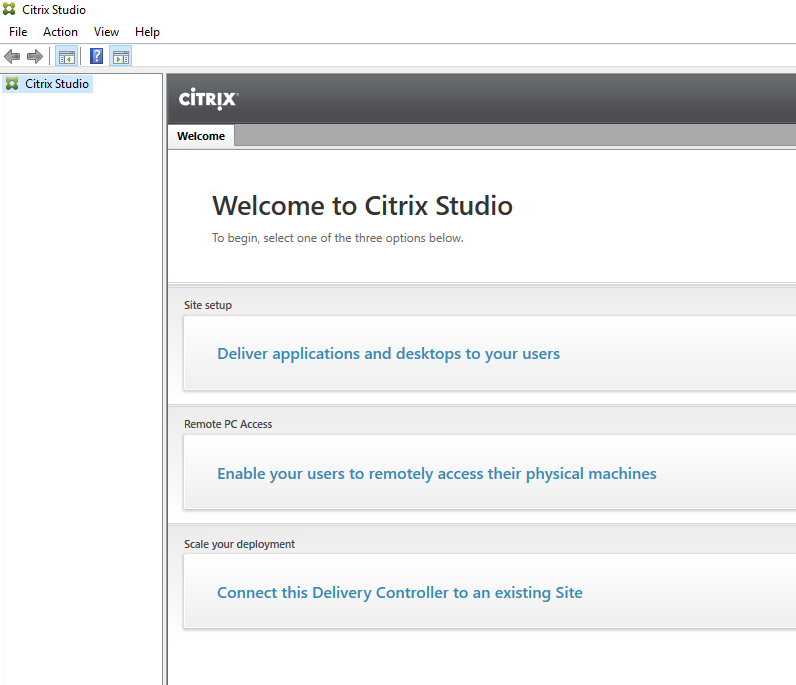
13 Launch Studio


**NOTE**
"If you already have 2 controllers, then In Load Balancing, reactivate the servers with the new Delivery Controller version and set the second half of the servers to Down. Follow the top steps on the second half of the Delivery Controller Server. Activate each Server with the new Delivery Controller Server version in Load Balancing again."
14. I am adding a 2016 server to move off 2012R2. I will add the Second 2016 server in, then make sure the 2016 is handling the connections. Then Decom 2012R2 and add a new second (replacement of 2012R2 as 2016 server.
15. Attach the 7.15.5000 ISO, click on XenDesktop or XenApp (depends on your deployment)
16. XenDesktop allows for both XenApp and XenDesktop. XenApp is only XenApp.
17. Select Delivery Controller
18. Read and Understand, accept


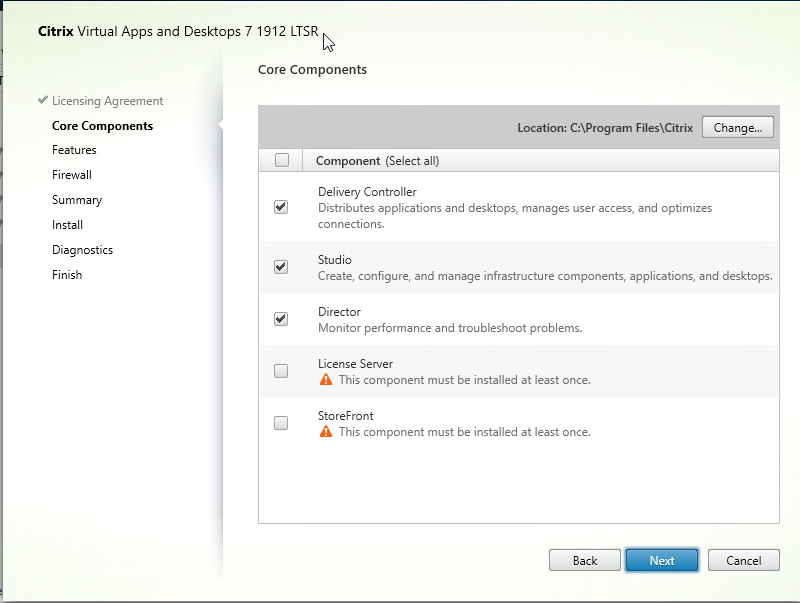
19. We only want, Delivery Controller, Studio and Director
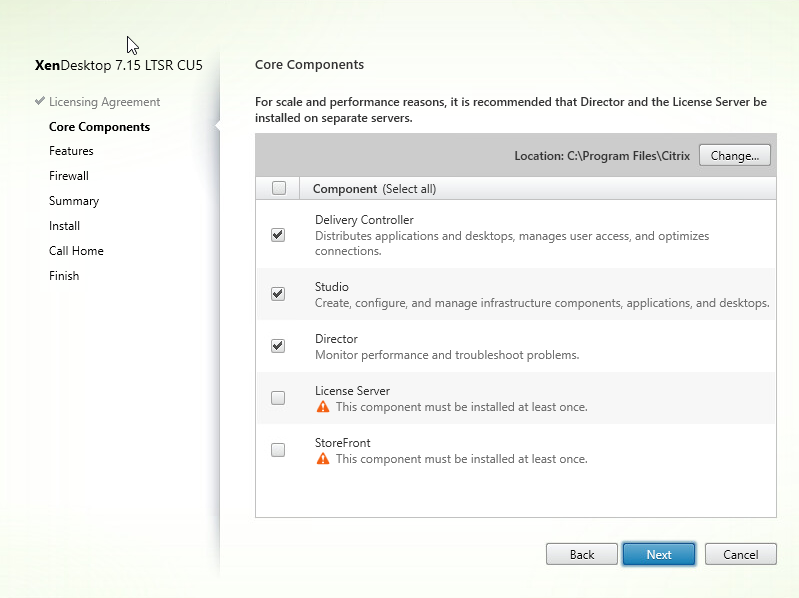
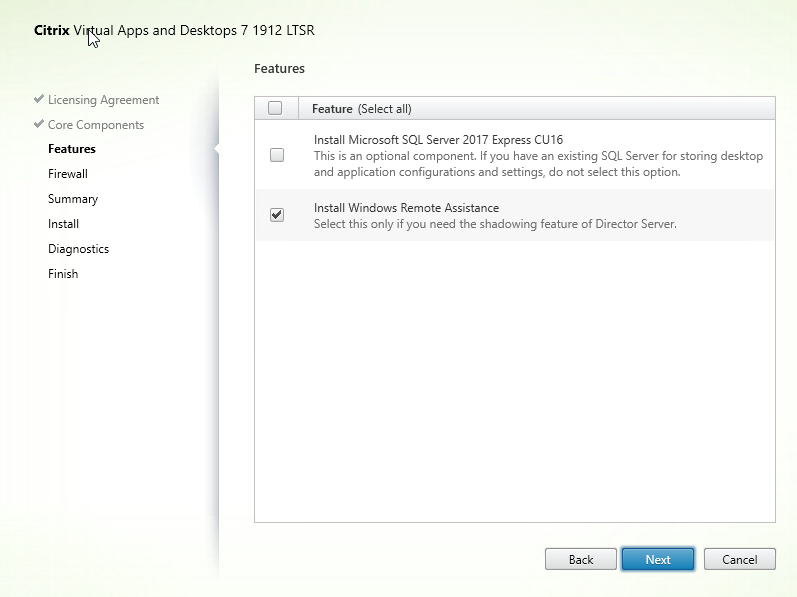
20. I don't want SQL express in the step, Uncheck it
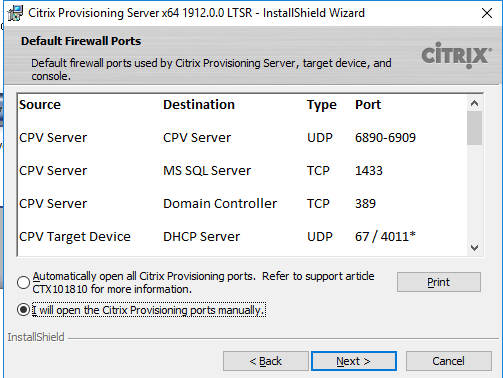
21. Review and make sure firewall is configured based on your environment

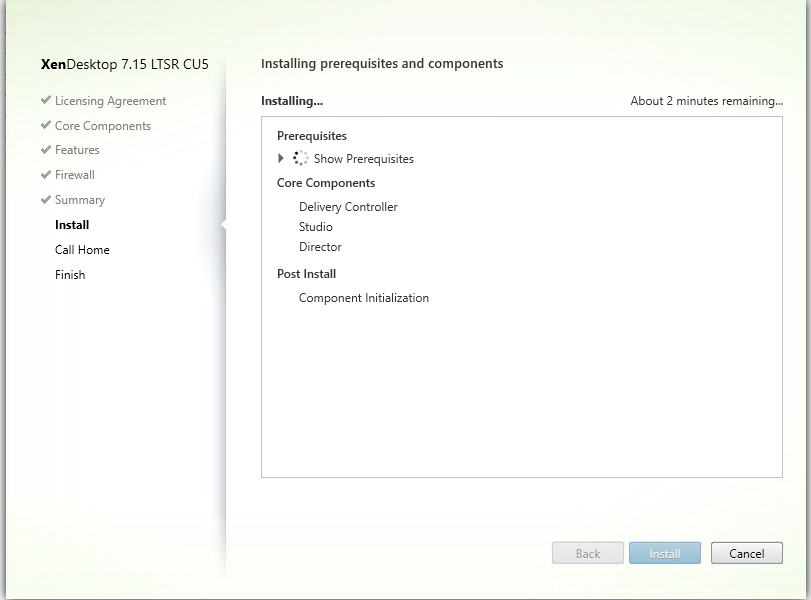
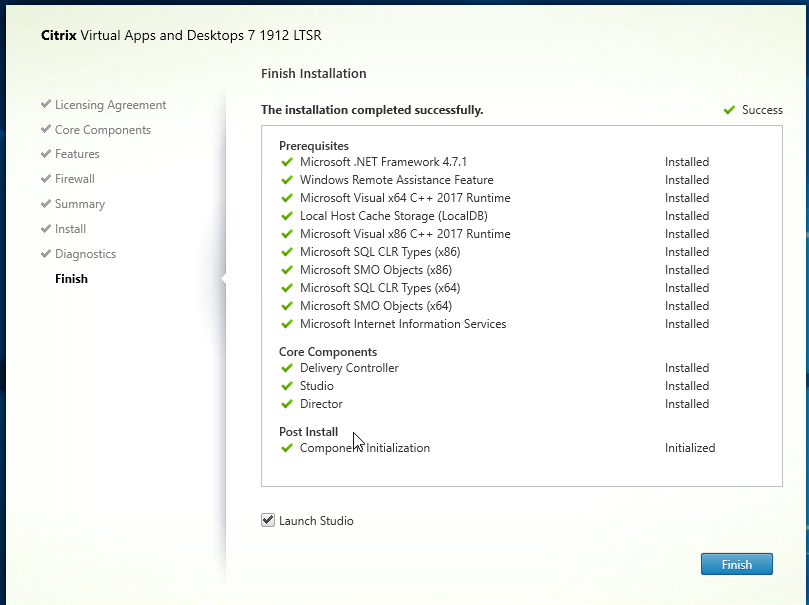
22. Installs
23. This will take about 5-7 minutes
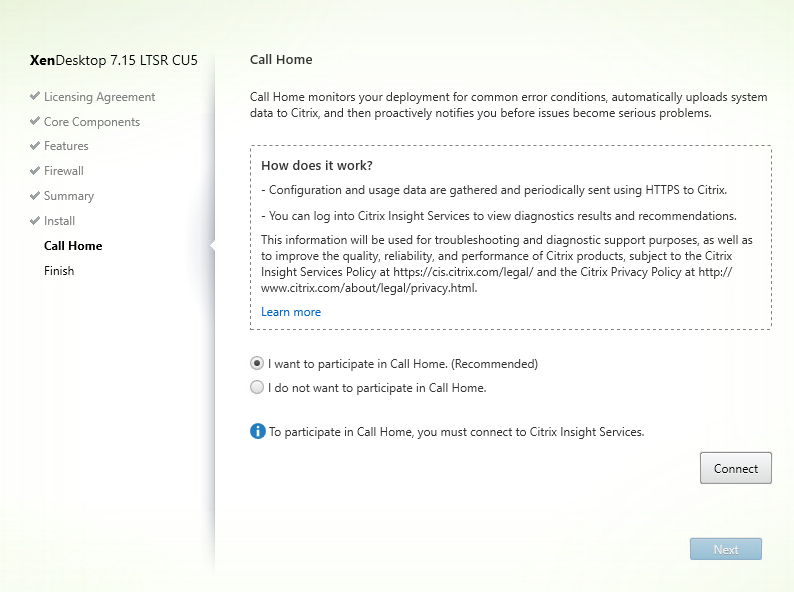
24. Select call home options
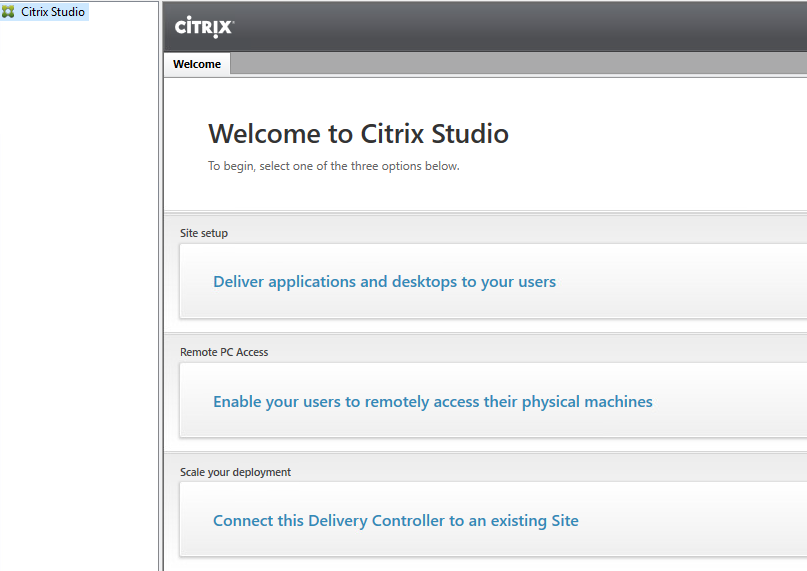
25. Finish, reboot, and then launch Studio
26. After Studio is opened, select "Connect this Delivery Controller to an existing site."
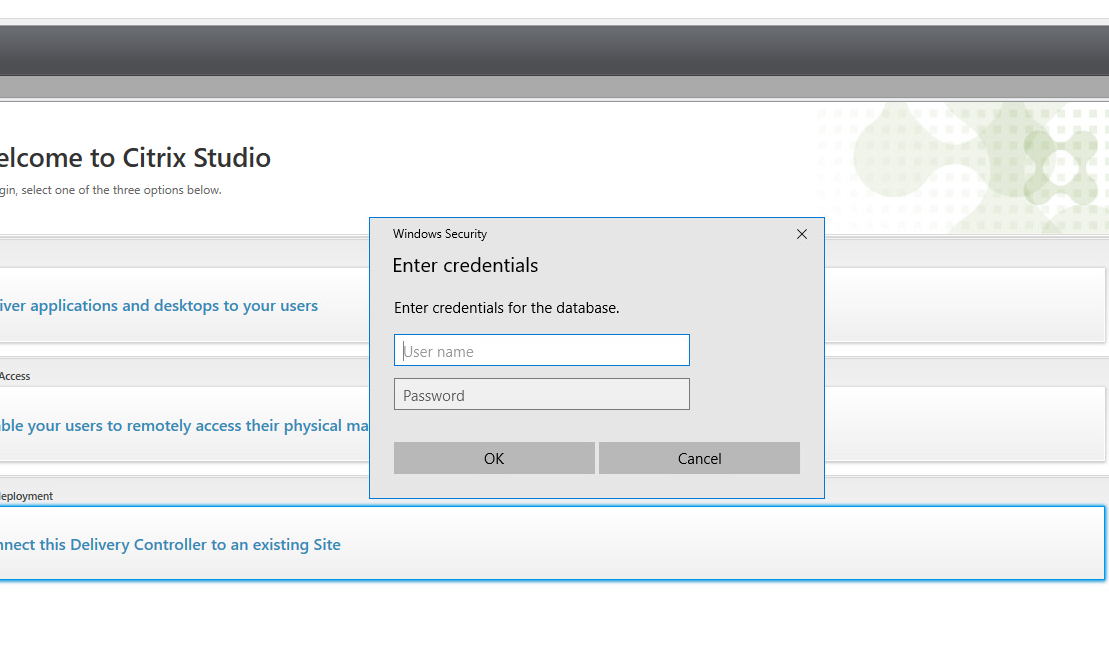
27. Add the primary D.D.C.


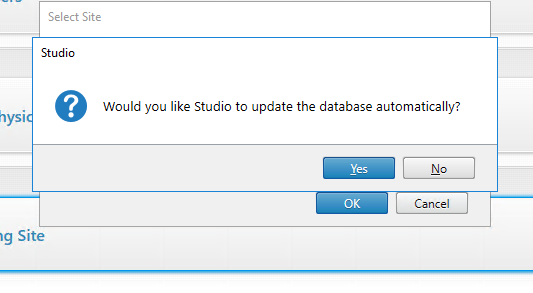
28. It will ask to update the D.B. automatically. I select yes and will put in my SQL creds
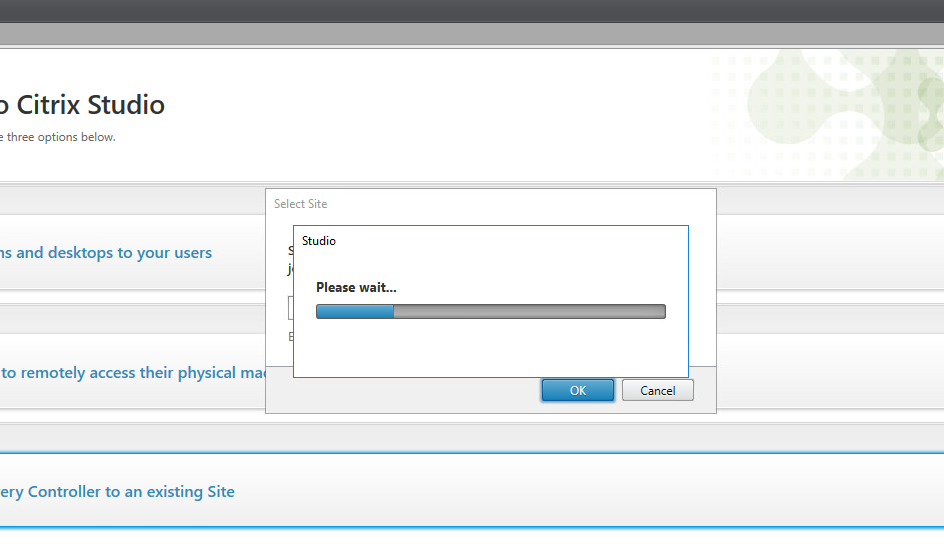
29. Studio will open and show the Site
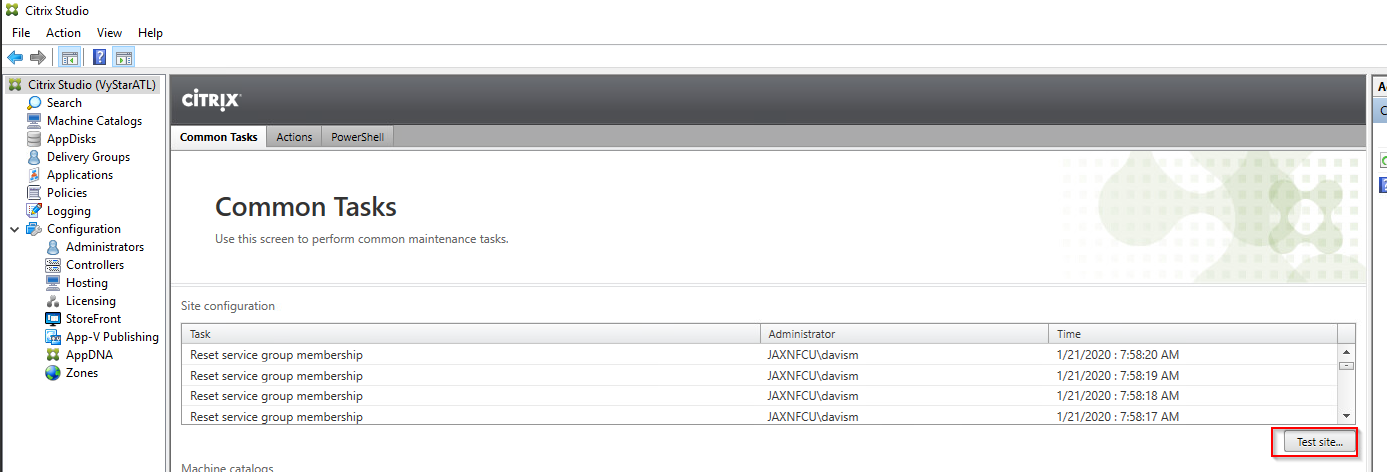
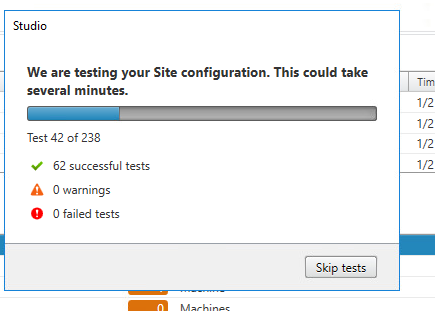
30. Run a Site check to make sure it's good.
This will take 10 minutes.
Looks good.
At this point, I have the following.


2012R2 715.5000 Deliver Controller
2016 7.15.5000 Delivery Controller.
Bother are upgraded from 7.15 to 7.15.500
Now we will begin the 7.15.500 upgrade to 1912 L.T.S.R.
Snapshot your Delivery controller
Backup your SQL databases
Attach the 1912 media
Run the Studio and Server Components for the upgrade
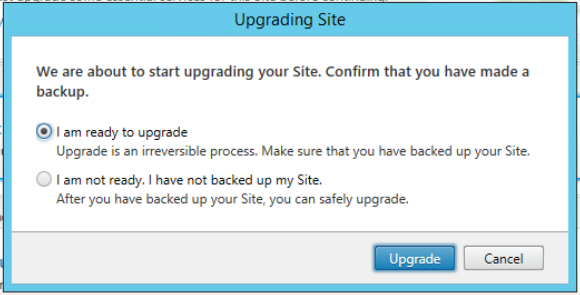
Read and accept

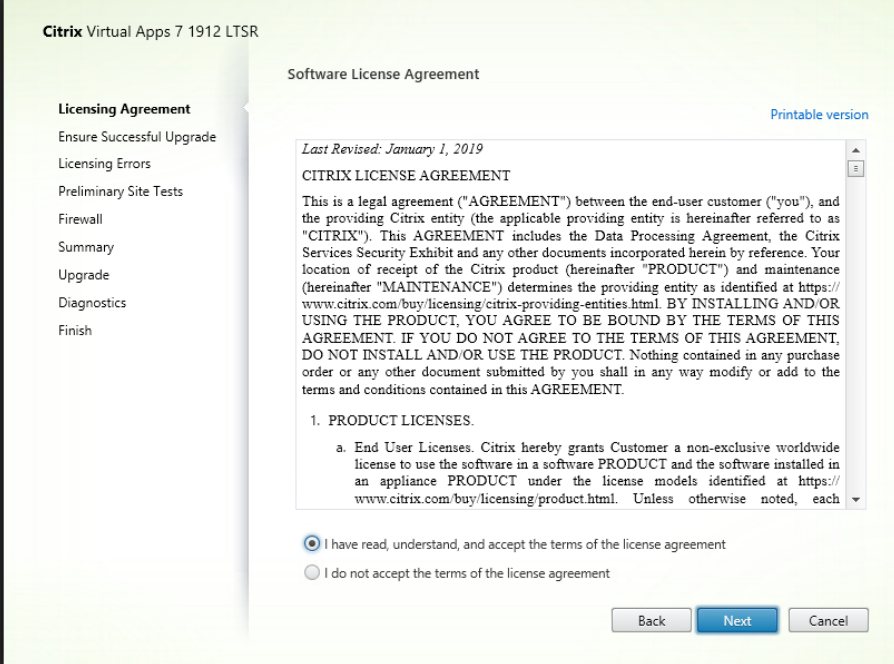
Make sure the following has been completed to ensure an upgrade will go smooth.
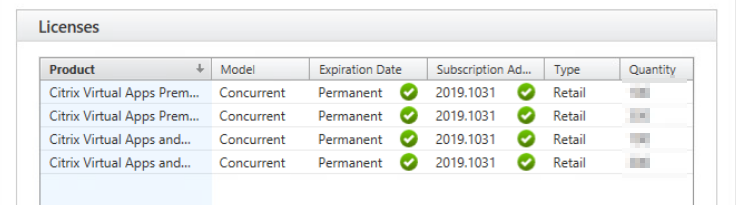
Licensing Error I received when I clicked next. Even though I upgraded my licensing version to 11.16.3.0 build 29000, I had to update my licensing files past November 2019. I logged into my Citrix Licensing manager. Https://yourCTXlicServer.FQDN:8083, then selected check for available renewals. Follow the prompts to get an updated timestamp.


Before
After
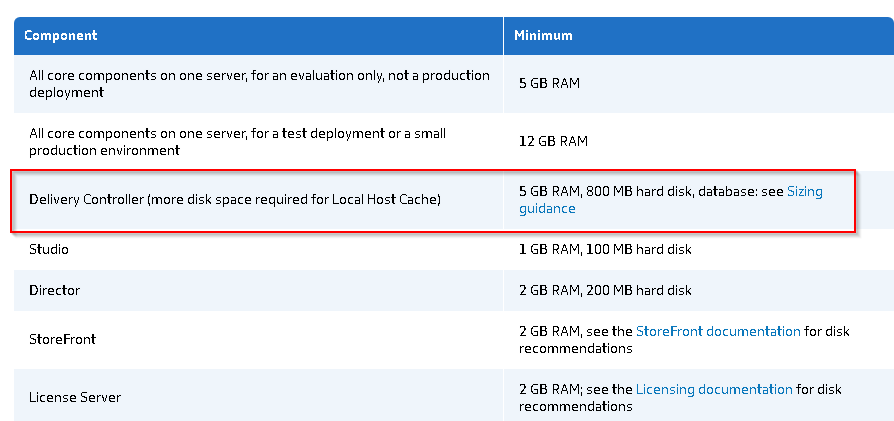
This is not production; my specs are lower than what it wants. However, I will meet the minimum to ensure the upgrade is solid.


Server specifications
https://docs.citrix.com/en-us/citrix-virtual-apps-desktops/system-requirements.html
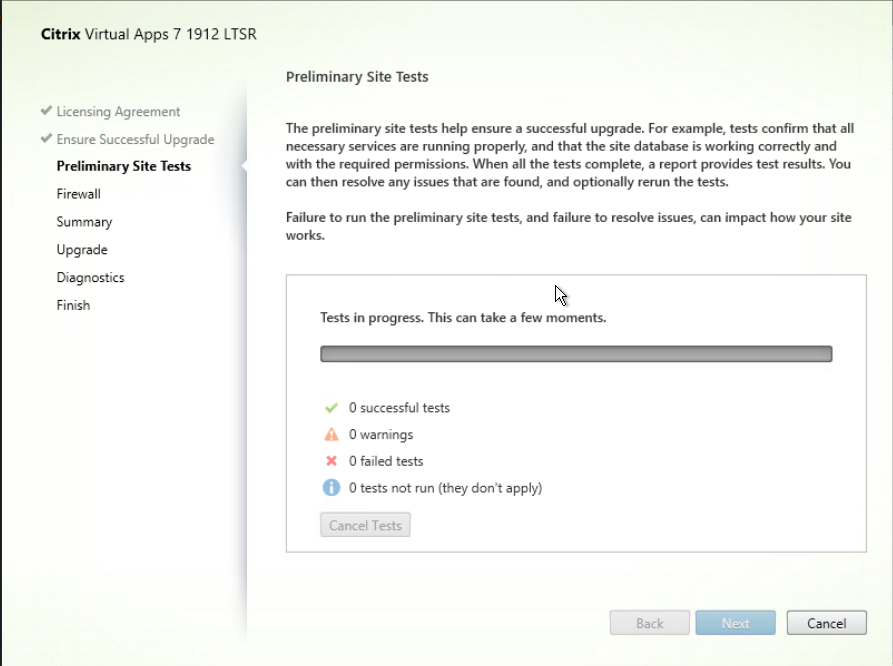
Let's pick back up where I left off. Preliminary Site Test( Run this to ensure no errors exist)

Test in progress
b. 2 test will not run, as they don't apply
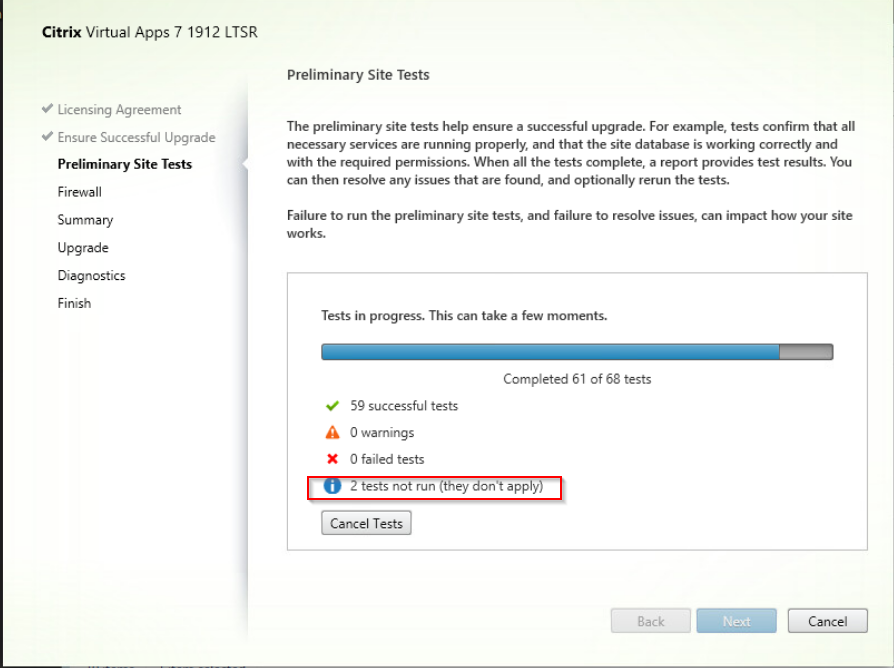
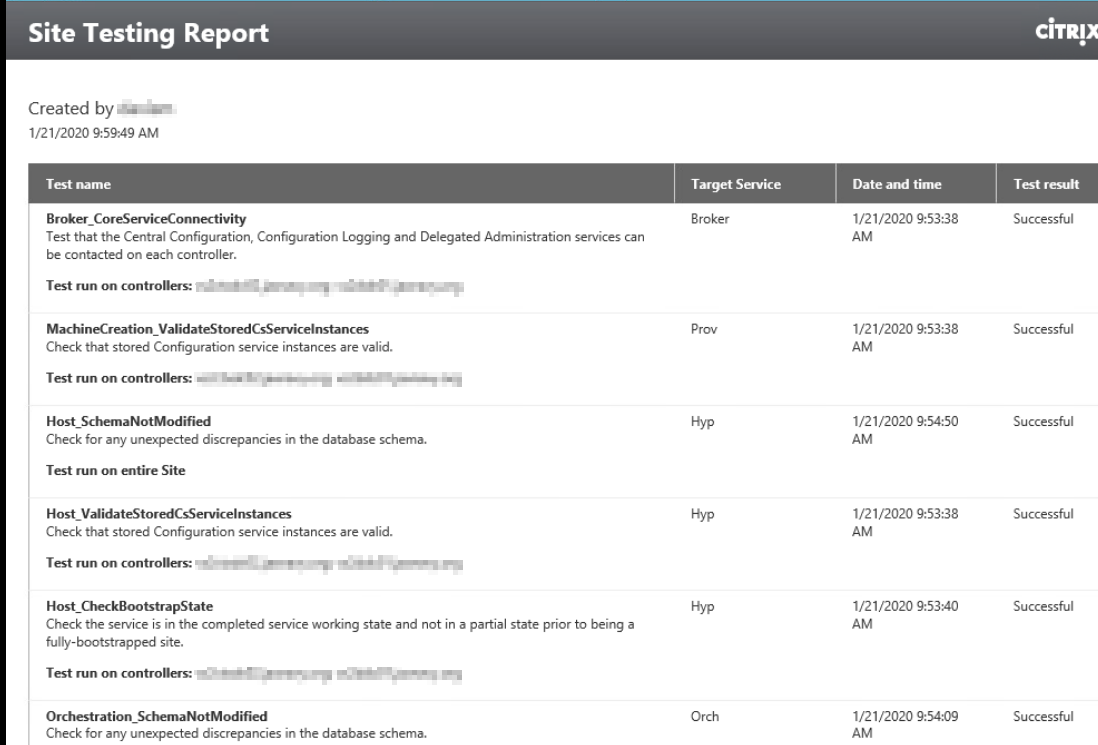
Results go through and test all the orchestrations of the environment.
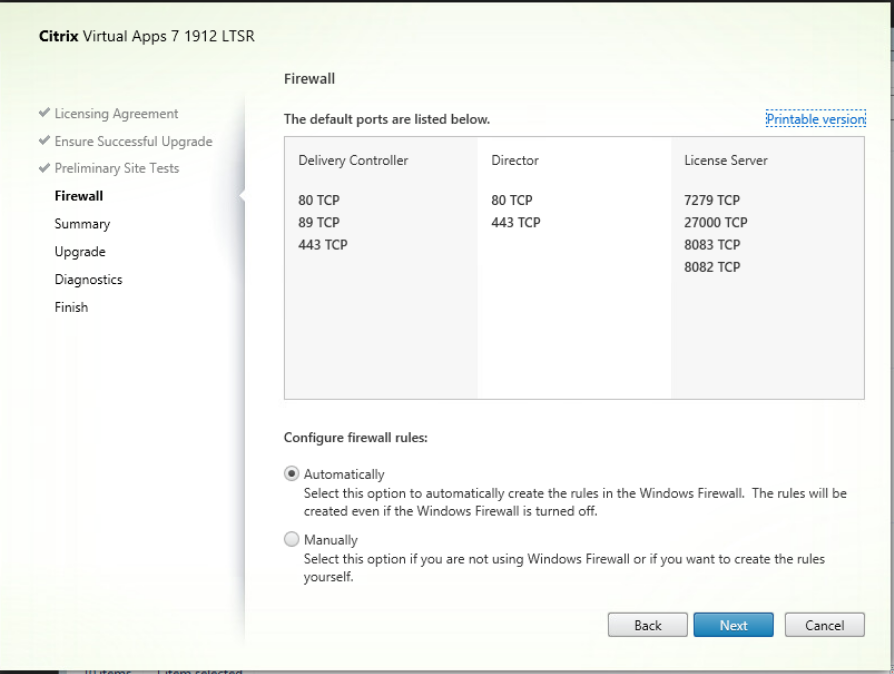
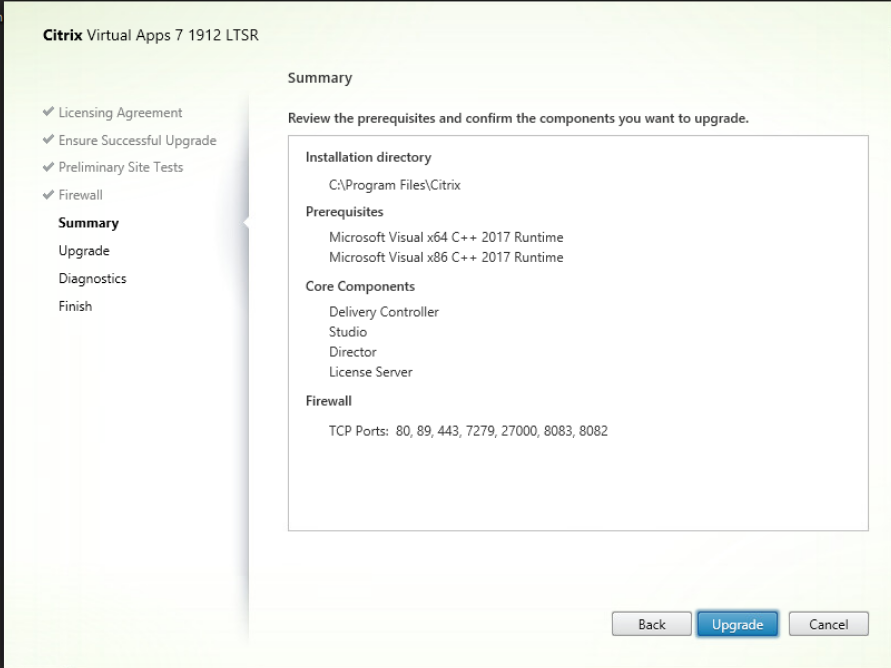
Firewall ports
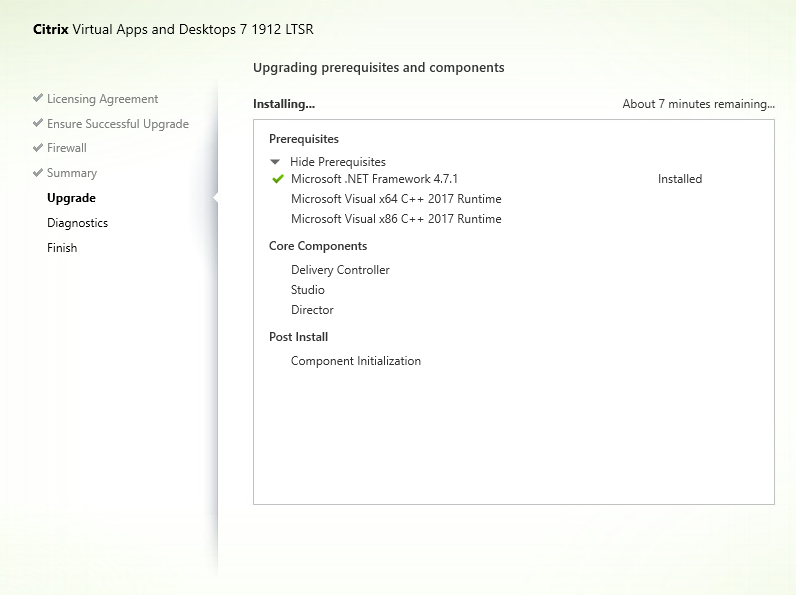
Summary, then click upgrade

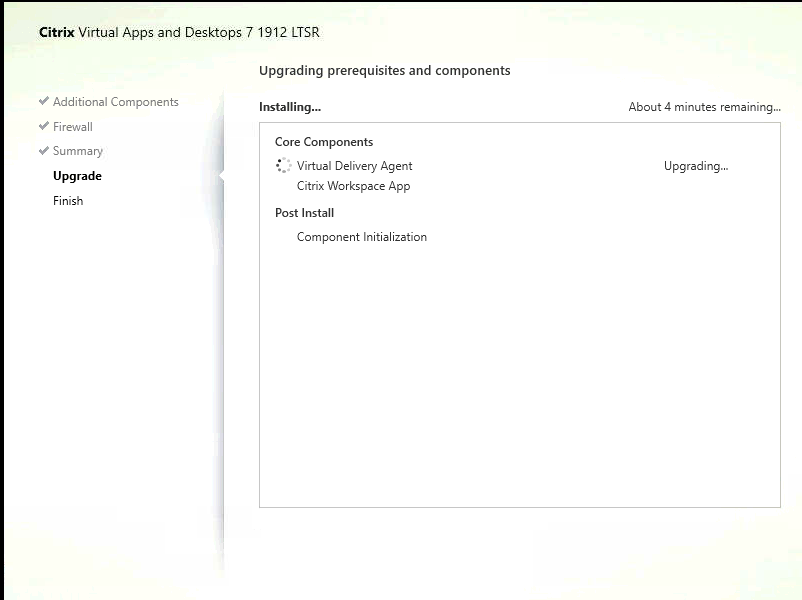
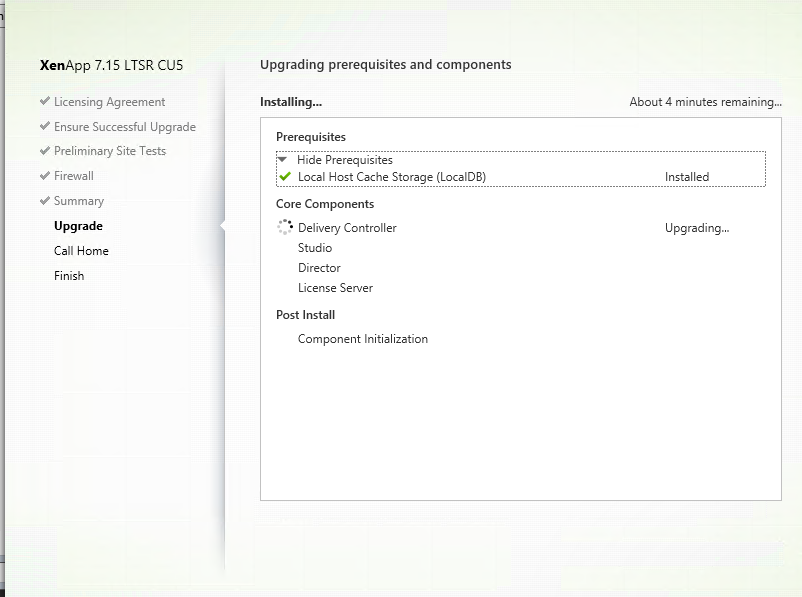
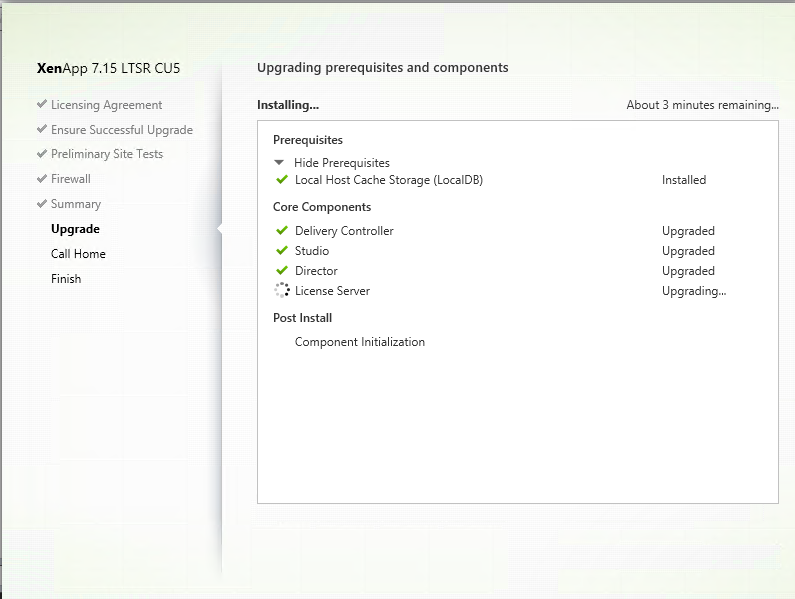
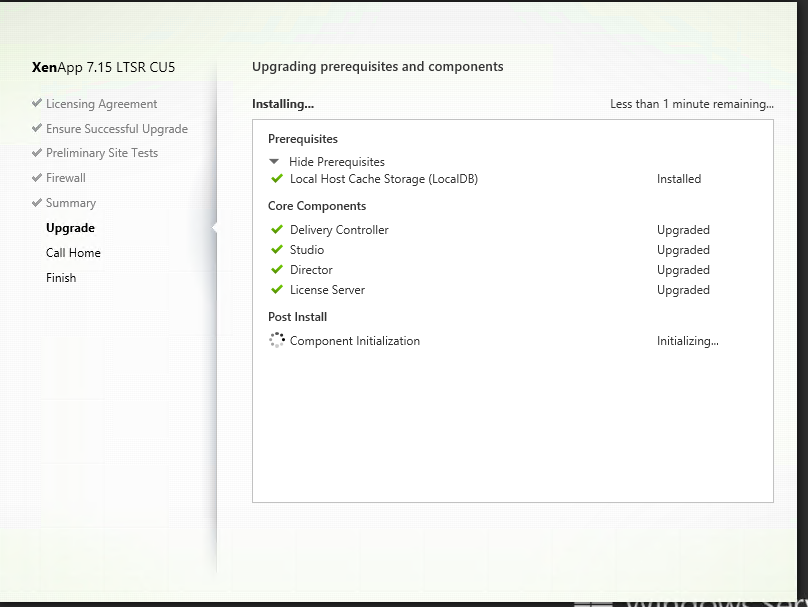
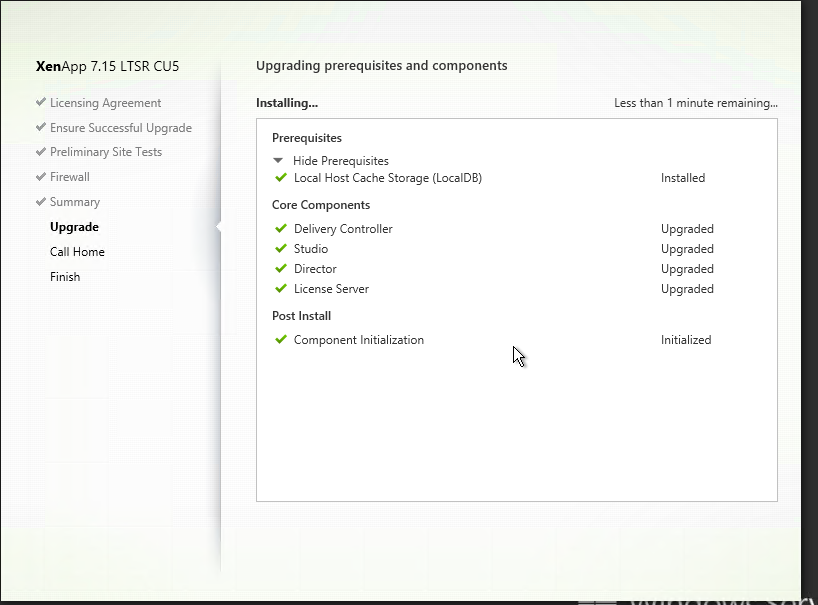
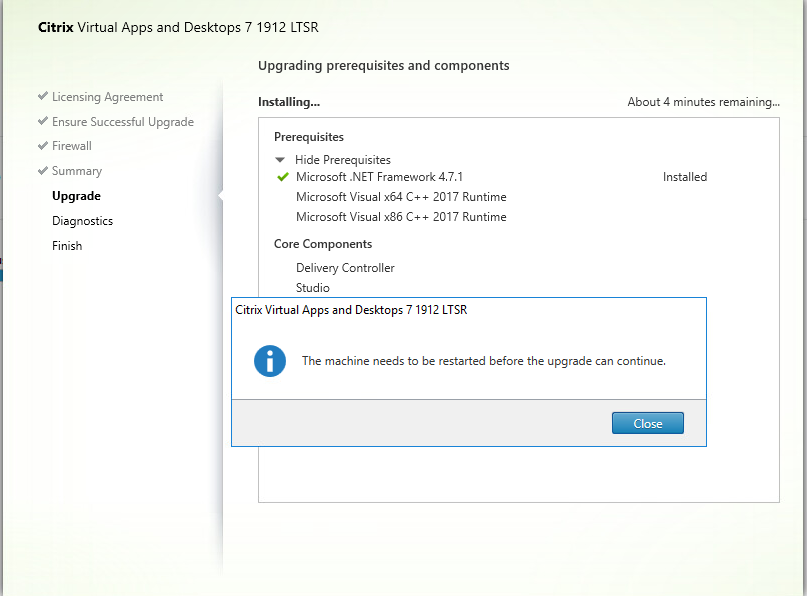
Upgrade progress


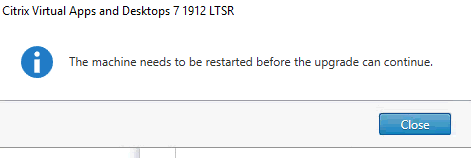
Upgraded, but reboot needed
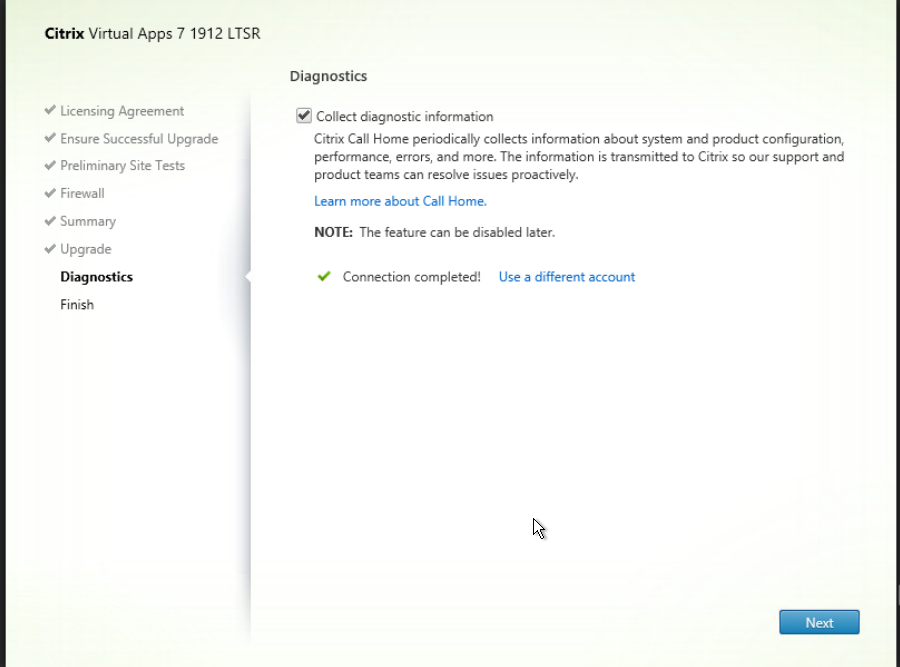
After reboot it will resume. Now on Post Install….
Connect to Citrix Cloud for Diagnostics data if needed in your environment.


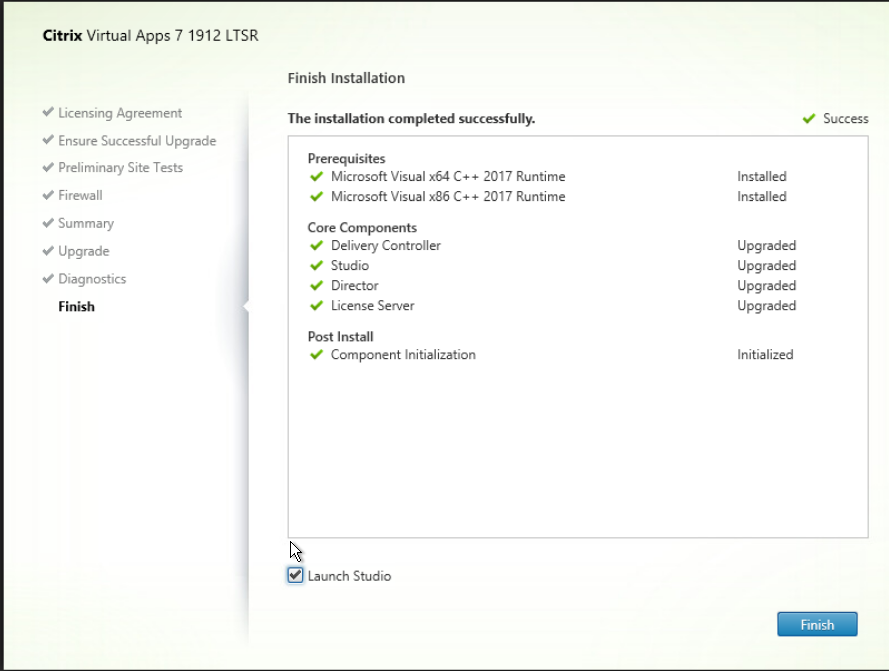
Finished and now open Studio.
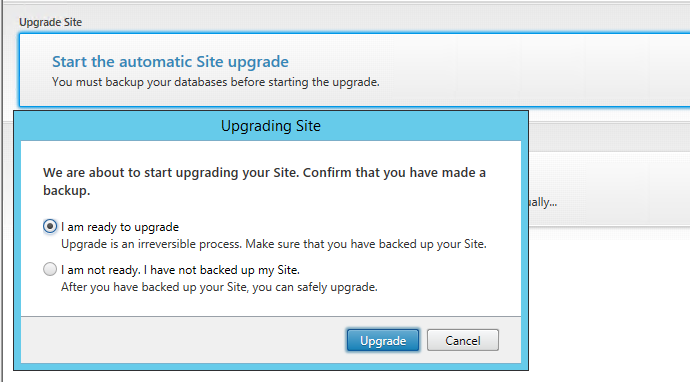
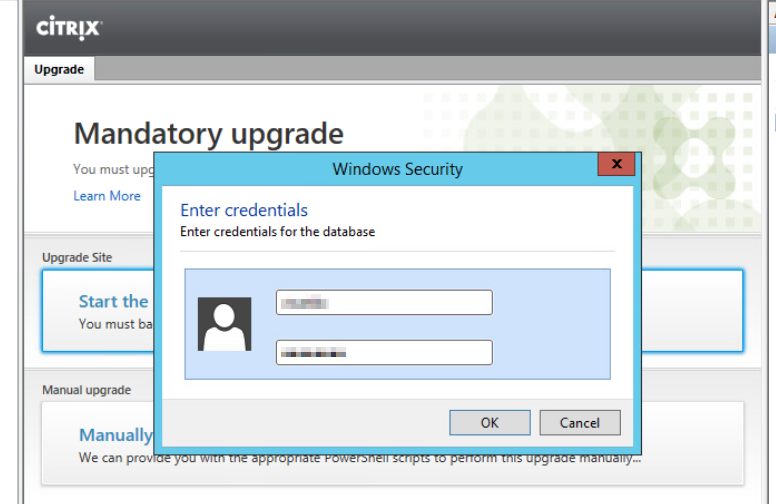
Now upgrade the Database through Studio (my service account has permissions)

It will ask you again, about backing up the D.B.
Add the Creds, unless you are logged into the Server as the account (Account needs proper permissions, in Citrix, and on the servers)
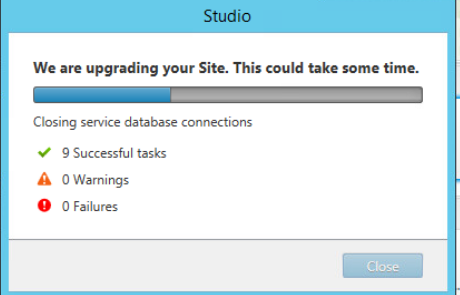
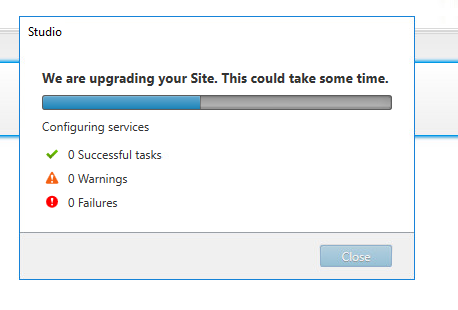
It's now started.
Going, 9 successful… G.O.O.O.D. so far.
Still going well
Finished


You now need to do the second Delivery controller we added early in the process. It's the 2016 server.
Remote to the Server, Attach the Media, and I double click on the mounted ISO from my hypervisor
Click Upgrade on Studio and Server components.
Read and Agree
Ensure the following is completed, although it's a second D.D.C.
Firewall for D.D.C. and Director


Summary
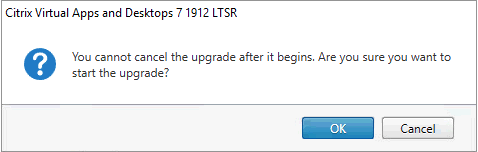
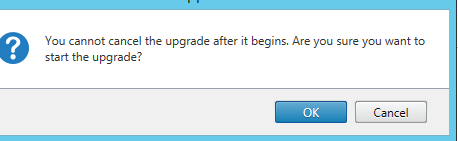
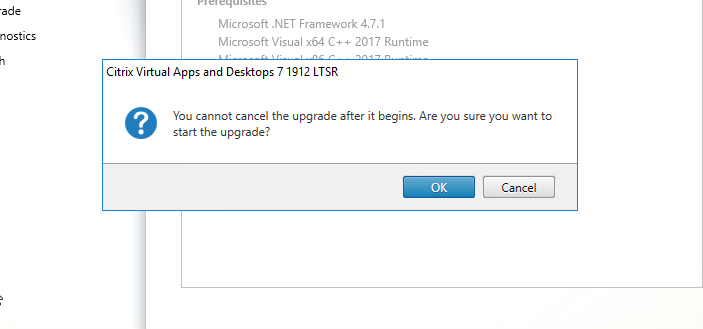
Warning pop up about not being able to stop it once it starts.

Upgrading has started ( The Time says 13 minutes) Sometimes it's accurate, or not accurate.
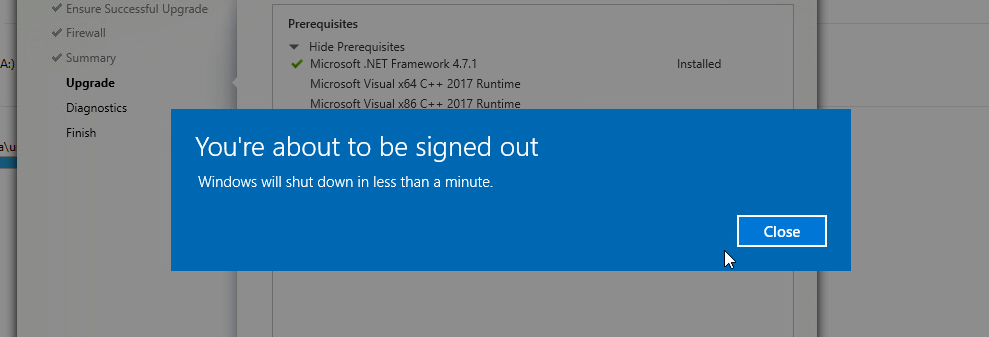
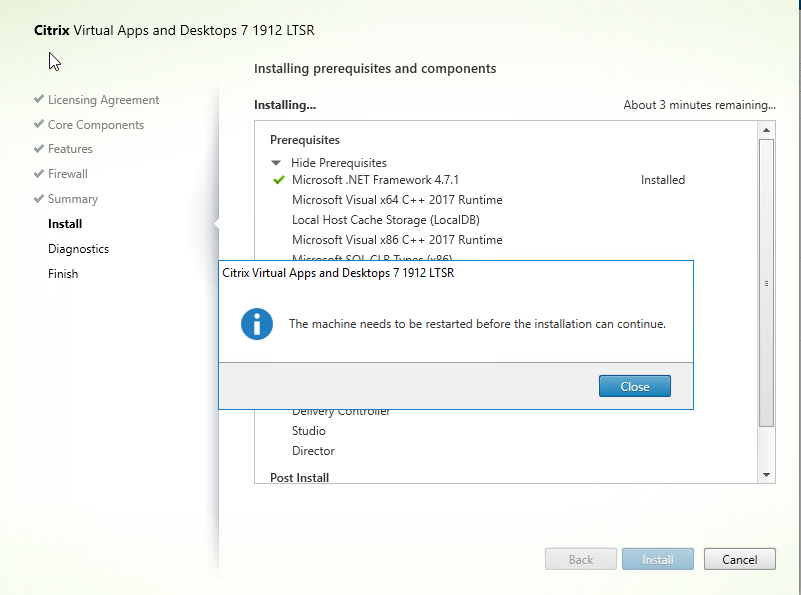
Machine needs to be rebooted to apply some .Net settings/updates
Rebooted, and now it's still applying them.
Log back in, and it will resume back to the place it was at. Be patient!


Connect to Citrix Cloud for Diagnostics data if needed in your environment.

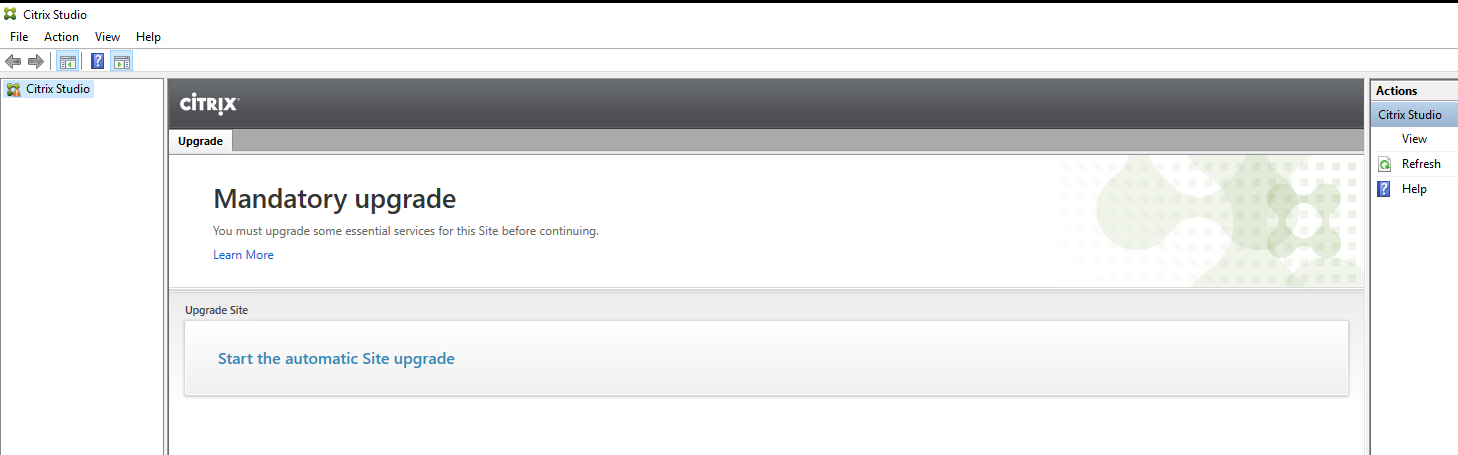
Now launch Studio

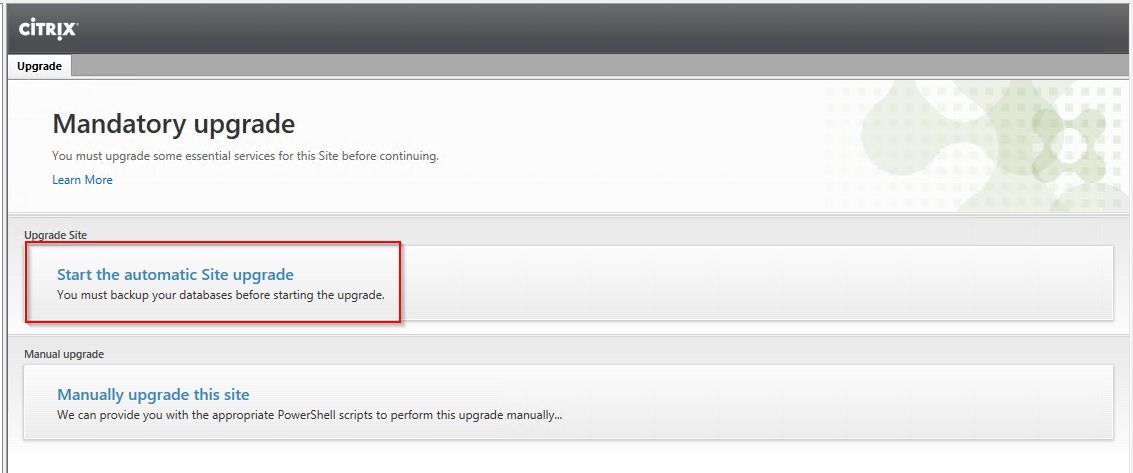
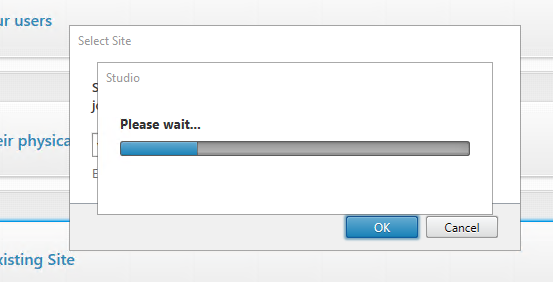
Start the automatic site upgrade
Since this has already run, it shouldn't take long.
Studio is now launched.
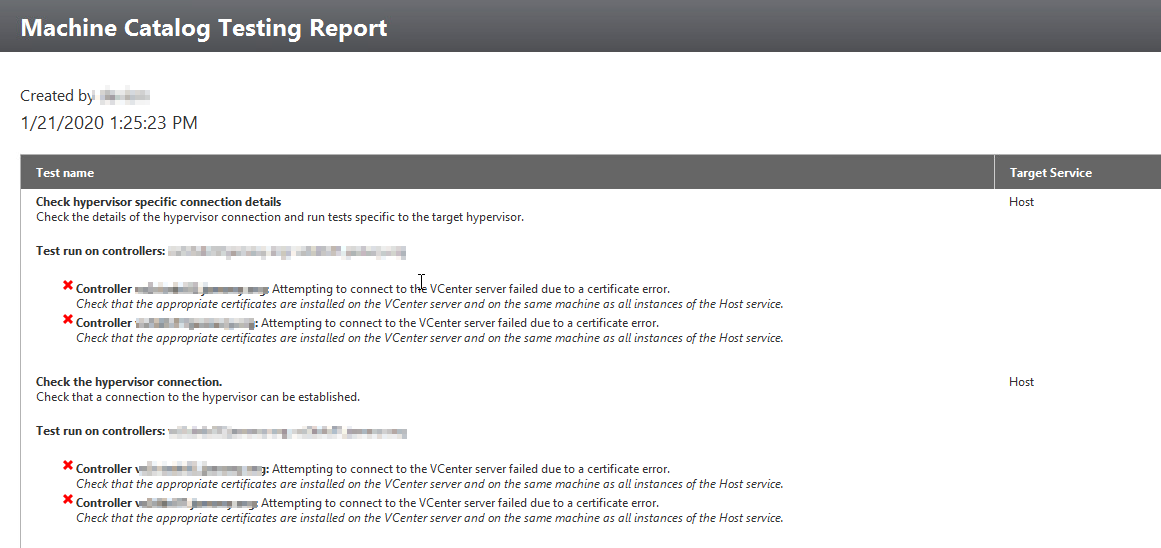
Lets to a site Test on the Delivery controller.
Things passed, and look good
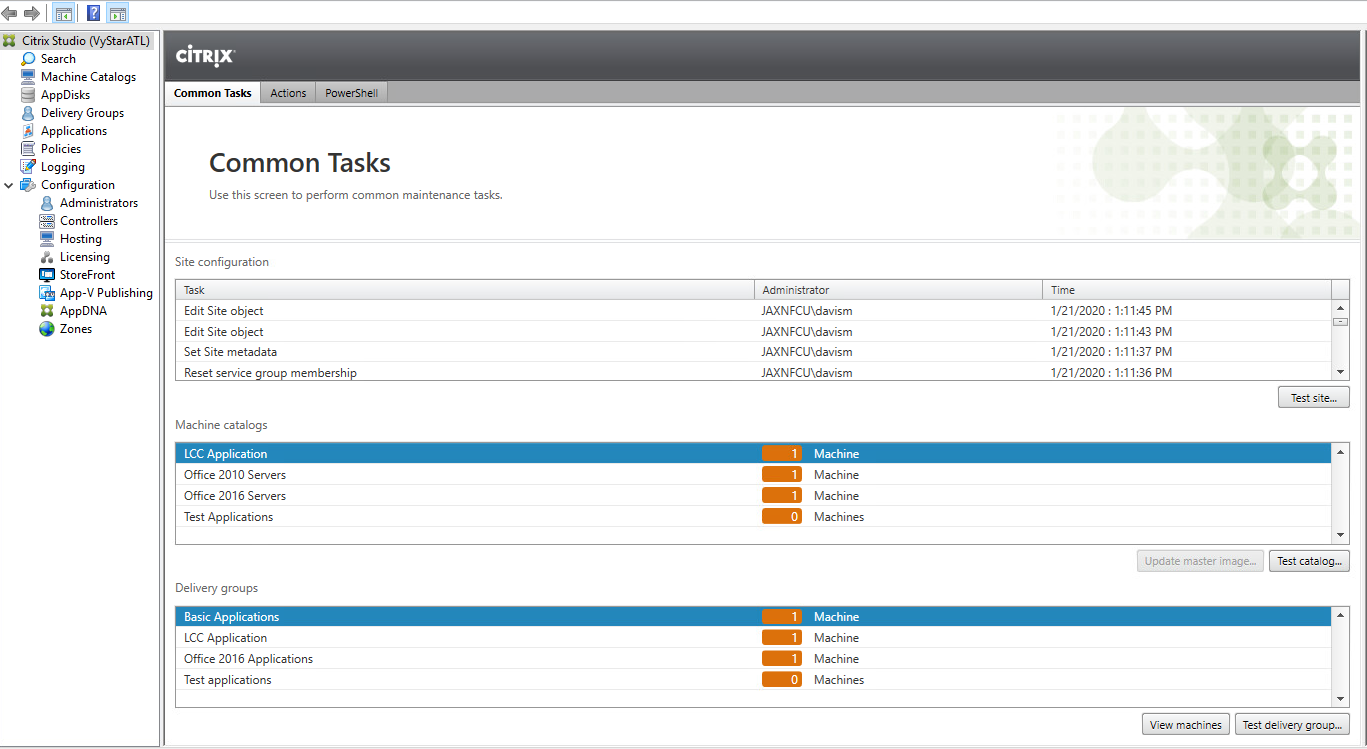


Let's do a Machine Catalog and Delivery group test. (Failed)?!! Looks like my Delivery controllers don't have the updated vcenter cert. Let me fix this. I simulated a failure to show the value of running the tests.
I fixed my cert by following this
https://support.citrix.com/article/CTX138640
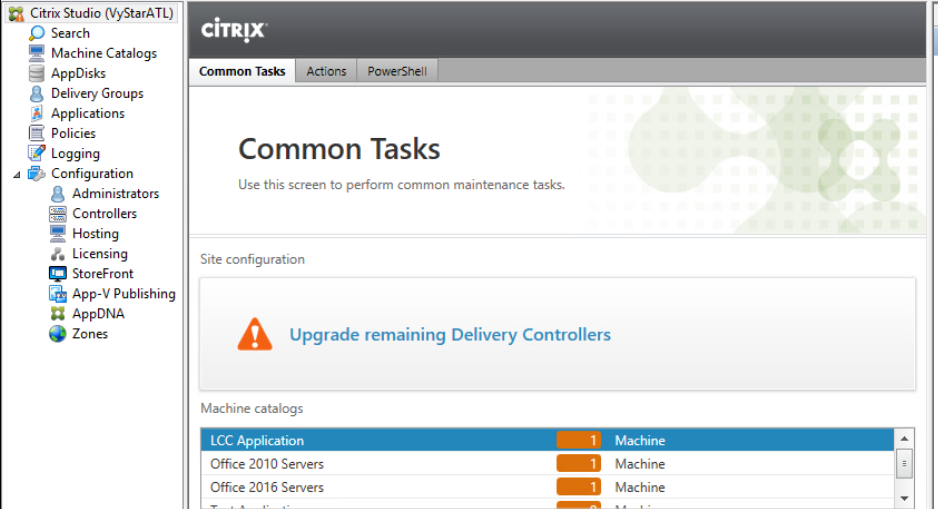
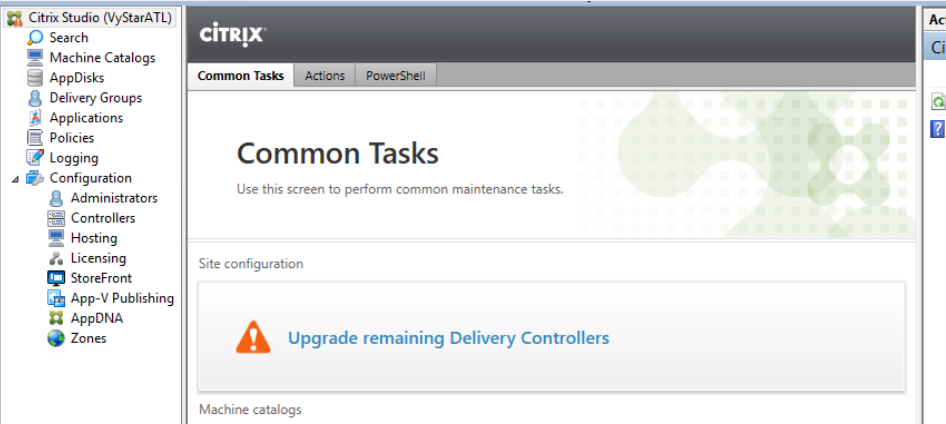
Now once both had updated 1912 Software, go into the first Delivery Controller and finish the "upgrade remaining delivery Controllers"
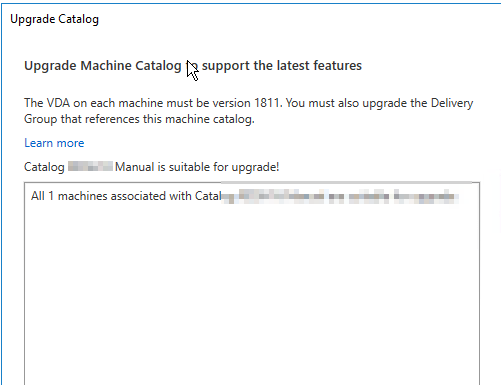
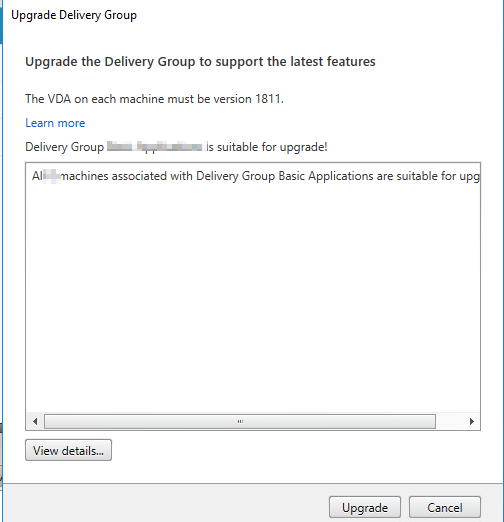
Once all the Delivery Controllers and V.D.A.s are upgraded, within Citrix Studio, view your Catalog for the current functional level (Set to V.D.A. version you have in the catalogs). Citrix Virtual Apps and Desktops (C.V.A.D.) 1912 lets you upgrade your Catalogs and Delivery Groups to functional level 1811 if needed.
**WARNING****
Don't upgrade the Catalog or Delivery Group until all V.D.A.s with the Catalog and Delivery Group are V.D.A. version 1811 or newer.
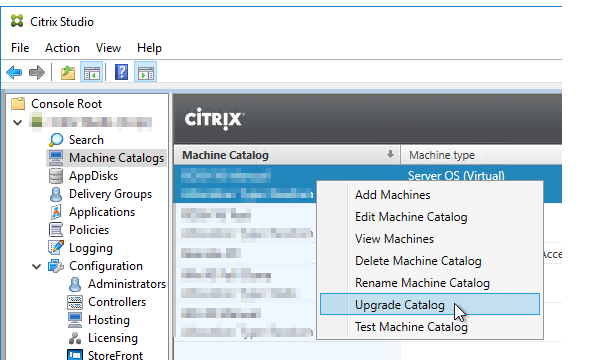
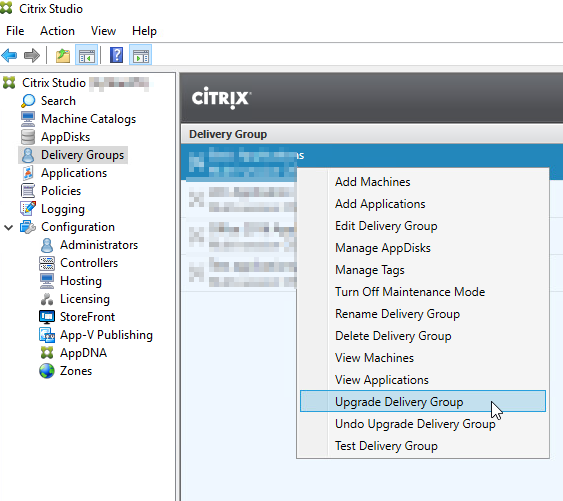
Then upgrade the Delivery Groups by right-clicking on a Delivery Group and clicking Upgrade Delivery Group.
This concludes the upgrade for the Delivery controller.
Now let's Decom one Delivery controller, that is 2012R2.
*Note*
https://discussions.citrix.com/topic/388816-decommission-delivery-controller/
https://docs.citrix.com/en-us/citrix-virtual-apps-desktops/manage-deployment/delivery-controllers.html
Active connections should not be dropped if you remove a delivery controller from the site. Remove the controllers from Storefront first, then from Studio. Any V.D.A.s registered to the controller should re-register with the remaining controllers, however this may take a few minutes, so a resource that hasn't registered yet might be unavailable for a relatively short time.
You could also stop the Broker service on the redundant controllers which would also cause any registered V.D.A.s to de-register.
Whilst doing this during business hours should be OK, there's always a risk that for some reason a V.D.A. doesn't register with the remaining controllers, so unless you can't avoid it, doing it out of hours, or during low use phases is always preferable.
Remove the controllers from Storefront first
Then from Studio
Make sure the Controller is powered on so that Studio loads in less than one hour. Once Studio loads the Controller you want to remove, power off the Controller when prompted to do so.
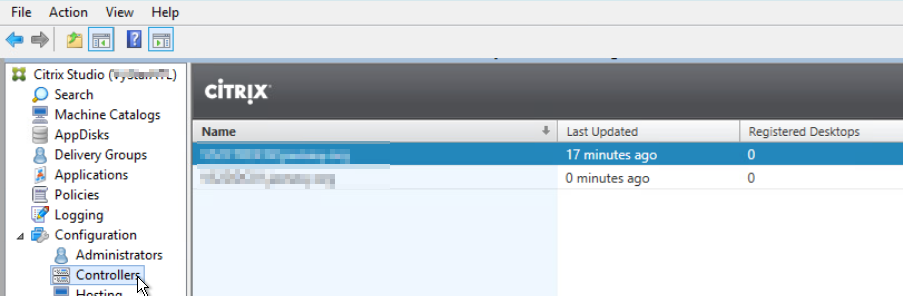
Select Configuration > Controllers in the Studio navigation pane and then select the Controller you want to remove.
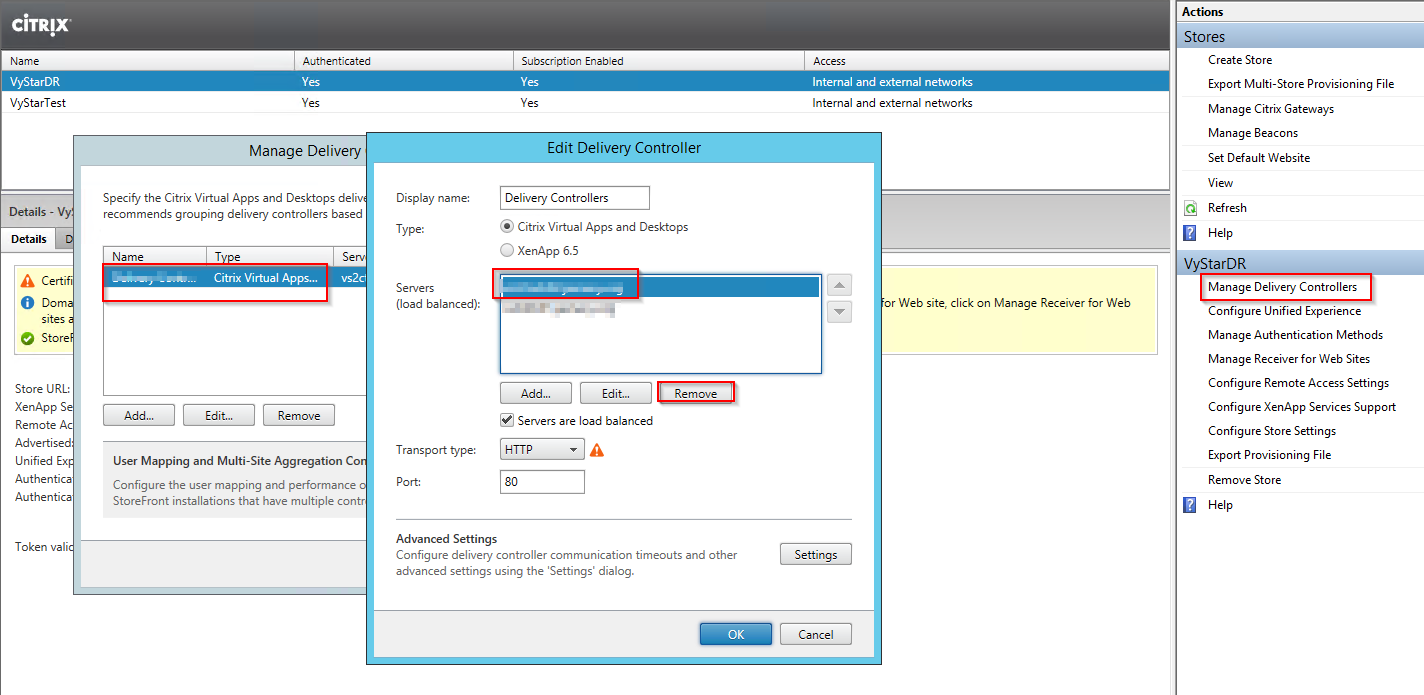
Select Remove Controller in the Actions pane. If you do not have the correct database roles and permissions, you are offered the option of generating a script that allows your database administrator to remove the Controller for you.
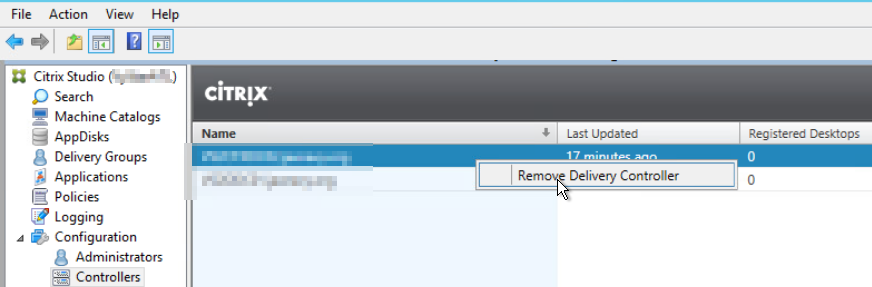

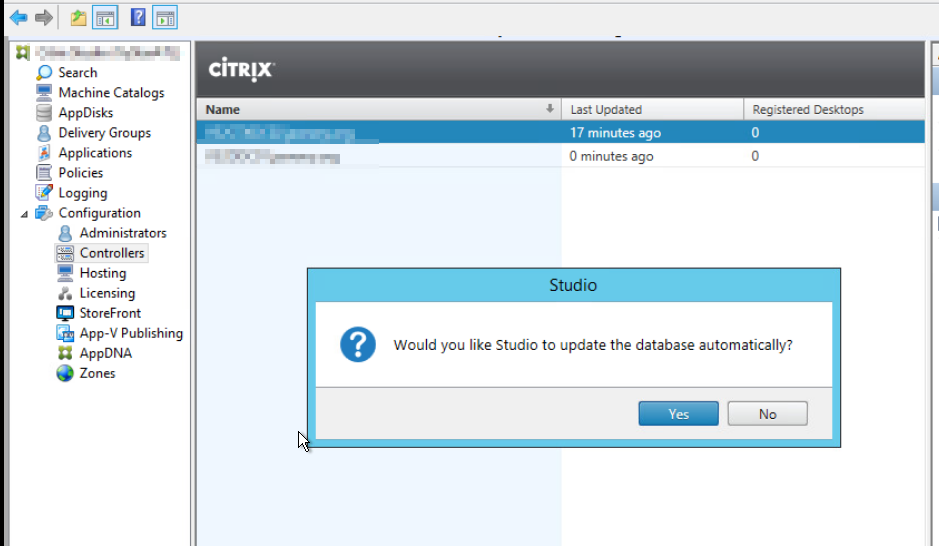

This error is out. So, I did it and selected no, here.
Then it asked to generate a D.B. script, for the Database guys
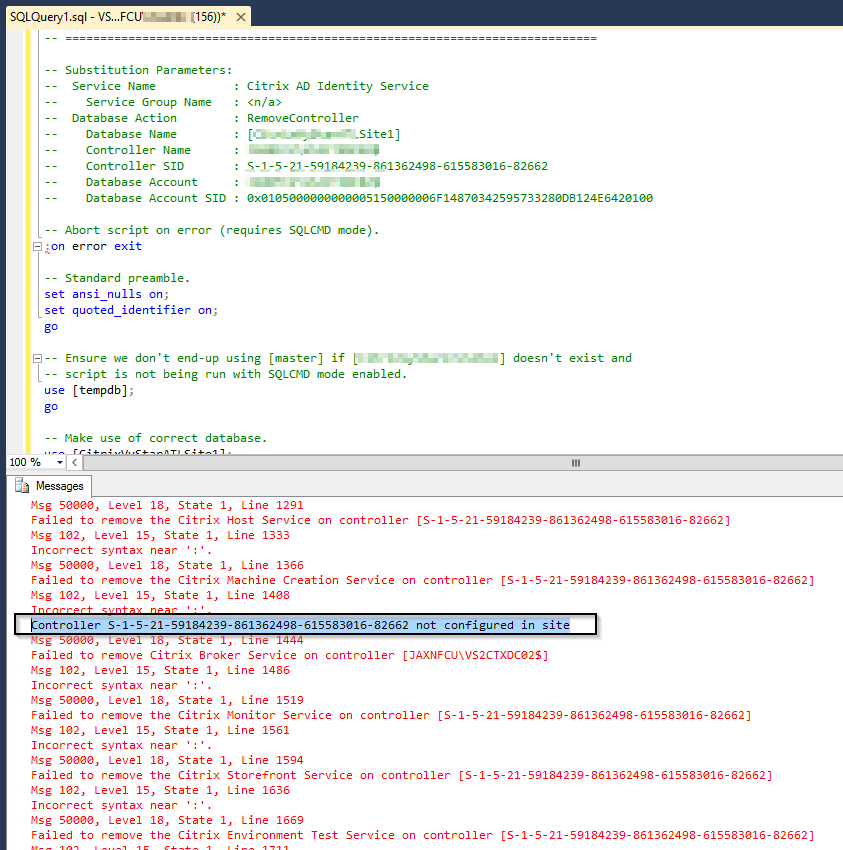
This still didn't remove it. So, at this time I found the C.T.X. link,
https://www.jgspiers.com/remove-orphaned-delivery-controller-xenapp-xendesktop-site/


Run “Get-BrokerController”

Then run this POSH Script

It will put a Evict.txt file in either your profile %userprofile% or C:\windows\system32. Give this file to your D.B.A.
Then Run it on the database.
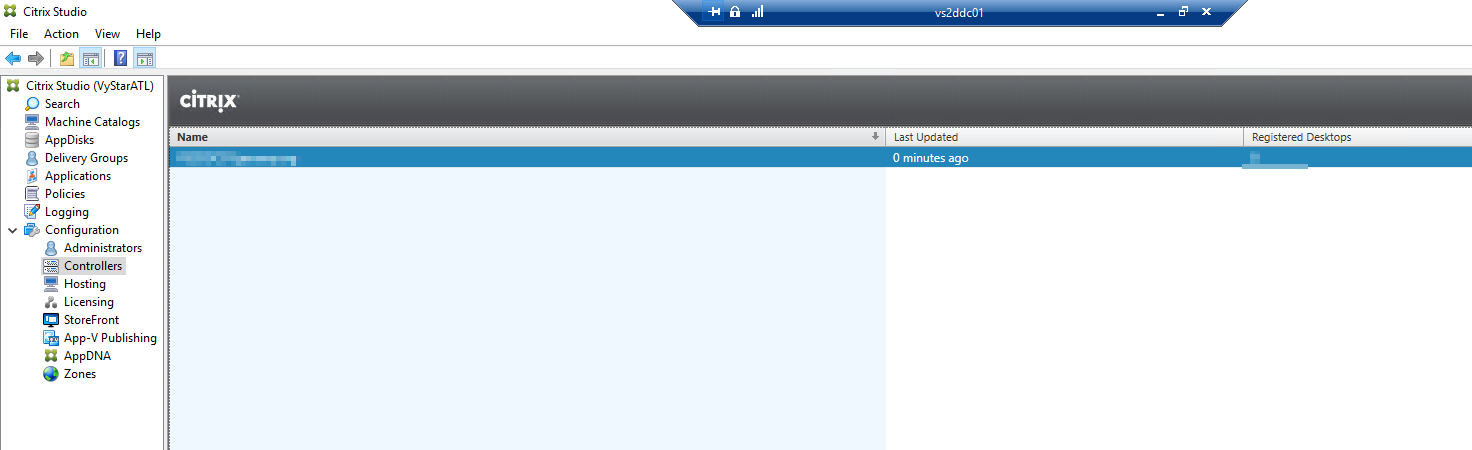
Check Studio and it's gone.
Any V.D.A.s registered to the controller should re-register with the remaining controllers
Adding a second 2016 Delivery controller now to slit the broker balancing out
Install Virtual apps and Desktops
Select Delivery Controller
Read and accept

Select the components you need.
Install the Feature you need (NO Local SQL for me)
Firewall ports
Summary
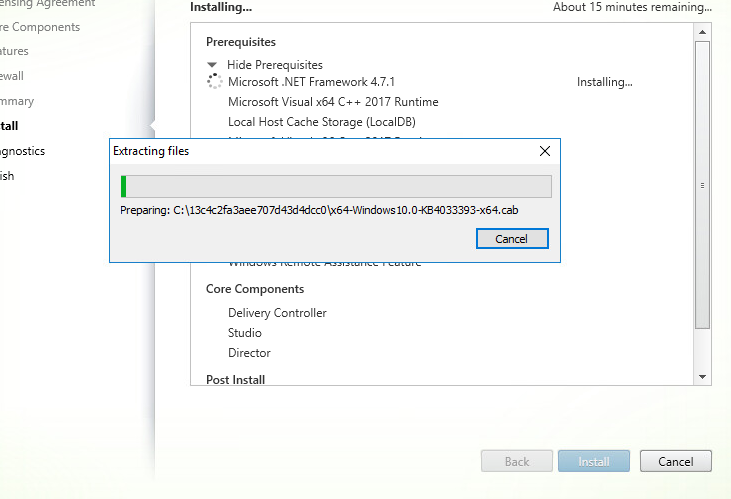
Extracting Files
Machine needs to reboot
Collect diagnostic Information
Finished, now launch Studio
Connect the delivery controller to an existing site
Add the delivery controller address that is already a part of the site.
For this part, in my environment I selected yes
Enter my creds to add to the database, then let the process begin.
I now have 2 controllers that are 2016

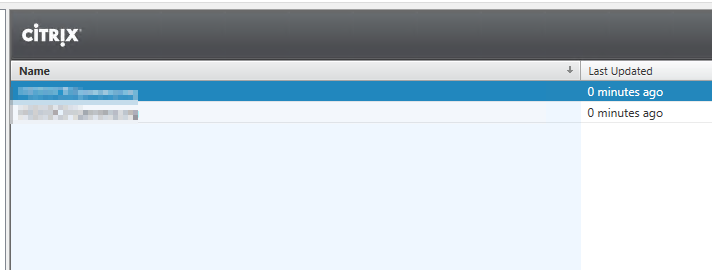
Both servers are

Remember to update the List of D.D.C.s for the new D.D.C. to register the machines.
https://docs.citrix.com/en-us/citrix-virtual-apps-desktops/manage-deployment/vda-registration.html
Finalize Citrix Director
Finalize Director upgrade run this.c
C:\inetpub\wwwroot\Director\tools\Directorconfig.exe /upgrade
If you use Citrix A.D.M., and Citrix Session Recorder you will need to register the Snap In back after all the upgrades. This is so you can control the feature in Director
Register Director ADM MAS back
21. If using HTTPS to connect to Insight Center then the Insight Center certificate must be valid and trusted by both the 22.
22. Director Server and the Director user's browser.
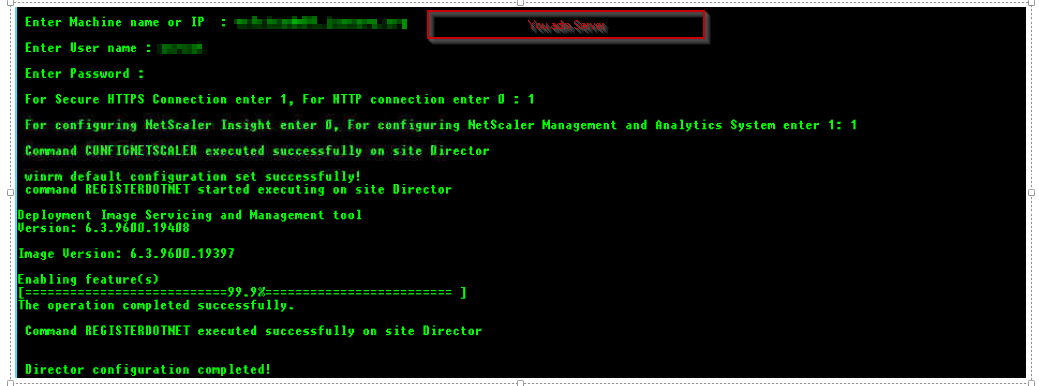
23. To link Citrix Director with NetScaler HDX Insight, on the Director server run
24. C:\inetpub\wwwroot\Director\tools\DirectorConfig.exe /confignetscaler.
25. Enter Machine name or I.P.: Netscaler Insights machine or I.P. vs1ctxadm01.jaxnavy.org
26. Enter 1 for Citrix A.D.M. (aka M.A.S.).
27. Rest is self-explanatory
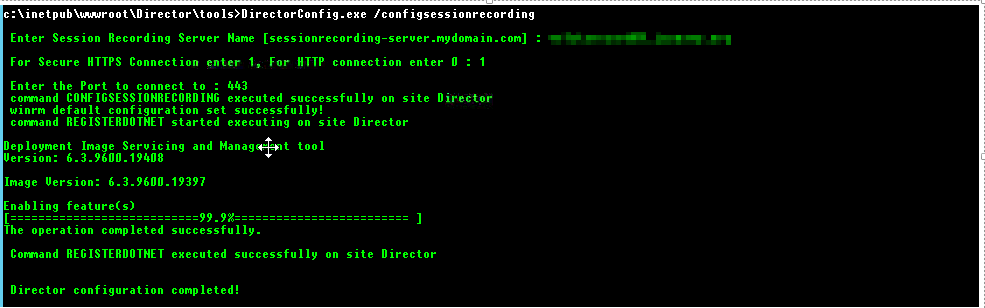
Register Director Snapin back for Session recording
17. Run C:\inetpub\wwwroot\Director\tools\DirectorConfig.exe /configsessionrecording
18. Enter the Session Recording F.Q.D.N. (server. F.Q.D.N.) 19. Enter 1 for HTTPS.
20. Enter 443 as the port
Upgrading or replacing the SQL LocalDB for Local Host Cache for 1912 or 1912 CU1
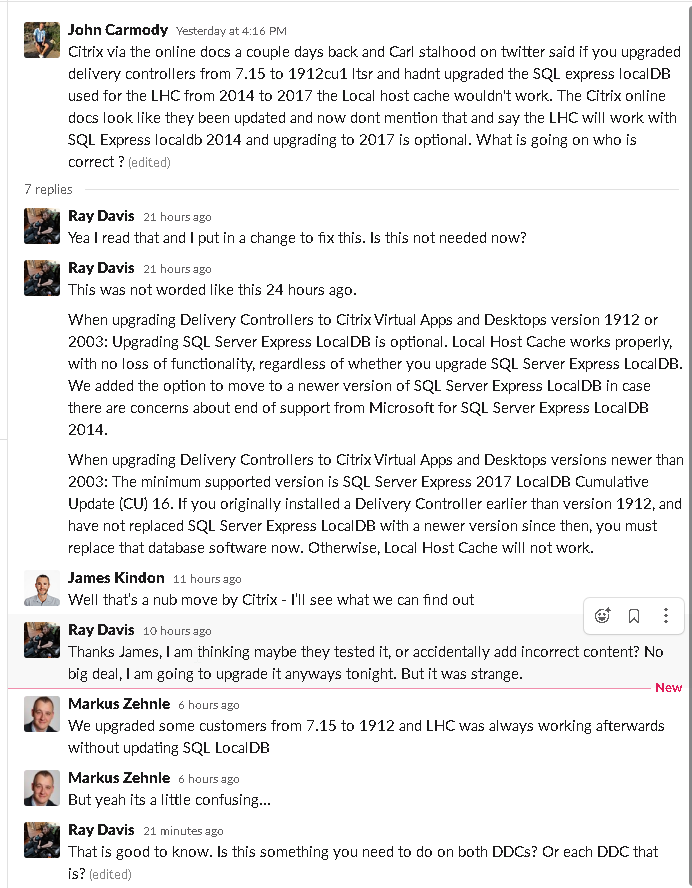
There has been some recent change to the L.T.S.R. article around Local Host Cache upgrades
When upgrading Delivery Controllers to Citrix Virtual Apps and Desktops version 1912 or 2003: Upgrading SQL Server Express LocalDB is optional. Local Host Cache works properly, with no loss of functionality, regardless of whether you upgrade SQL Server Express LocalDB. We added the option to move to a newer version of SQL Server Express LocalDB in case there are concerns about the end of support from Microsoft for SQL Server Express LocalDB 2014.
When upgrading Delivery Controllers to Citrix Virtual Apps and Desktops versions newer than 2003: The minimum supported version is SQL Server Express 2017 LocalDB Cumulative Update (CU) 16. If you originally installed a Delivery Controller earlier than version 1912, and have not replaced SQL Server Express LocalDB with a newer version since then, you must replace that database software now. Otherwise, Local Host Cache will not work.
As you can see here, at one time it stated you needed to upgrade, or it would not work. However, it doesn't seem that it is 100% anymore. I think that's why Citrix updated the doc.
As can be seen here some had the same concerns or questions around it. I most certainly did.
So, let's get started. I always do a snapshot first. Which is completed.
Complete the upgrade of your Citrix Virtual Apps and Desktops components, databases, and site. (Those database upgrades affect the site, monitoring, and configuration logging databases. They do not affect the Local Host Cache database that uses SQL Server Express LocalDB.)
As you can see, I am on 1912 CU1 and have M.S.Q.L. Express 2014

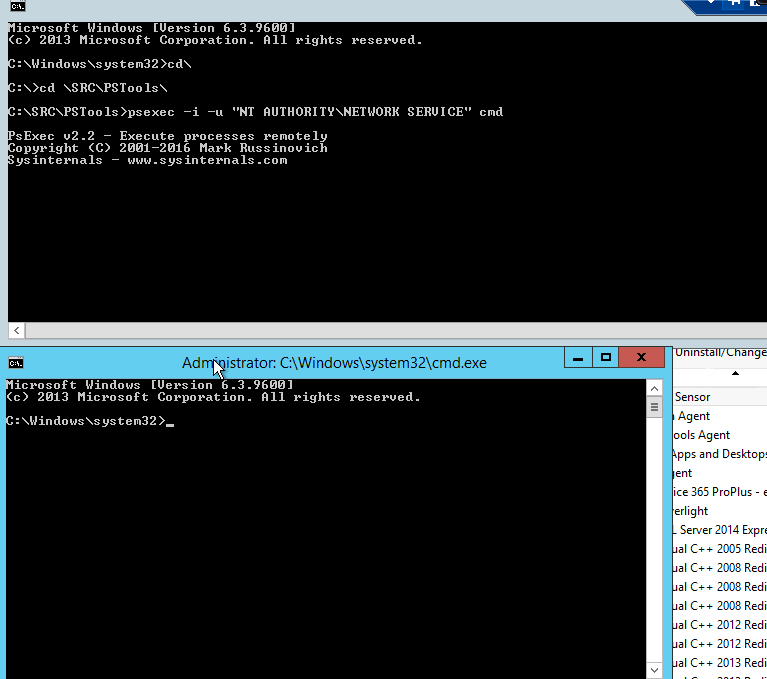
On the Delivery Controller, download PsExec from Microsoft. See the Microsoft document PsExec v2.2.

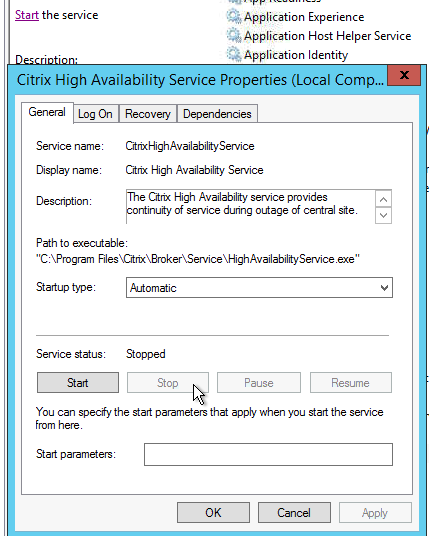
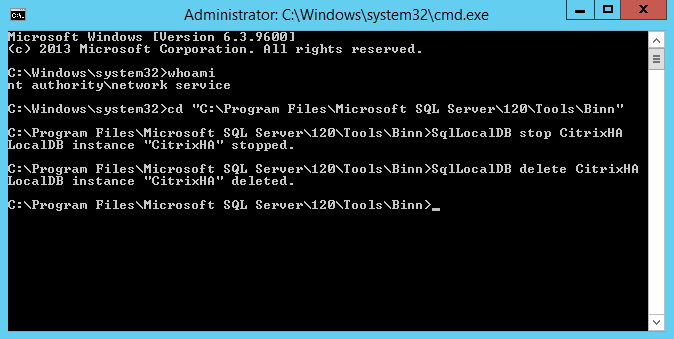
Stop the Citrix High Availability Service
Open C.M.D. as Admin and open PsExec.exe
psexec -i -u "NT AUTHORITY\NETWORK SERVICE" cm

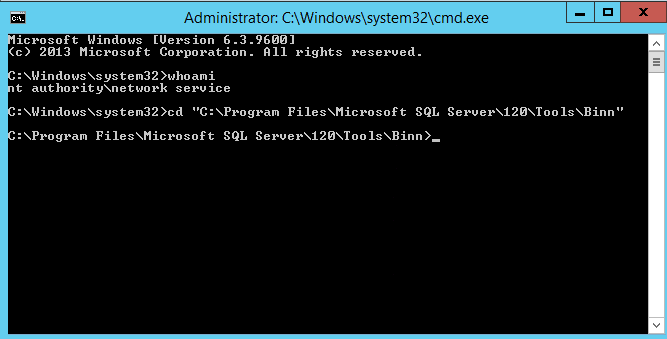
Move to the folder containing SqlLocalDB.
cd "C:\Program Files\Microsoft SQL Server\120\Tools\Binn"
Stop and delete CitrixHA (LocalDB).
If you don't stop is you will get this error ( Me not paying attention)

SqlLocalDB stop Citrix
SqlLocalDB delete Citrix
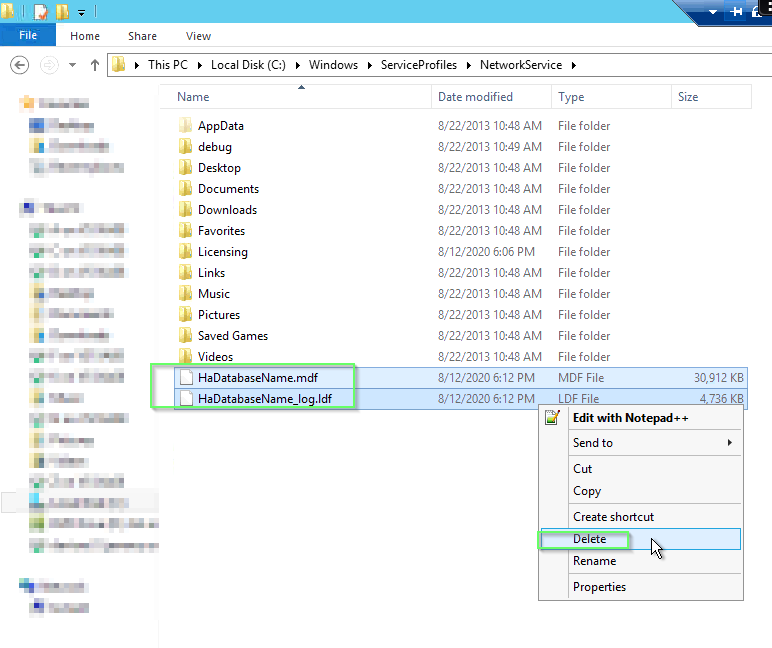
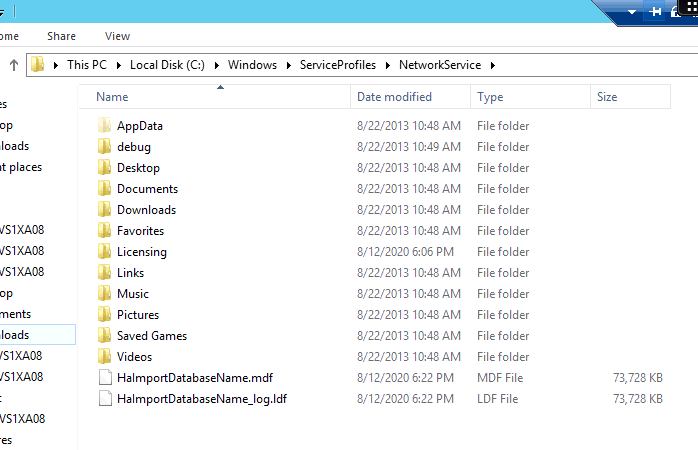
Remove the related files in C:\Windows\ServiceProfiles\NetworkService
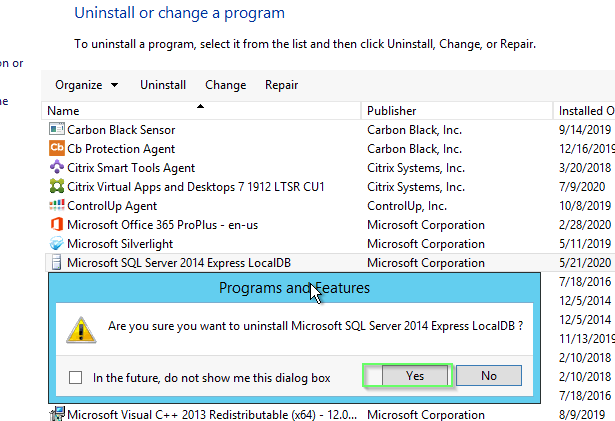
Uninstall SQL Server Express LocalDB 2014 from the Server, using the Windows feature for removing programs
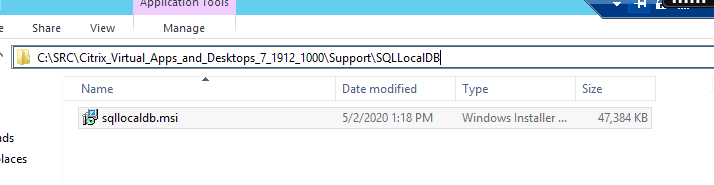
Install SQL Server Express LocalDB 2017. In the Support > SQLLocalDB folder on the Citrix Virtual Apps and Desktops installation media, double-click sqllocaldb.msi


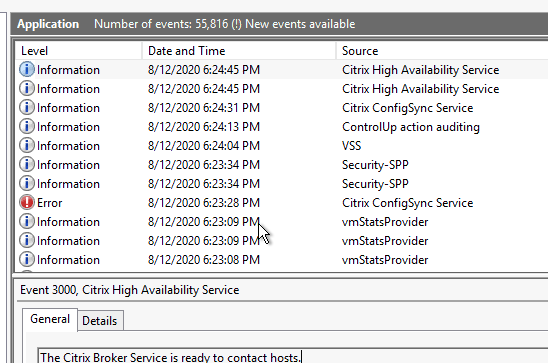
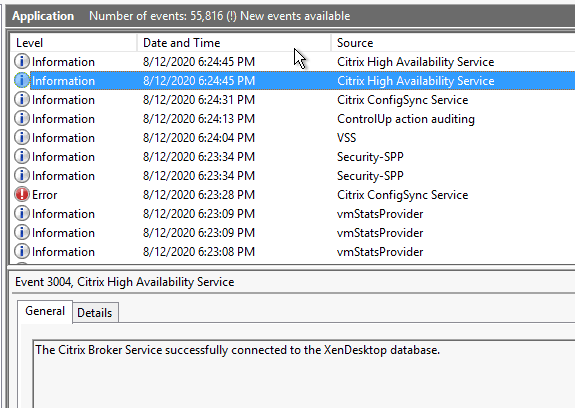
Reboot the Server and make sure this is started "Citrix High Availability Service".

Logged on and it took about 15 seconds to show up
Then 60 seconds or so on this

11. Check if the Citrix Db is created.
CitrixHA is re-created the next time a configuration sync occurs. After a minute or two, use the SqlLocalDB utility to confirm that CitrixHA has been re-created.
SqlLocalDB i
CitrixHA
MSSQLLocalDB
Exmaple
While still in the PsExec session run this
C:\Program Files\Microsoft SQL Server\120\Tools\Binn>SqlLocalDB i
CitrixHA
MSSQLLocalDB

You will see this until you do the second broker
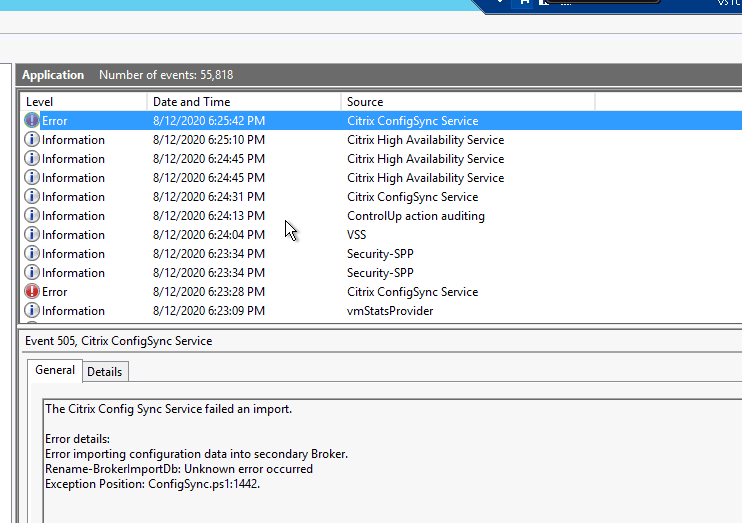
After I did my second Broker this was in the logs
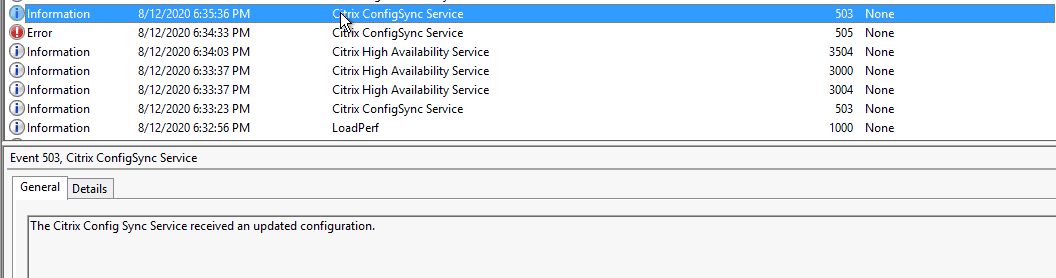

But then I see this almost every 2 minutes. I remember reading about this. But I thought it was fixed many versions ago.
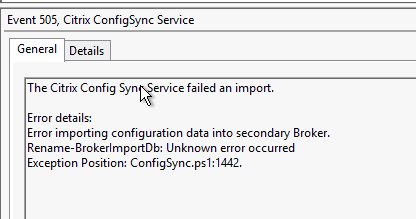
Did some google on the Errors and came up with the 2 links below.
https://support.citrix.com/article/CTX230775
https://blog.citrix24.com/xendesktop-7-15-local-host-cache-troubleshooting/
LHC DB upgrade reference
Turns out some A.D. accounts were deleted over time, and it had some bad S.I.D.s.
So, I ran the quick script to get the output.
Get-BrokerApplication |foreach {if ($_.AssociatedUserNames -match "S-1-5-21") {$_.Name; $_.AssociatedUserNames -match "S-1-5-21"; ""}}

Went into Studio and deleted them from the location it displayed above. Which was in a Published application visibility.
Then CTX230775 was needed to redo the LHC DB. So quickly ran through the process and it fixed the error.
So, in summary, this is how I upgraded the LHC DB and some minor troubleshooting. Hope it helps someone
Citrix StoreFront 7.15 to 1912 (Example I did on one S.F. server on the upgrade. But you would want 2 servers)
If you have a Load balancer, disable it in your load balancer. This way traffic doesn't route to it. (Assuming you have 2 or more storefront servers)
In my case I have a LB Vserver and I.P. is X.X.X.X. and back end servers are A.A.A.A and B.B.B.B.
Server A.A.A.A is disabled
Browse the ISO
Accept the terms

Ready to install
Installing
Upgrade has finished


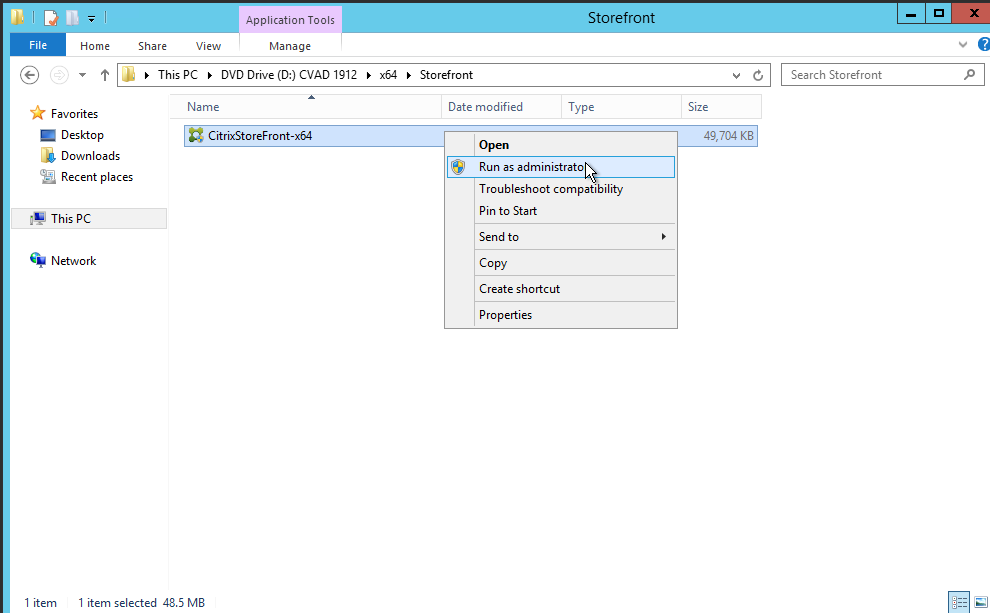
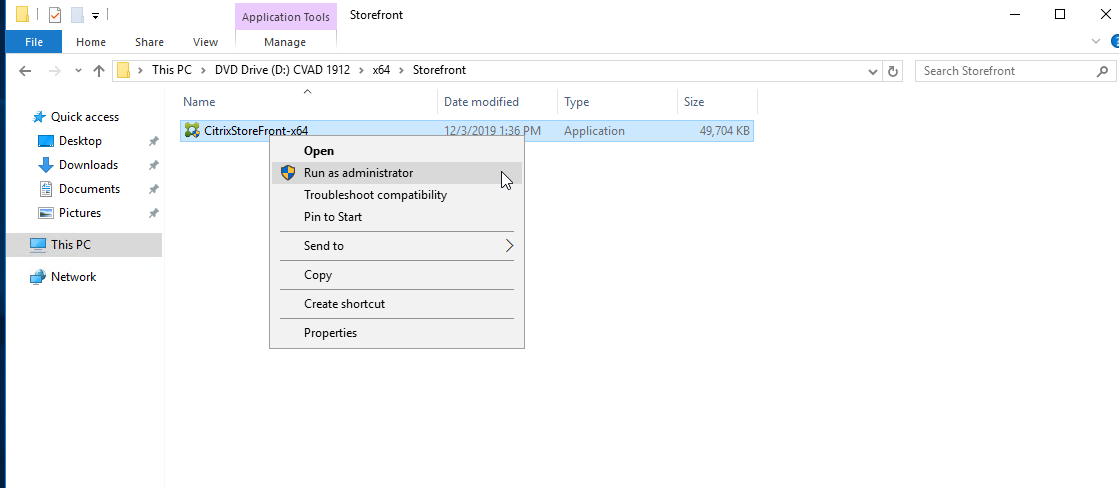
I am adding a new StoreFront Server, so this will be a new install and add to the Storefront store. I just browse to the StoreFront application and run it.
License agreement
Review prerequisites
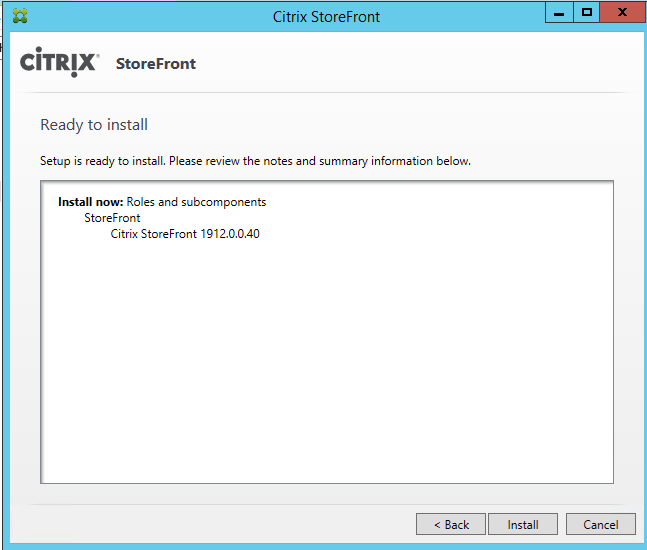
Ready to install


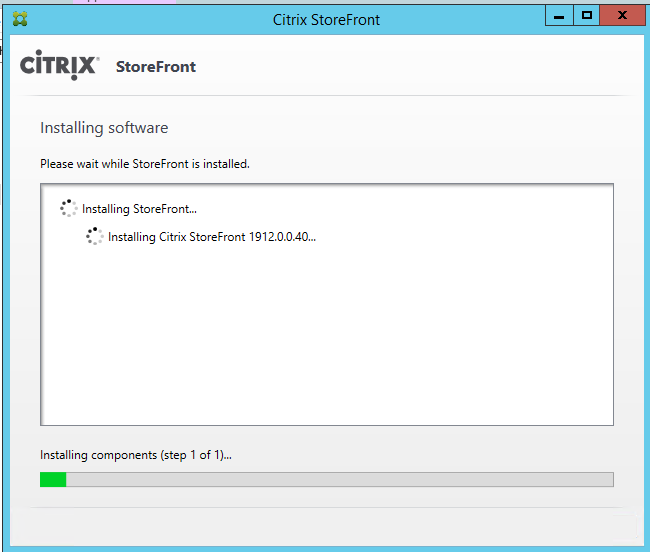
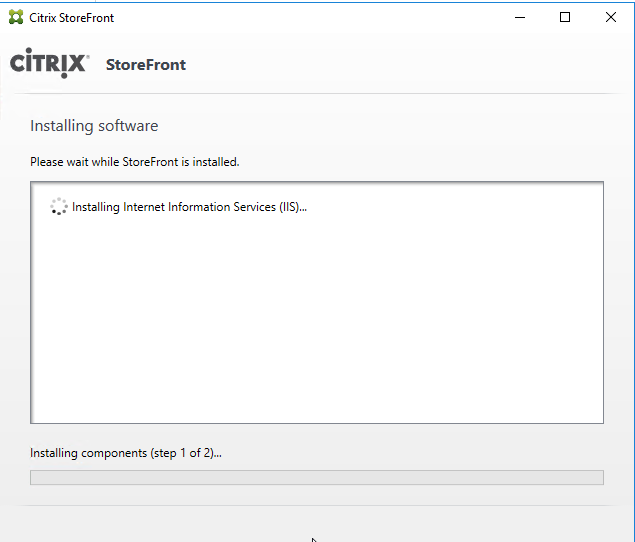
Installing Software
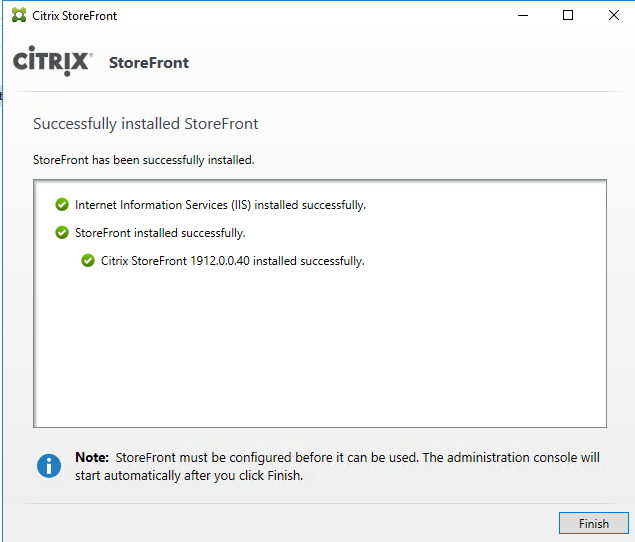
Successfully installed Storefront
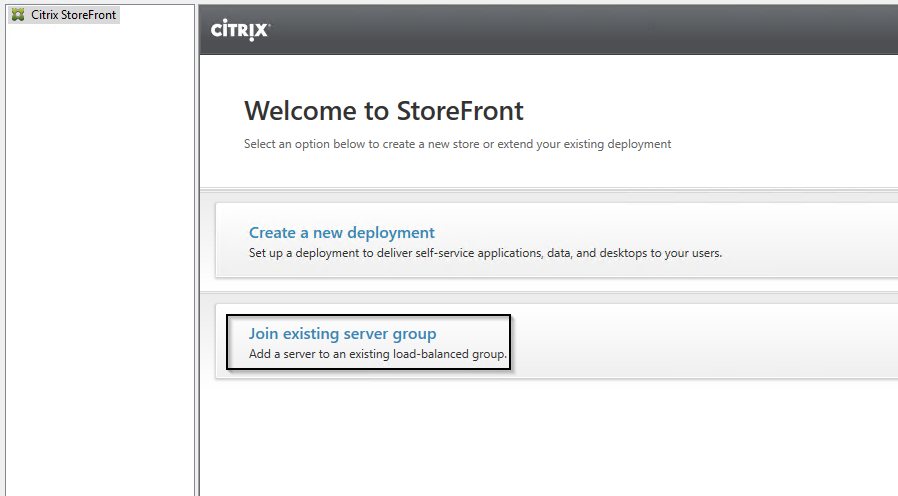
Join existing server group
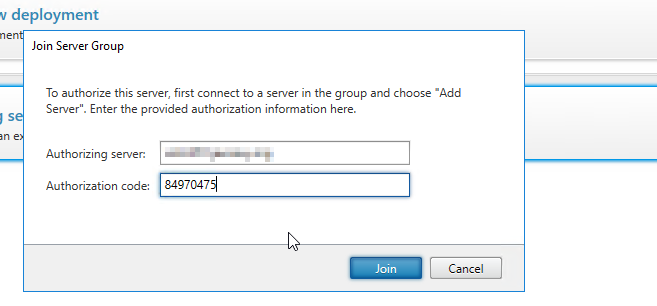
On the Primary StoreFront Server click "Add Server" here to get an Authorization Code

Take this information and input it on the secondary StoreFront Server

Inputted information on Second Server
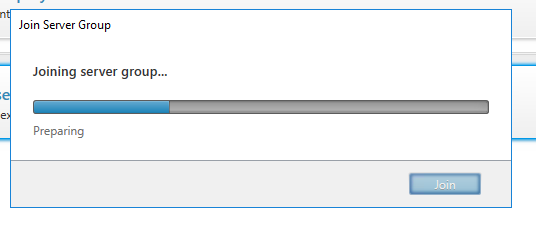
Joining
Sever joined
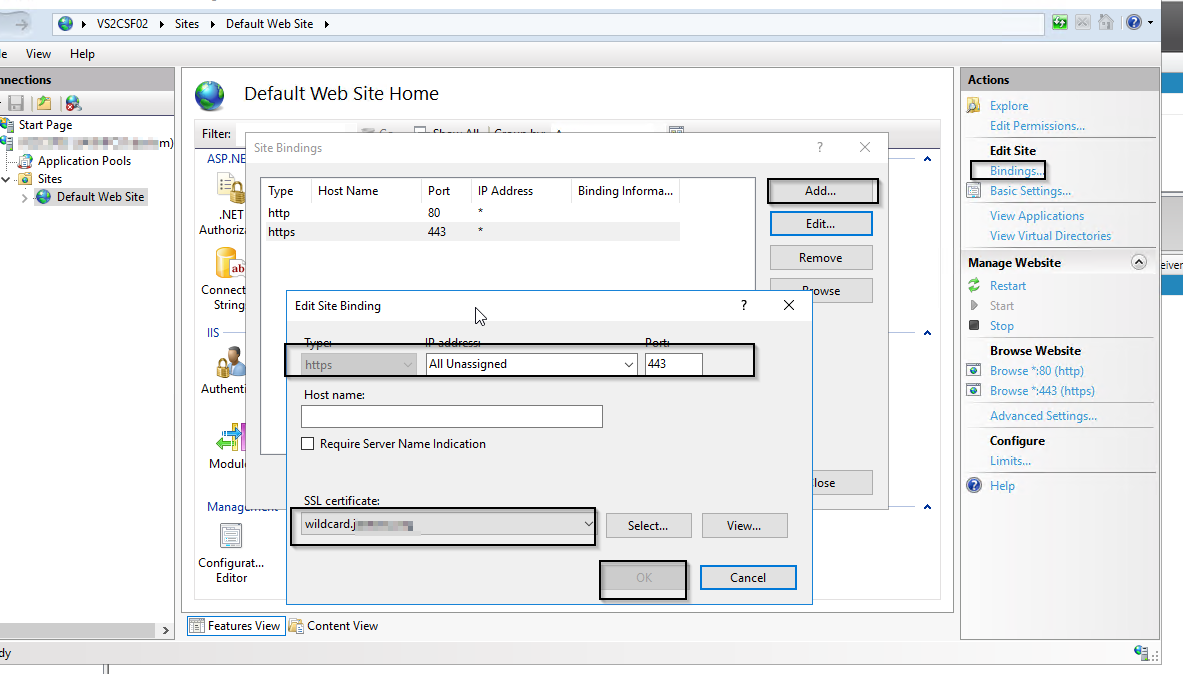
Now Add IIS Cert and Bind it to 443 in IIS


Add this second Server into NetScaler LB(I already have the one added in N.S.)
Add Server in netscaler>Traffic Management>Load Balancing>Servers
Add Server
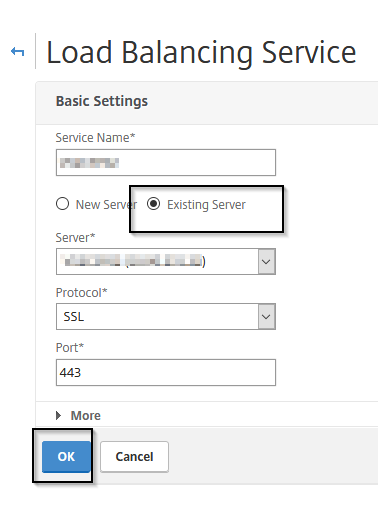
Add service
Add monitor


Now go bind it, once you bind it to the Service you will notice its down. Which is normal, from what I have gathered.

The StoreFront monitor by default is only via HTTP.I created earlier is trying to probe the backend services of our Server through HTTPS.
To fix this do this:
Run PowerShell as an administrator.
PS C:\Program Files\Citrix\Receiver StoreFront\Scripts> .\ImportModules.ps1

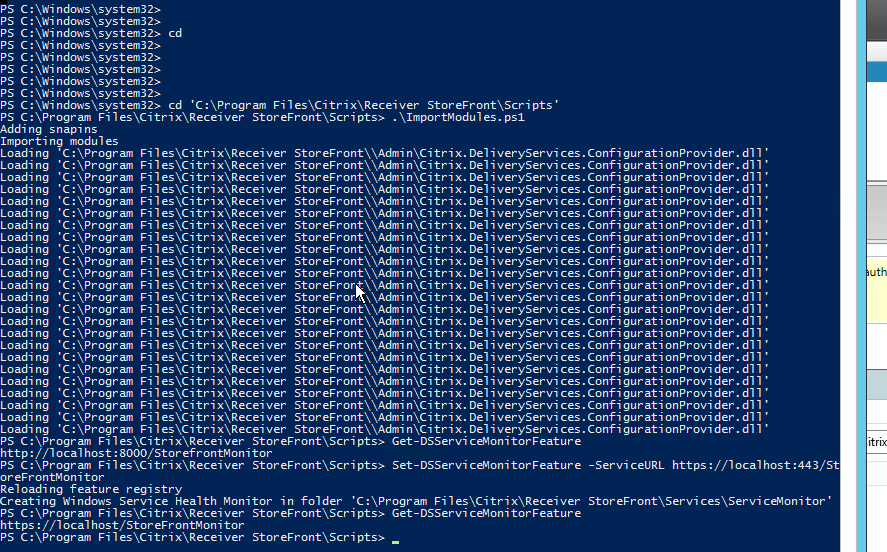
PS C:\Program Files\Citrix\Receiver StoreFront\Scripts> Get-DSServiceMonitorFeature http://localhost:8000/StorefrontMonitor
Now run the command Set-DSServiceMonitorFeature -ServiceURL https://localhost:443/StoreFrontMonitor.

All steps outlined in Red
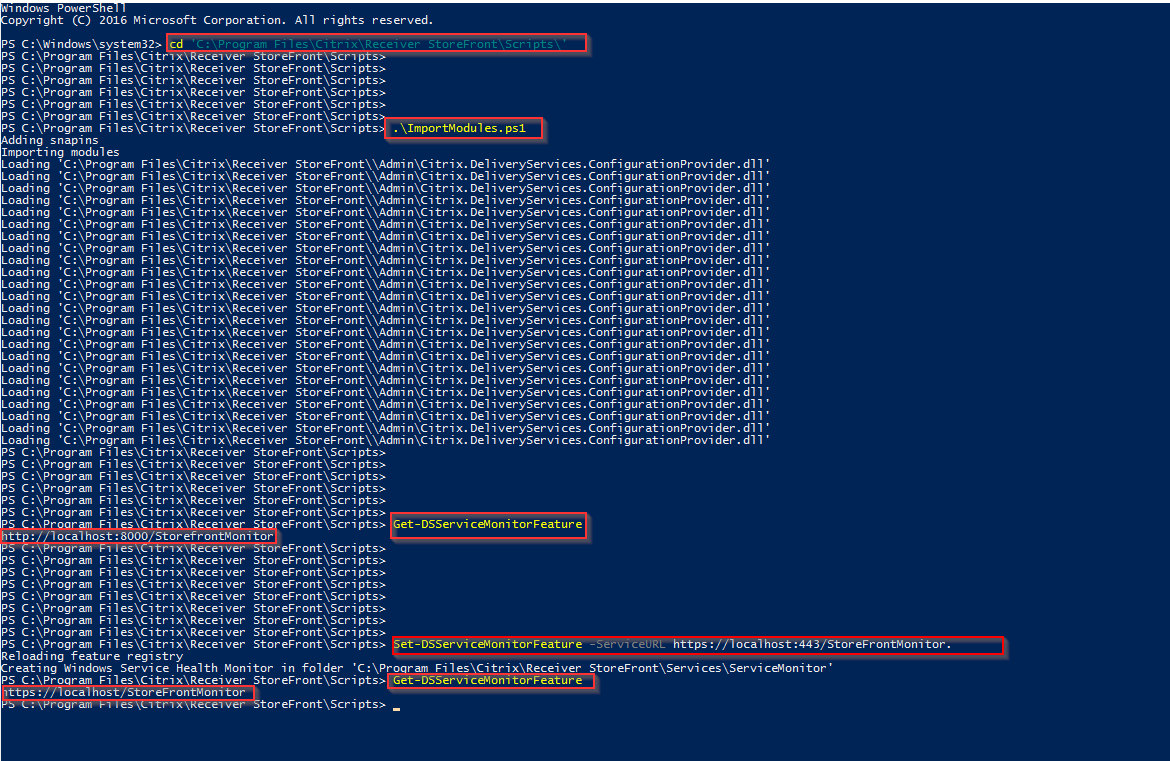
Now you will see the monitor come alive on the Service.
Now bind it to the main Vserver
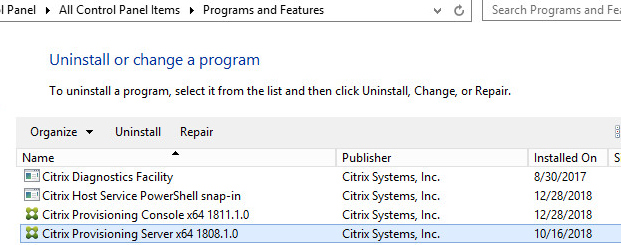
Provisioning Server 1808 to 1912
Please check if the previous version needs to be uninstalled first. Some versions, Citrix wanted you to uninstall the older version first. But most of the time you don't.
Example here: https://discussions.citrix.com/topic/400292-pvs-server-upgrade-1808-to-1811-please-uninstall-pvs-server/
We are updating 1808 to 1912 so an in place upgrade is good.
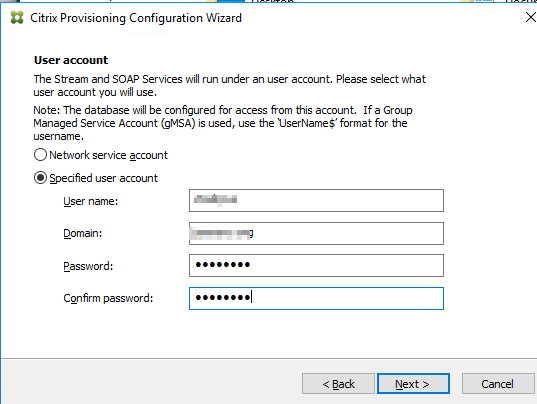
Before I start I make sure I use a service account that is tied to the database so it can upgrade the database.
I put the account in the local admin of the P.V.S. servers and use it to do the upgrades
After the uninstall has completed, restart the Server. When it comes back up, log back in with the service account.
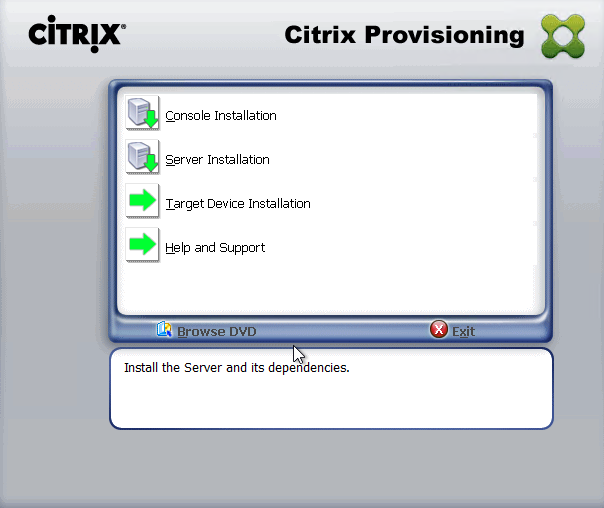
Attach the ISO. Run Server installation
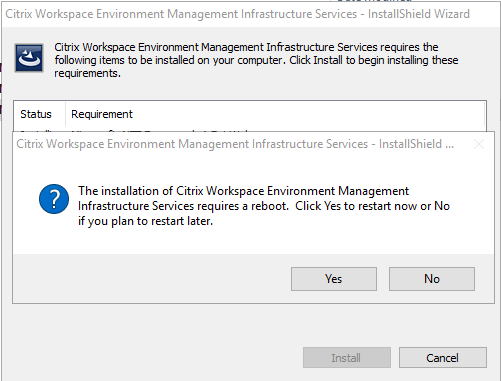
Click "Install", the process will begin and then the window will disappear for a couple of minutes while it installs some of the pre-requisites.
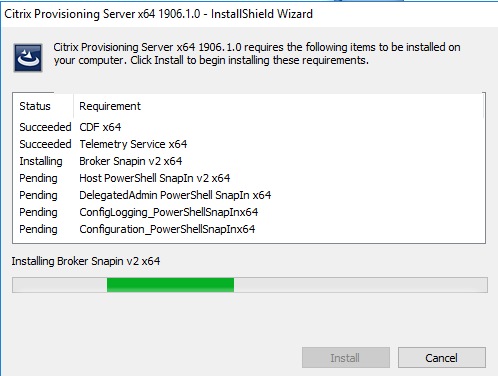
When the window pops back up Click "Next".
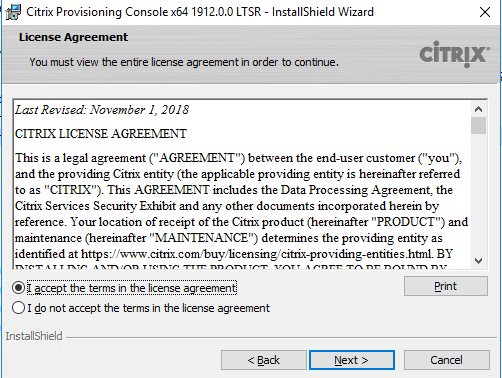
Accept the License Agreement and click "Next"
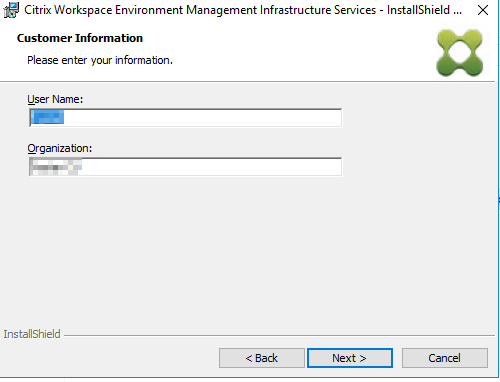
Enter "Something" in the User Name and Organization Fields, then click "Next"
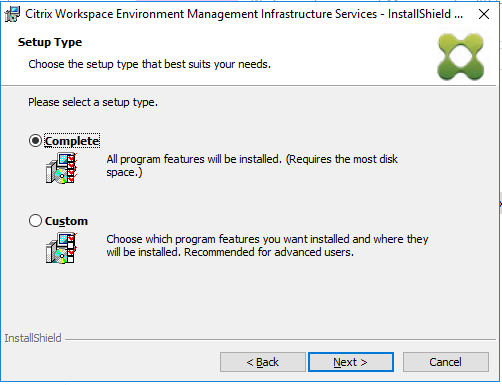
Click "Next".

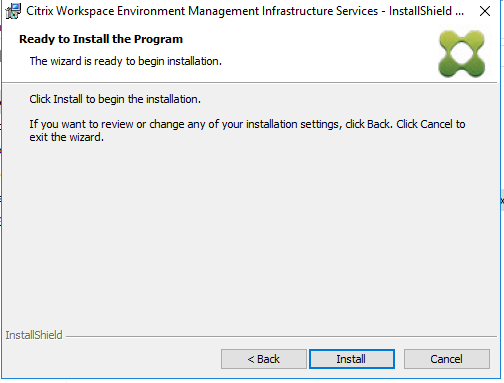
Click "Install".
Installing
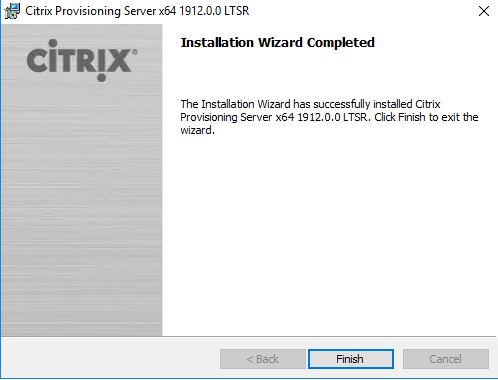
Click "Finish".

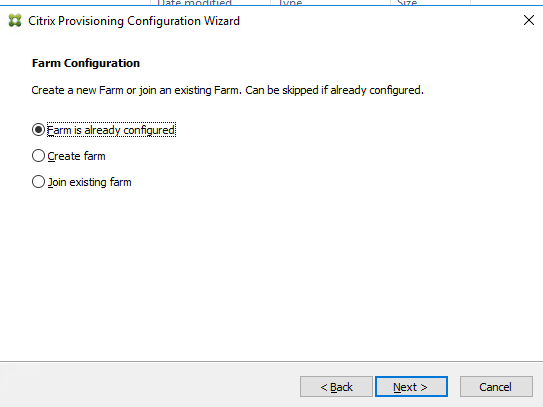
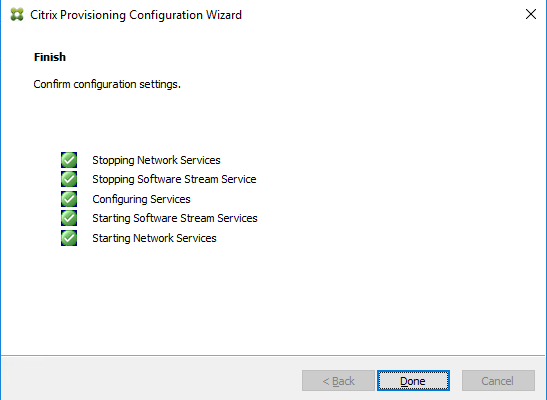
The Configuration wizard will start.
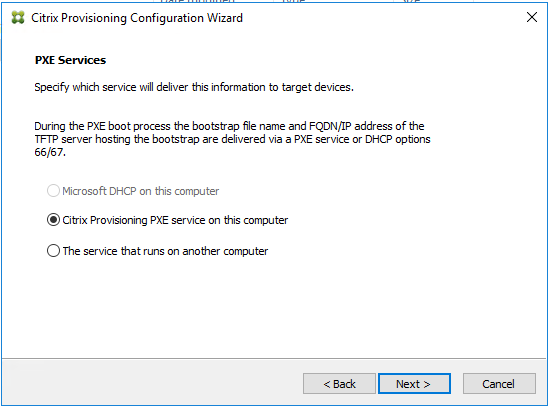
![Machine generated alternative text:
Citrix Provisioning Configuration Wizard
License Se rver
Enter the license server hostname and port.
License server name:
License server port:
27000
Z] Validate license server communica bon
Select Citrix Provisioning license type:
@On -pr emises
[3 use Datacenter licenses for desktops if no Desktop licenses are available
C) Cloud
Next >](https://lh4.googleusercontent.com/hXAjzHjTANAX6_XNntcclOJ7lU4RFx7P70dt4f7EP-OuekgAnBhHkM0H0yc-eE4Yxle8cyrc5WWEoMDN10wWyPQe-RxizLamIsBUQcqFeqpJ_13RvcO0fe_ED-rOIU3SClE_yRo)
![Machine generated alternative text:
Citrix Provisioning Configuration Wizard
Active Directory Computer Account Password
Automate computer account password upda tes?
Z] Automate computer account password updates
Da ys be b,Neen password upda tes:
Next >](https://lh4.googleusercontent.com/kfeR-nCy7Q39Iu_s5sadxB6pgGJSw-dOa7aeCtODa2fDqJbq75af68OUz2fC0GpAIE0DG65vIhP7GZE-ZLV18kc5B-Zo9XtmvI8jDyM2CToWCFmSP-iLv2KKdmj7gti-wGbofZc)
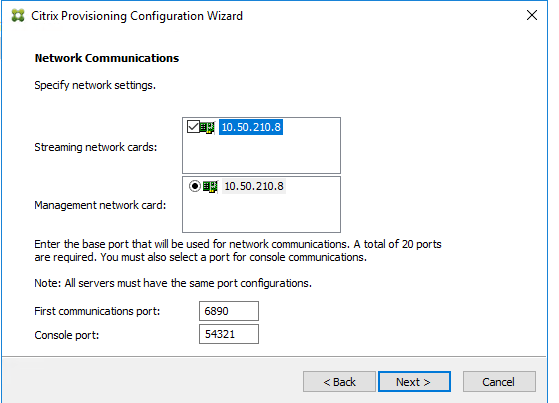
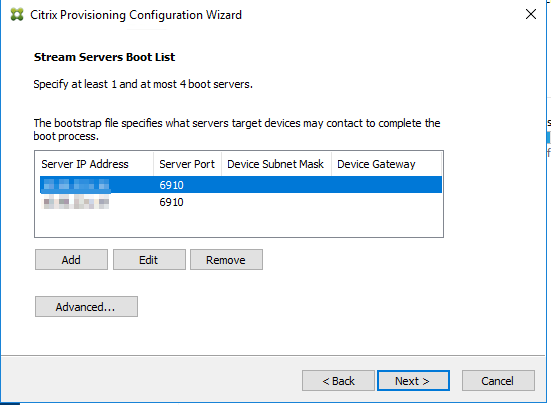
For this screenshot I have 2 P.V.S. servers, depending on your Farm you could have 1 or more. The P.V.S. servers I.P. address will show here. If you have 1 server then 1 Ip will show. If you have 2 then 2 will show.

![Machine generated alternative text:
Citrix Provisioning Configuration Wizard
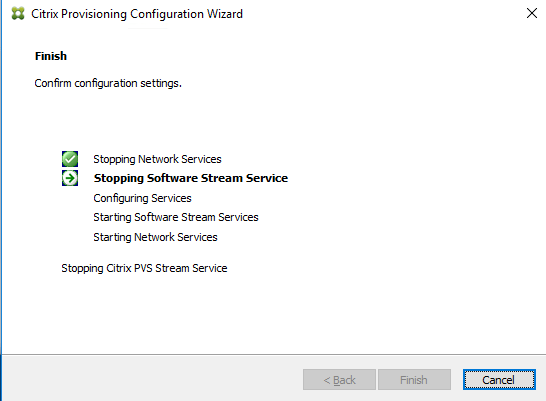
Confirm con figuration se tbngs.
XE - Install Service
icense Server:Port = VS : 27000
ser Account = Jaxnavy.org\gtxpvs
omputer account passnord changes every 7 days
ommunicatons - First Port = 6890, Last Port = 6gog
onsole - Soap Port = 54321
IC - selected IP = 10.50,210.8
anagement NIC - Selected IP = 10. SO. 210.3
- Install Service
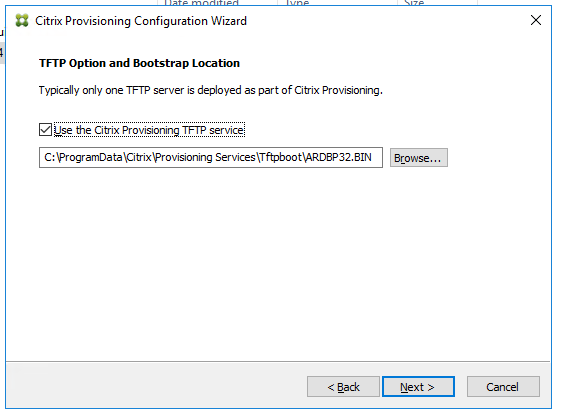
File = ServicesTftpbootVARD8P32.81t .
tream Service - Server IP, Server Port, Device Subnet, Device
10.50.210.8, 6910, o.o.o.o, o.o.o.o
10.50,210.9, 6910, o.o.o.o, o.o.o.o
v Citrix Username= davisra
Z] Automatcally Start Services](https://lh4.googleusercontent.com/7-B_pJ2HiHYmWUw9ZbULZF1d4MUzwc3dGDvv3xJxVXsqFE_hvWptPhwizJ5NGNvUtHX6fGrs91x43K_paQEssnyueW0_pVWAVNoUi0m8r-T9g56xMQ7oaucPgMGu2FeslAwl9Y8)
Backup your database before starting.
![Machine generated alternative text:
Citrix Provisioning Configuration Wizard
erequ
Confirm con figuration settings.
Nones
user
Comm
The database will be upgraded. A backup should be done before the
database is upgraded. Should the database upgrade be done now?
Stre
My Citrix Username= davisra1983
Z] Automabcally Start Services](https://lh6.googleusercontent.com/AoelON0r1uzYNd_076rHZ6IyHGB5RaPmBs7LHdGimEscifwWeiEDCiMk7cneOHohInutlpJWo4uy9ZKp7UVtezrJvSdO68tyqu5L4P-hiYHHHRVHiZMuiTyIBNQSXqYfk2v1CFk)

P.V.S. console upgrade
Log into the Server with the service account.
In C:\SRC\1906 open the "Console" Folder.
Right click on "PVS_Console_x64.exe" and run as administrator.
Once the .exe has launched Click next through the installation.

If you run into any issues during the installation of the pre-requisites refer to
Accept licensing terms.
Fill in the names

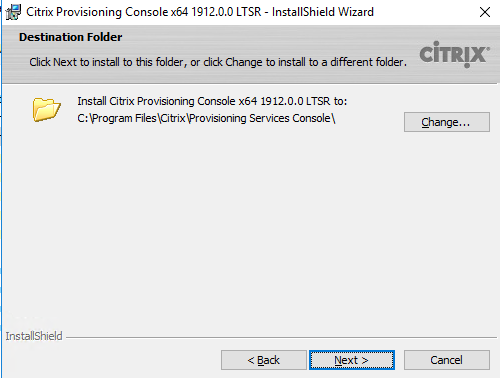
Install in the default directory
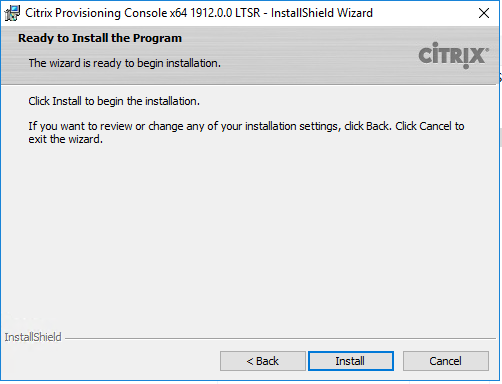
Install
Installing
Finish

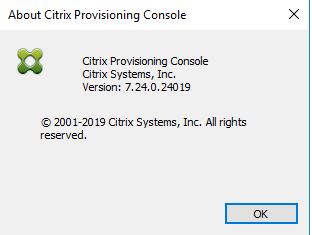
Open the console and check the version.
You need to re-register those PowerShell snap-ins. Reregistering Citrix.PVS.Snapin.dll is well-known, but ta. Here are 5 other snap-ins that are necessary as well.
Citrix. P.V.S.Snapin
Citrix.Broker.Admin.V2
Citrix.Configuration.Admin.V2
Citric.ConfigurationLogging.Admin.V1
Ctrix.DelegatedAdmin.Admin.V1
Citrix.Host.Admin.V2
On the P.V.S. server, run C.M.D. as Administrator. Then in each of these folders:
CD \Windows\Microsoft.NET\Framework64\v4.0.30319
CD \Windows\Microsoft.NET\Framework\v4.0.30319
Run all of these commands:
.\InstallUtil.exe "C:\Program Files\Citrix\Provisioning Services Console\Citrix.PVS.Snapin.dll"
.\InstallUtil.exe "C:\Program Files\Citrix\Broker\Snapin\v2\BrokerSnapin.dll"
.\InstallUtil.exe "C:\Program Files\Citrix\Configuration\SnapIn\Citrix.Configuration.Admin.V2\Citrix.Configuration.PowerShellSnapIn.dll"
.\InstallUtil.exe "C:\Program Files\Citrix\ConfigurationLogging\SnapIn\Citrix.ConfigurationLogging.Admin.V1\Citrix.ConfigurationLogging.PowerShellSnapIn.dll"
.\InstallUtil.exe "C:\Program Files\Citrix\DelegatedAdmin\SnapIn\Citrix.DelegatedAdmin.Admin.V1\\Citrix.DelegatedAdmin.PowerShellSnapIn.dll"
.\InstallUtil.exe "C:\Program Files\Citrix\Host\SnapIn\Citrix.Host.Admin.V2\\Citrix.Host.PowerShellSnapIn.dll"
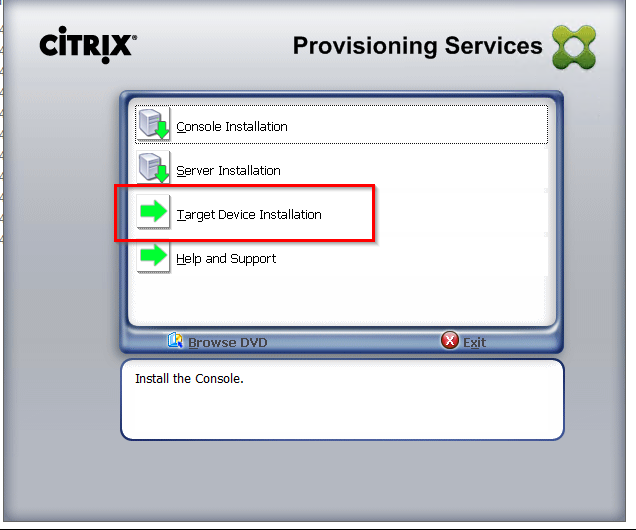
P.V.S. Targets upgrades
1. You will need to go to the P.V.S. server that you are working on and open the P.V.S. console.
2. Then go to vDisk Pools and create new versions. If you have 5 versions, then the 6th version will need to be merged with the last base and updates or updates only and needs to be Maintenance mode. It will take some time to create the merge base.
3. Now go into your Hypervisor and power on the Master VM up that has the new version.
4. Open the console so you can see the V.M.
5. It will ask you to press 1 for the new Maintenance version. Press 1, and it will boot into windows.
6. Now bring over the P.V.S. software, and put it on the C or D drive of the Target

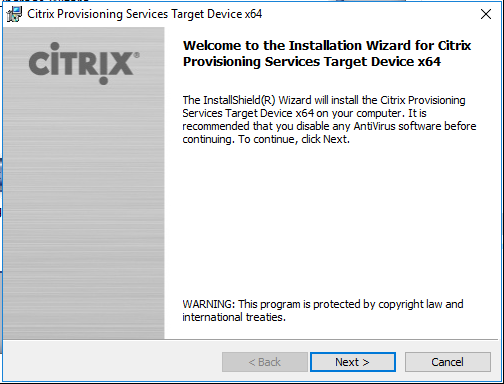
Step 3 – Click Next at Welcome to the Installation Wizard for Citrix Provisioning Service Target Device x64
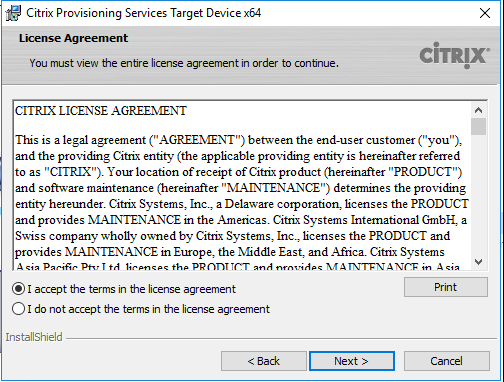
Step 4 – Select i accept the terms in the license agreement, Click Next
Step 5 – Leave as default, Click Next
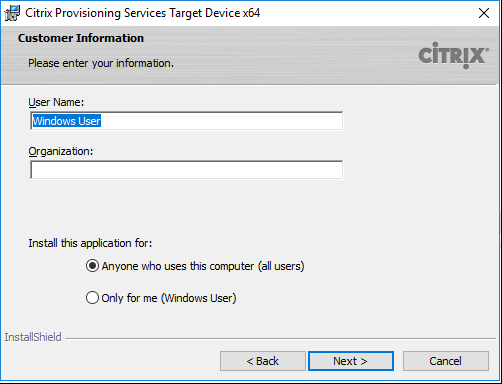
Step 6 -Leave as default, Click Next
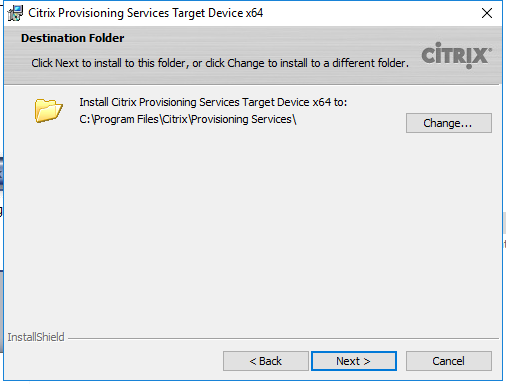
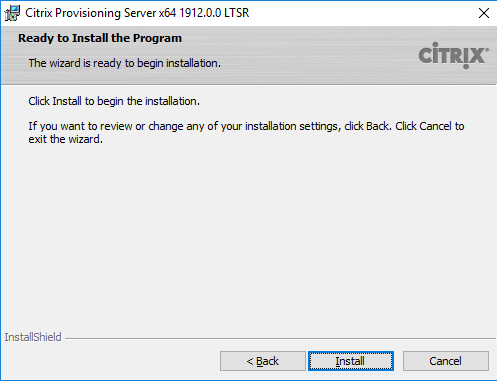
Step 7 -At Ready to install the program, Click Install

Step 8 -Installation will begin and take a few minutes to complete.
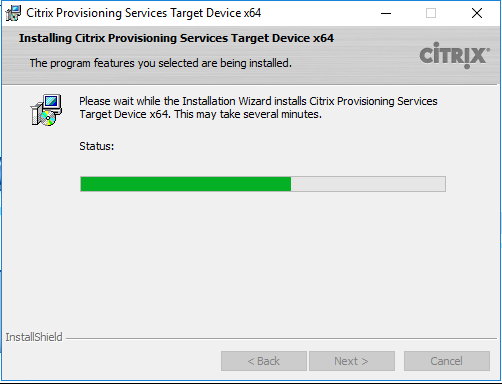
Step 9 – Click Finish at Installation Wizard Completed.

At this stage the vDisk should be re-sealed ( based on your sealing techniques and re-distributed/Coped to each Provisioning Server
Update the B.D.M. iso
We use the BDM ISO

Information
• Remember don't check this unless your troubleshooting
•
• https://support.citrix.com/article/CTX230333
• Reason why is here.
• https://discussions.citrix.com/topic/363293-pvs-76-xa65-tds-taking-10mins-to-boot/


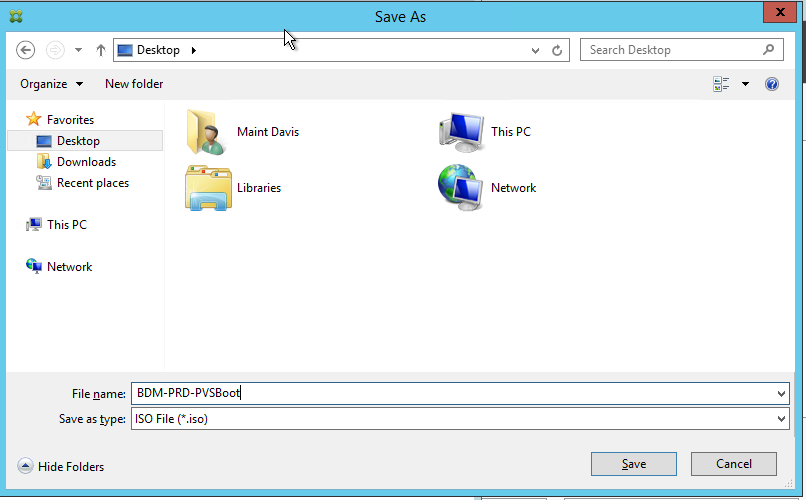
Upload to your hypervisor storage. Datastor/Container
Now attach that ISO to the P.V.S. Targets you upgraded on 4c. It will need a new A.R.D.B.I.N. file. ( If you forget this step, it will still boot. But will be slower and could get stuck in a loop.
Citrix WEM 1811 upgrade to 1912 L.T.S.R.
Upgrade Deployments
The data below is from Citrix Workspace Environment Manager 1912 Citrix Systems.
https://docs.citrix.com/en-us/workspace-environment-management/current-release/upgrade.html
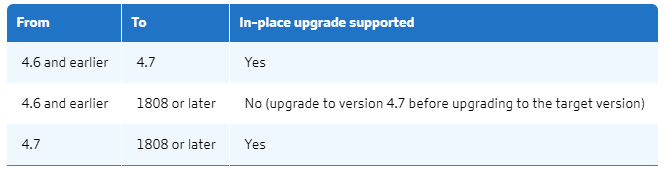
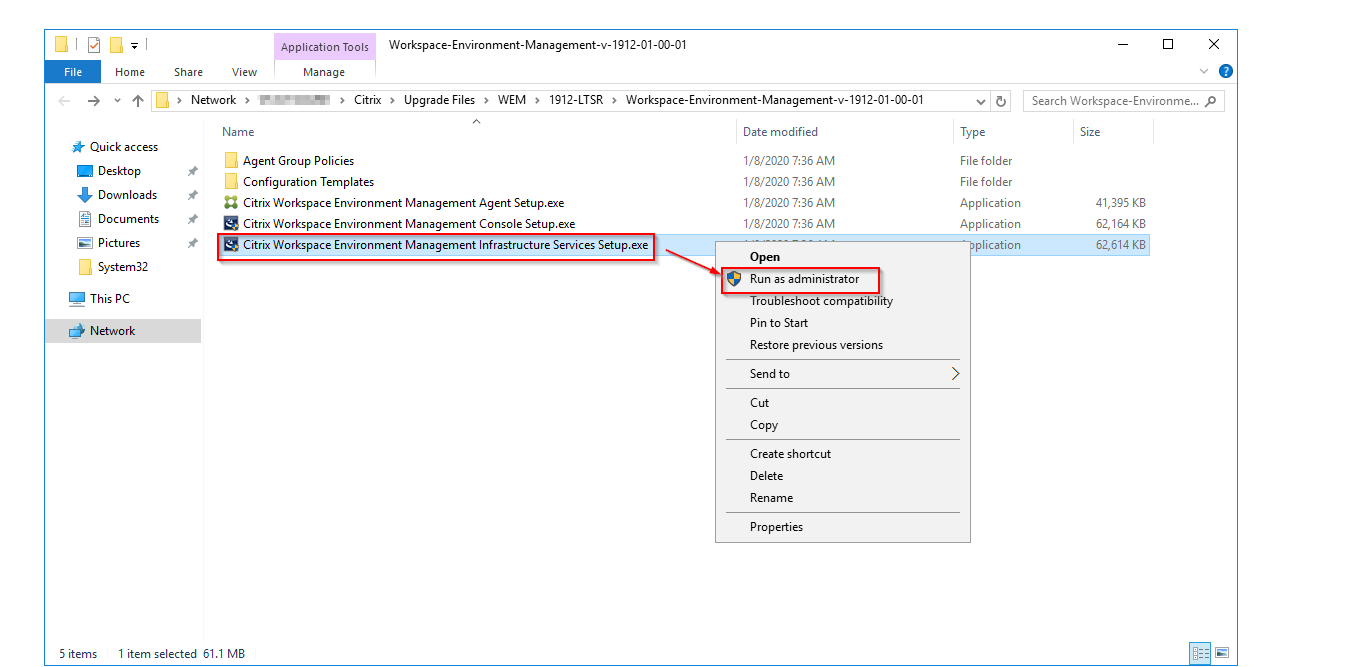
The Workspace Environment Management components must be upgraded in the following order:
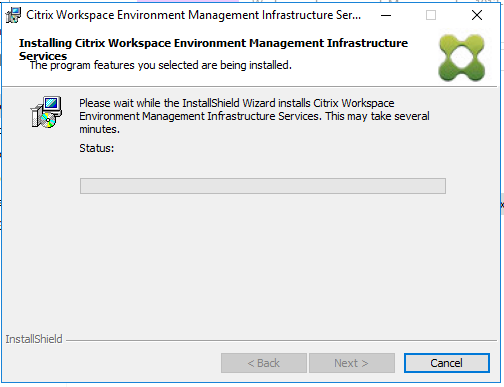
Infrastructure services
Administration console
The following changes are going to occur so be ready:
A new clean installation of the WEM Agent will result in a complete change of Service Names and Folder Structures as below
The new Service name is: Citrix WEM Agent Host Service
The new process name is: Wem.Agent.Service.exe
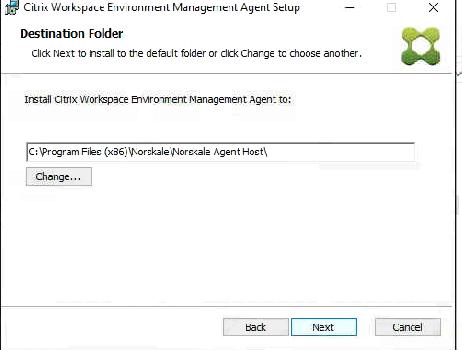
The new path structure is: %ProgramFiles%\Citrix\Workspace Environment Management Agent
An upgraded installation of the WEM agent will result in partial changes to your environment:
The new Service name is: Citrix WEM Agent Host Service
The new process name is: Wem.Agent.Service.exe
The path on the file system will not be altered and will remain as it was: %ProgramFiles%\Norskale\Norskale Agent Host
Be aware also that in both clean and upgraded deployments, the Windows Event logs will change from Norskale Agent Service to WEM Agent Service
Source:
https://jkindon.com/2019/09/11/citrix-wem-updated-start-up-scripts/
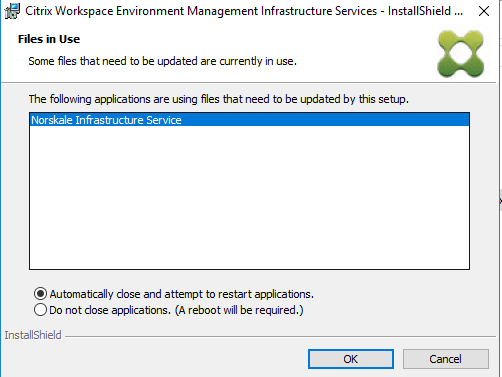
Infrastructure services
I need .Net 4.7.1
For me, I selected yes now.
Reboot and logged in


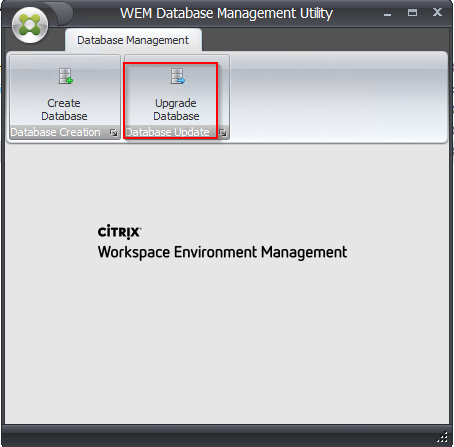
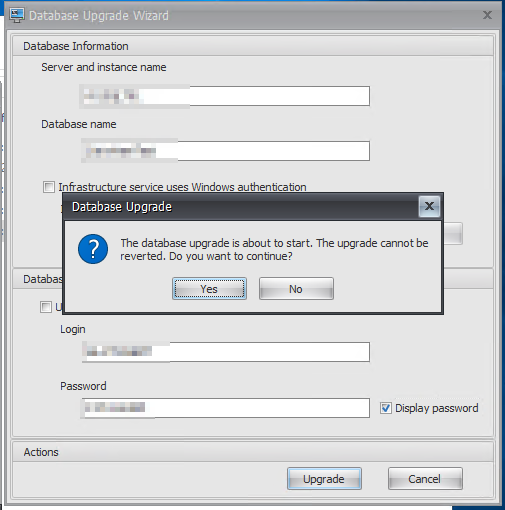
Database
Open the database management Utility

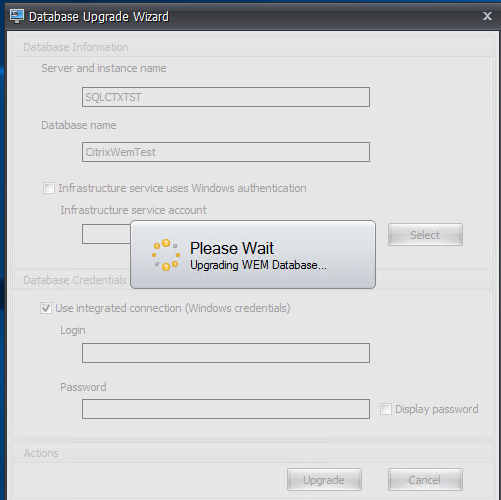


I at this point just restarted the Server
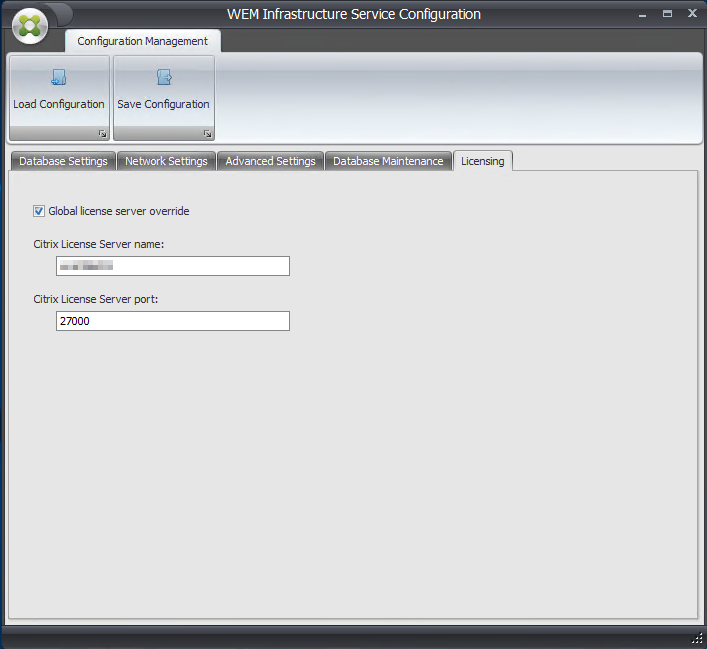
2a. Check Database parameters (open the WEM Infrastructure Service Configurations)
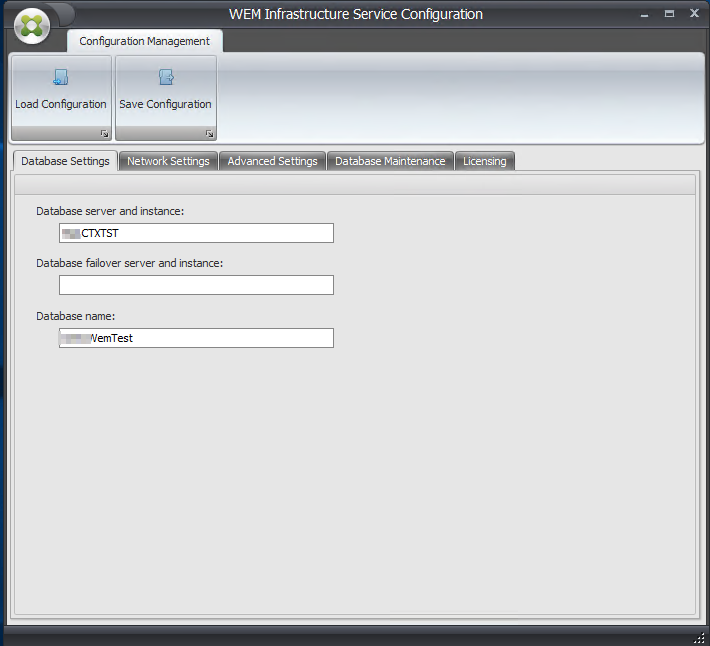
You will notice the Port and old name (1811)
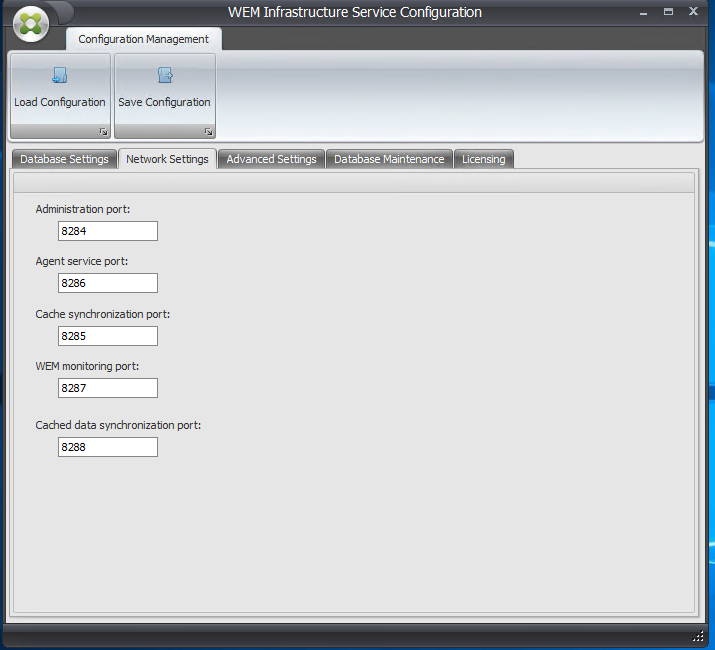
You will notice the Port and new name -1912
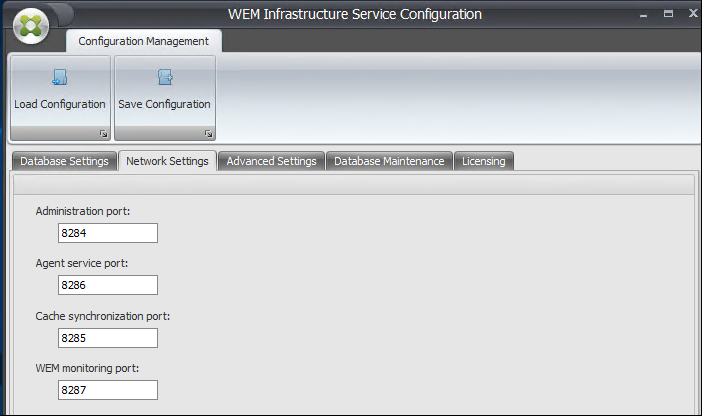
*One thing to note on Port*
Cache synchronization port. (Applicable to Workspace Environment Management 1909 and earlier; replaced by Cached data synchronization port in Workspace Environment Management 1912 and later.) The port on which the agent cache synchronization process connects to the infrastructure service to synchronize the agent cache with the infrastructure server. The cache synchronization port must be the same as the port you configured for the cache synchronization port (WEM Infrastructure Service Configuration > Network Settings) during the infrastructure services configuration. The port defaults to 8285 and corresponds to the AgentCacheSyncPort command-line argument.
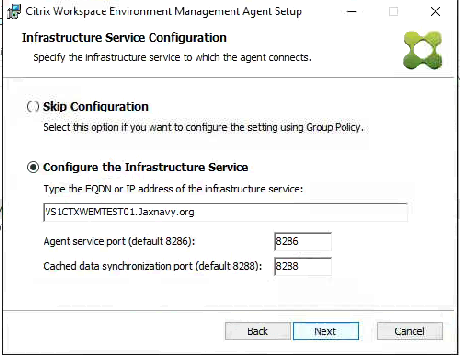
Cached data synchronization port. (Applicable to Workspace Environment Management 1912 and later; replaces Cache synchronization port of Workspace Environment Management 1909 and earlier.) The port on which the agent cache synchronization process connects to the infrastructure service to synchronize the agent cache with the infrastructure server. The cached data synchronization port must be the same as the port you configured for the cached data synchronization port (WEM Infrastructure Service Configuration > Network Settings) during the infrastructure services configuration. The port defaults to 8288 and corresponds to the CachedDataSyncPort command-line argument. Alternatively, you can specify the port using a command-line option in the silent installation of the WEM agent
Wayne Lui states its backwards compatible and still listens, But I would add this into your Firewall Rule set.

Admin Console


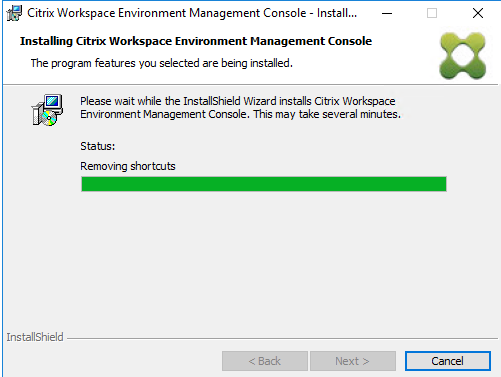

Agents
Upgrade the Agent on the machines
I did this with the GUIbut I do this in production.
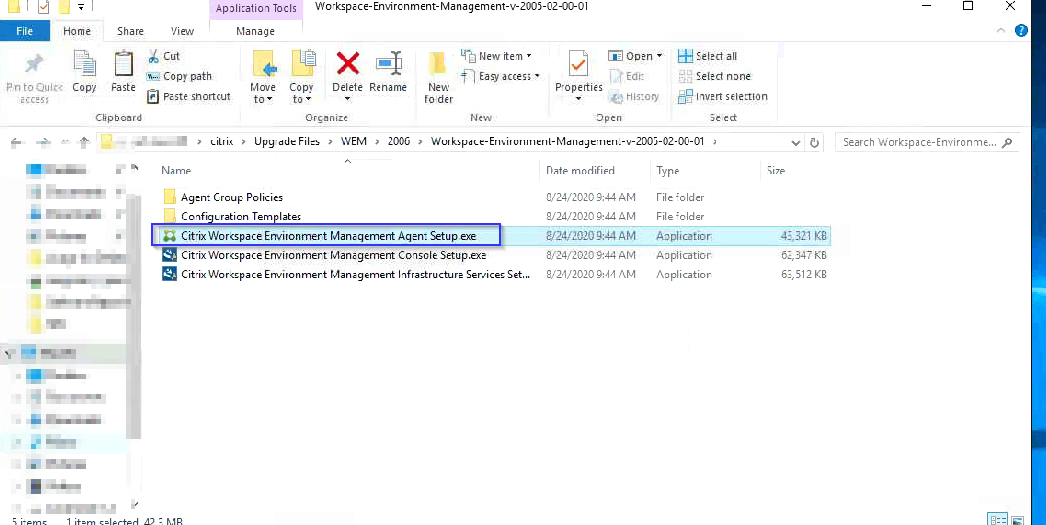
##Install CMDLine with an SCCM. task
Task 1
"Citrix Workspace Environment Management Agent Setup.exe" Cloud=0 VUEMAppCmdDelay=5 WaitForNetwork=30 SyncForegroundPolicy=1 GpNetworkStartTimeoutPolicyValue=5 /log WEM2003.txt /quiet
Task 2
##Copys Startup script
xcopy "\\server\Citrix\Upgrade Files\WEM\2003\Workspace-Environment-Management-v-2003-01-00-01\WemRefreshCache\RefreshWEMAgentonReboot.bat" c:\scripts\refreshWemAgent /h /i /c /k /e /r /y
Task 3
Then it runs a
C:\Windows\Microsoft.NET\Framework64\v4.0.30319\ngen.exe update
C:\Windows\Microsoft.NET\Framework64\v4.0.30319\ngen.exe eqi 3
I took James Kindon Script he made here https://jkindon.com/2019/09/11/citrix-wem-updated-start-up-scripts/
Then it's called the same name as my older script (RefreshWEMAgentonReboot.bat), does an xcopy, and places it in the same location. This way the scheduled task will still have the same name it runs. The CLI parameters are different but will do the same deal

We use B.I.S.F. to handle this during our sealing process
Agents are completed.


No comments:
Post a Comment