
One of the things I need to do was to replace the *.Nutanix.local Self Signed SSL Cert on Prism Element. I used many Nutanix articles to do this in the beginning, however, above testing in Chrome and Edge. These browsers didn't like this SSL cert. I would go through one article at a time, getting the certs updated, and the chromium-based browser didn't like it. I spent a good bit of hours figuring out what I did incorrectly.
One of the many things in our line of work is security, having a self-signed cert may work in some places. But not at most. Citrix doesn't really need it to make the hypervisor connection from my experience. Because of the Nutanix Plugins, things work well. However, why not just do it anyway to avoid having to do it later down the road. But I do it anyway, to make sure things are 100%.
Then I went to another article and the same results. I ended up contacting support on this, and they explained to me about it needed a SAN. As it turns out, I needed to add the names in my SAN file and not use the common name in how I was using it. 99.99% of the time, Nutanix articles are spot-on-point. But in my opinion, they struggled a bit around this topic. As I worked with the Support Engineer on the phone, we built a document explaining all this and outlining the steps below. The gentleman asked me to use this document to make a new KB in the portal, which I don't mind. After all, sharing is caring. I used a wildcard in the common area when generating the Key file (server.key) with the csr file. Now I am not sure why it would not work, but the SAN route honored it, and I found some other articles that talk about using chromium-based browsers that need the names in the SAN location in the certification.
Most of you understand what a SAN is in a cert realm. It's just DNS names listed in the cert that, when called upon, it can see that the name is good and, therefore, you won't have an SSL not trusted error. Below is a breakdown of how I replaced my self-signed SSL cert with an MS CA cert with a wildcard in the SAN. I have been using the Nutanix AHV/Prism/Files for over a year at this point in my career. I have learned a lot about this Hypervisor and how things revolve around Nutanix AHV and the whole product line. Things are smooth in my experience, but I still have a lot to learn compared to my 12+years with VMware. Let's get started below!
You will need to create san.conf file
Use vi to create the file:
Copy the text for the san.conf
vi san.conf
type "i" to insert
paste the text below by clicking the right mouse button
press "esc"
:wq!
Check the file with:
cat san.conf
SAN File Output blow
[ req ]
default_bits = 2048
default_keyfile = server.key
distinguished_name = req_distinguished_name
req_extensions = req_ext
[ req_distinguished_name ]
countryName = US
countryName_default = US
stateOrProvinceName = FL
stateOrProvinceName_default = FL
localityName = Jax
localityName_default = Jax
organizationName = RaysLab
organizationName_default = VyStar
commonName = ntxcls.lab.local
commonName_default = ntxcls.lab.local
commonName_max = 64
[ req_ext ]
subjectAltName = @alt_names
[alt_names]
DNS.0 = pe01.lab.local
DNS.1 = *. lab.local
Run the following commands:
openssl genrsa -out server.key 2048
openssl req -new -nodes -sha256 -config san.conf -out server.csr
openssl req -in server.csr -noout -text (You don't need this command, this is a way to open up the csr file to copy the contents from it.)
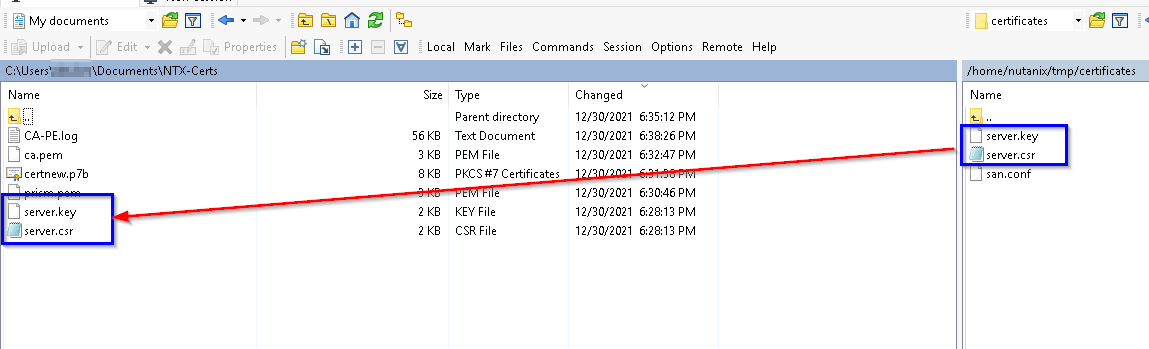
Winscp the CSR file to the laptop to a folder location.
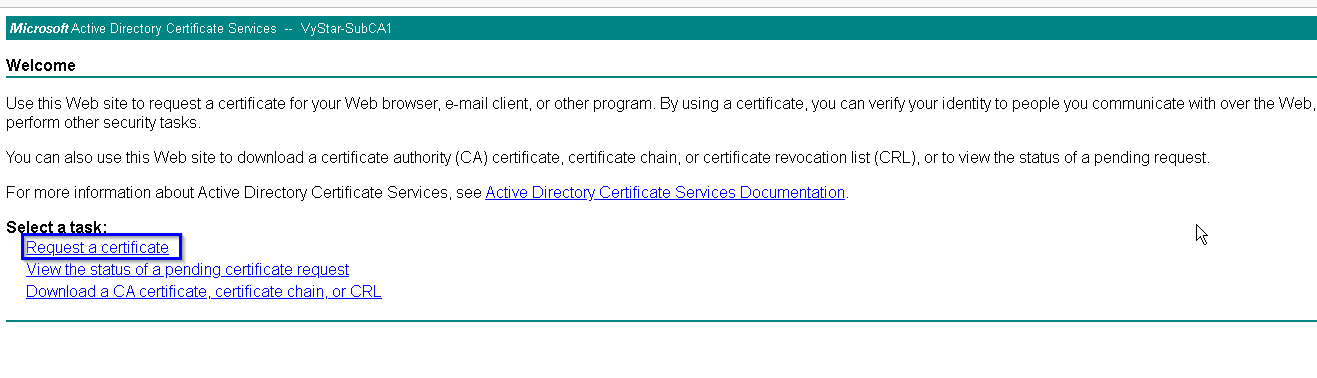
Open your MS CA location
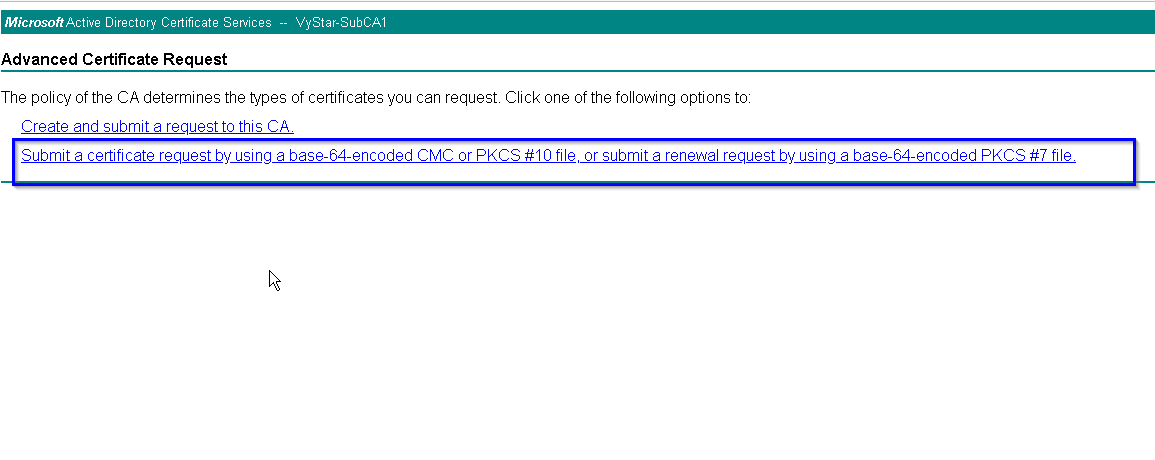
Paste CSR file that you generated from 2b.
The certificate template needs to be "Web Server."

You have to select "Base 64" always
Download certificate, save the file as prism.pem
Download the Certificate Chain
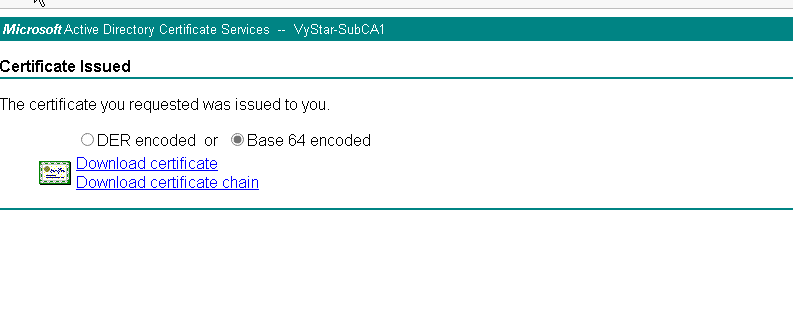
G. example of downloads
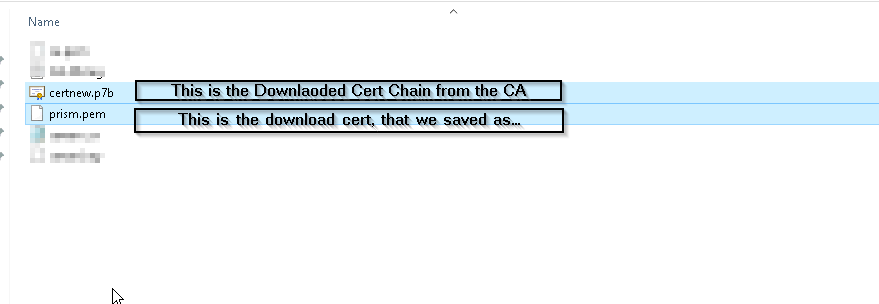
For the certnew.p7b, which is the chain, you will need to open it.
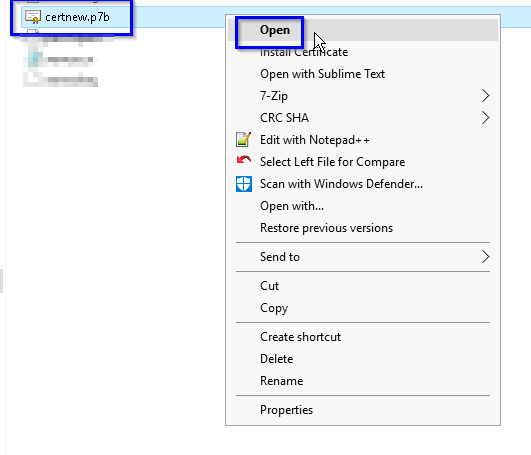
It will open up in cert MMC

Right-click and export it using the

Select "Base-64 encoded X.509" option.
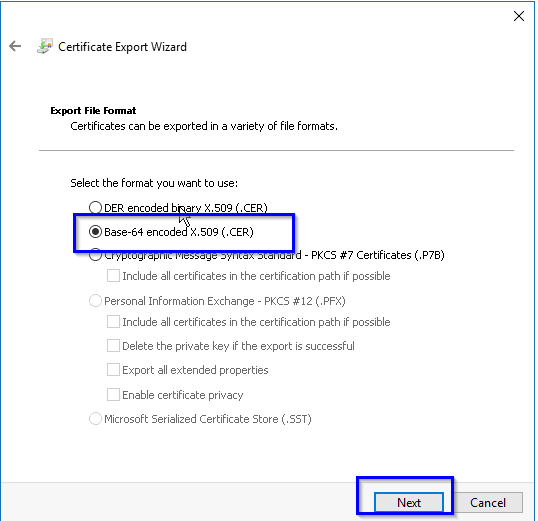
Save the file as ca.pem

Save

F. Next

G. Finish

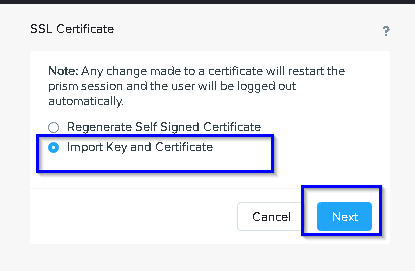
Go to PRISM Element, Click the Gear in the Top Right

Select SSL Certificate

Select import Key and Certificate
Private Key = server.key ( that you export from #2a. above)
Public Certificate = prism.pem ( that you downloaded from MS Cert Auth and name prism.pen #4e)
CA Certifitate/Chain = ca.pem ( that exported form the p7b and name ca.pem #5)

Import Files

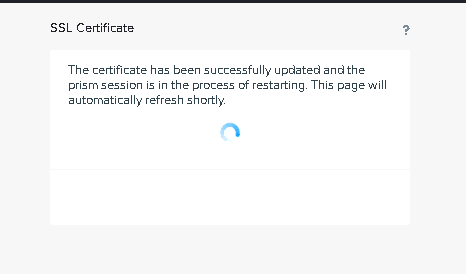
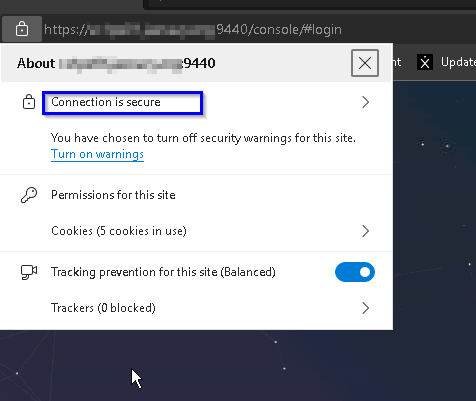
G. Prims Element is good with Chromium-based browsers now.
No comments:
Post a Comment