
How to Migrate Citrix Database from SQL Express Server to SQL Server 2019 Part 1

Summary
I wanted to go through migrating from a SQL Express database to a Standard SQL Server from a CVAD perspective. When I set up my lab, I installed the SQL Express portion( On purpose). I set it up on SQL Express as I wanted to see the painful Delivery Controller experience and to give me a chance to perform this operation. Citrix has documented this, and in this blog post, I will take you through moving it from a SQL Express instance to a SQL Single Instance. I understand this is not a typical setup, which is why I chose this setup back then. In Part 2 of the blog post(to come), I will share how to move the New SQL Single Instance into a SQL AG Setup. It will allow me to document and share the steps with the community for those running natively on-premises. It will clarify how to move a SQL DB to another server.
The links I will be following are below
Migrate Citrix databases to new database SQL server (cluster, Always On or Mirroring)
Update database connection strings when using SQL Server high availability solutions (citrix.com)
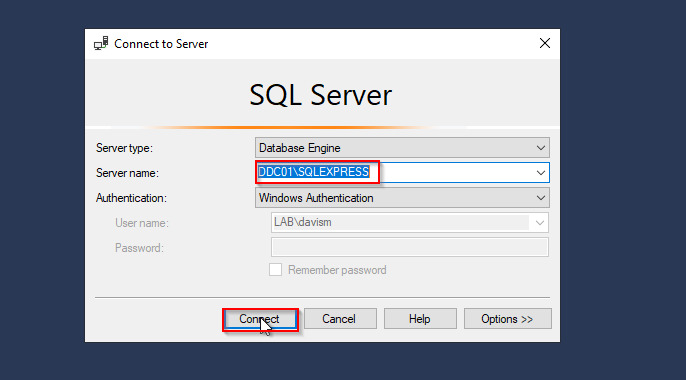
1. Install SQL Express Management Studio on Delivery Controller where you have your Citrix Database Installed using the link below:
Download SQL Server Management Studio (SSMS) - SQL Server Management Studio (SSMS) | Microsoft Learn
2. Take snapshots of the Delivery Controllers and Citrix Database Full Backups before making changes. In my case, it’s DDC01 and DDC02
Snapshots completed

Disable Logging to avoid issues on changing connection string for logging connection.
When you null out the connection later in this blog and set the new connection. You will get errors if this part is not completed first
Open Powershell and run:
Set-logsite -state Disabled

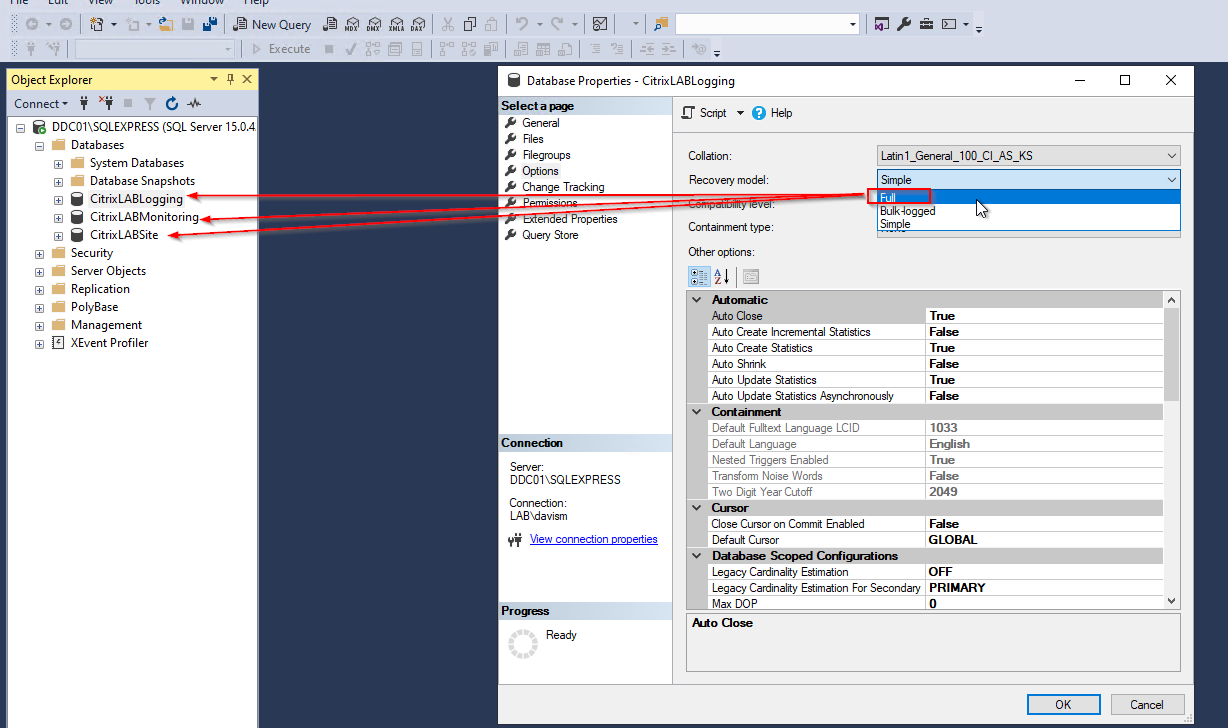
At this point, change the DB recovering Model to “Full” on all three databases if not already set.
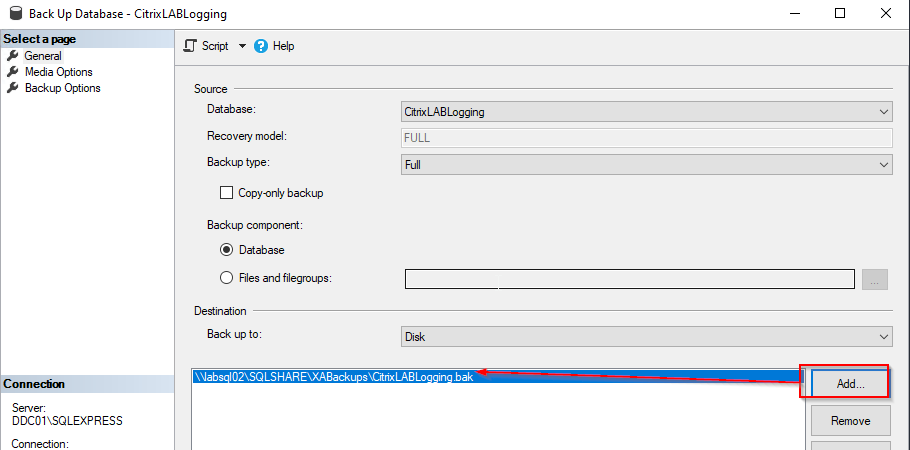
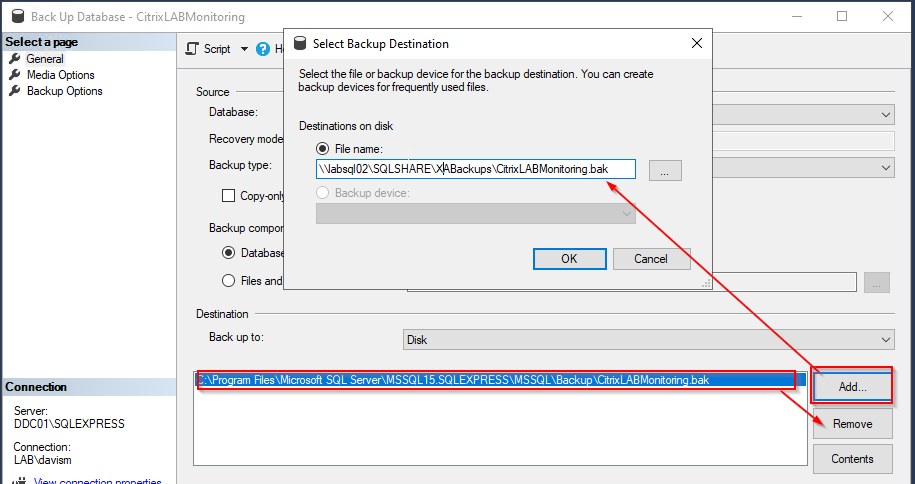
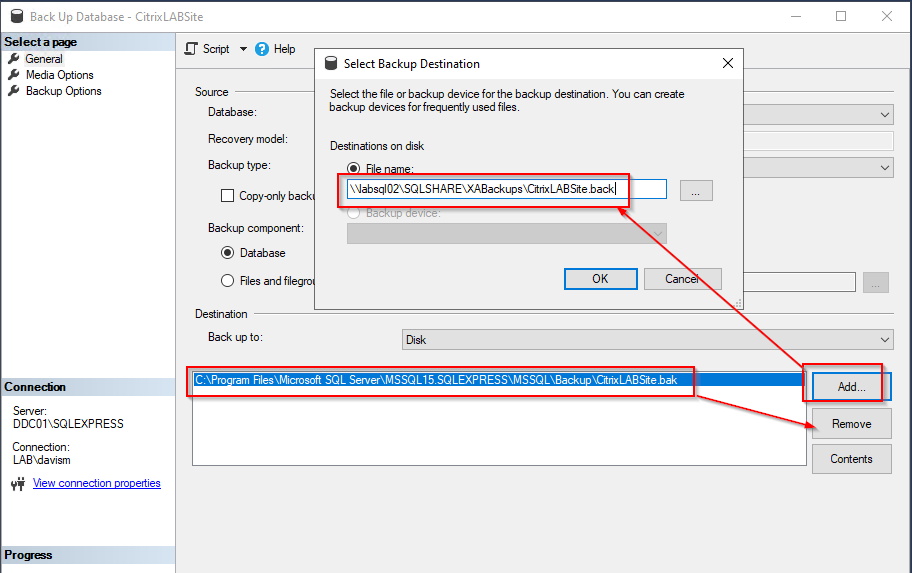
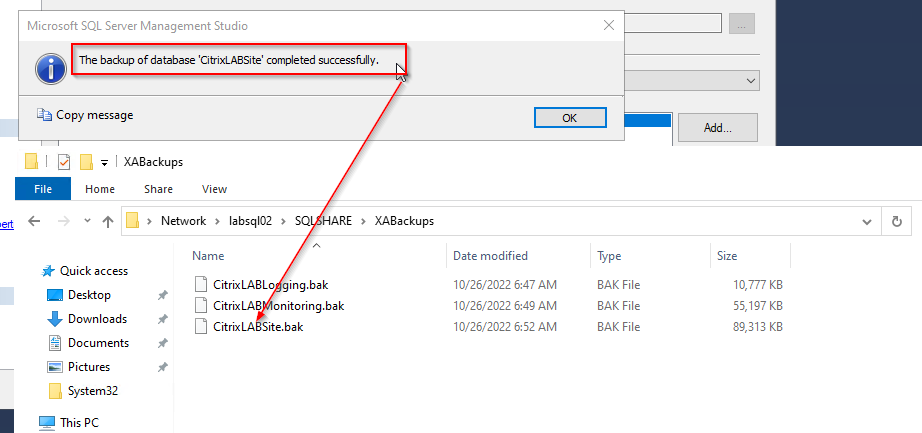
Now we need to back up each Database.
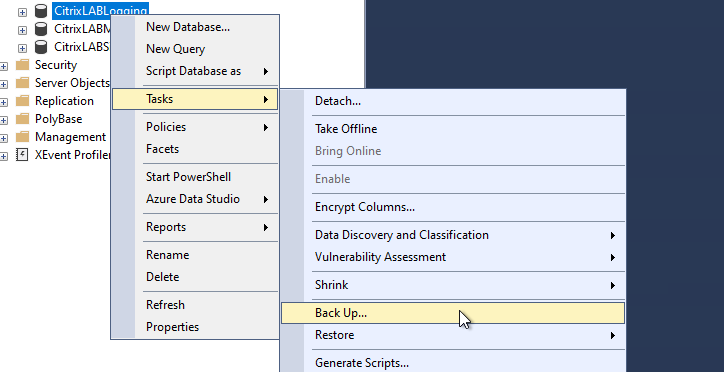
I tend to put it on a share that the source and destination SQL servers will be able to access.
Please, follow your change requirements within your organization.
CitrixLABLogging
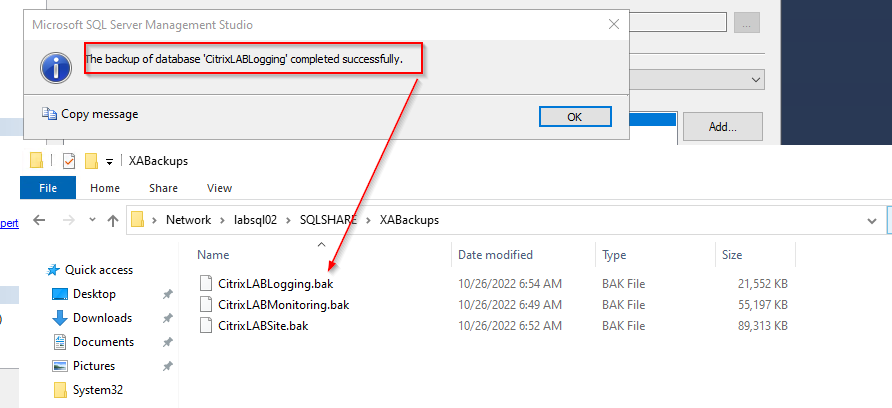
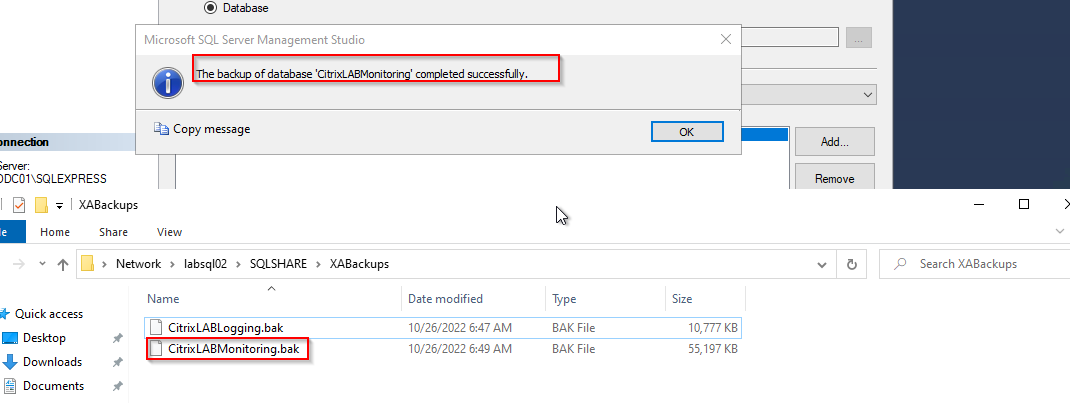
CitrixLABMonitoring
CitrixLABSite
Restore the Databases
Now we need to remote into the new SQL Server and Restore the Databases.
In this case, it’s LABSQL02. Do this for each Database independently.
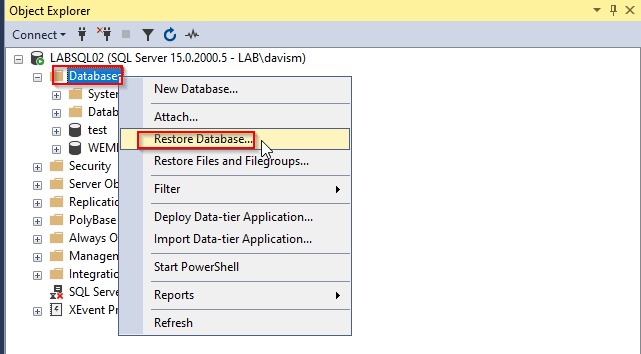
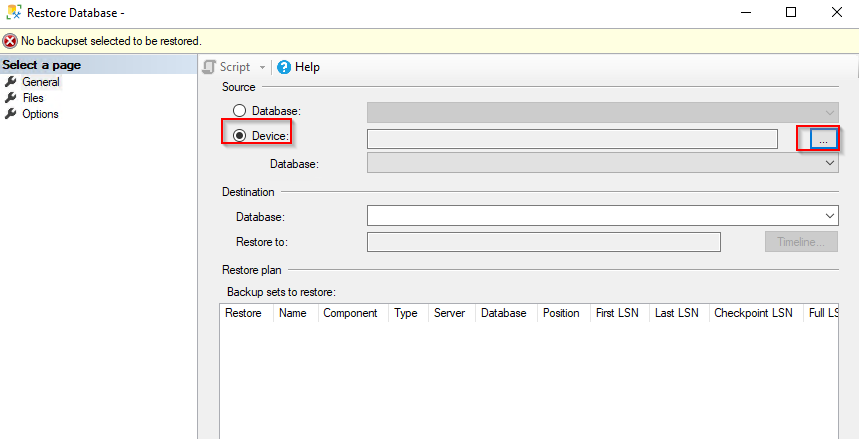
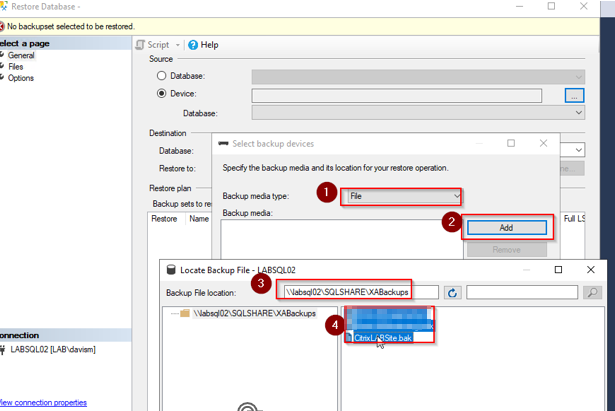
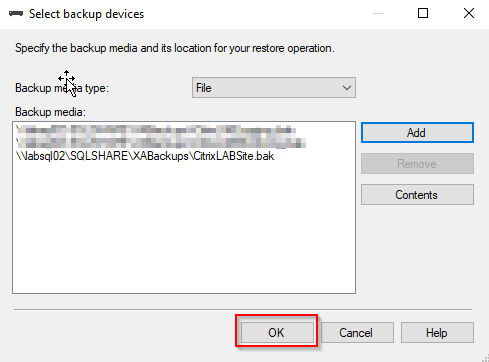
Restoring the databases
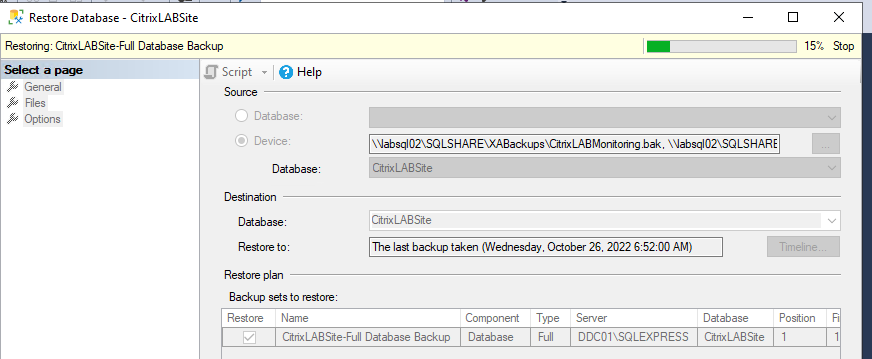
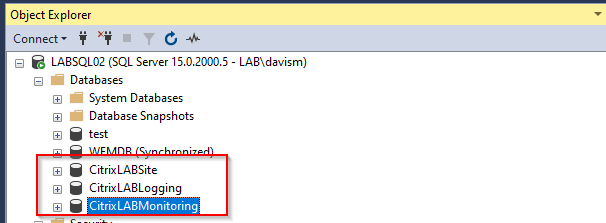
Now repeat the process for Logging and Monitoring the Database. The three Databases have been successful to the destination SQL Server.
Enable DDC logins on SQL
Now we need to enable the SQL Login for the Delivery Controllers.
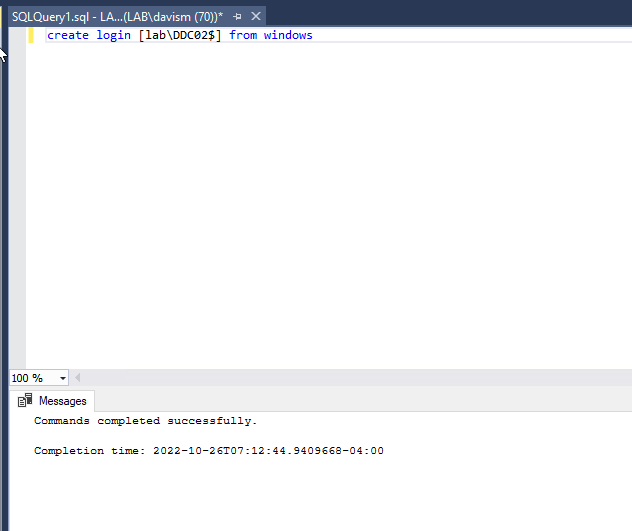
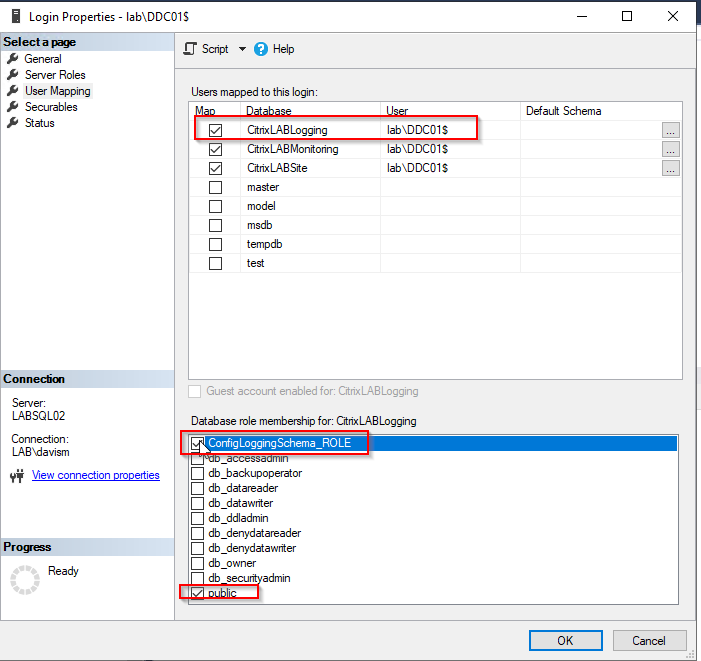
Map the SQL Logins for each delivery controller to the correct Database with permission. Do this for each one. It is a must to do this for each Delivery Controller.
create login [lab\DDC01$] from windows
create login [lab\DDC02$] from windows
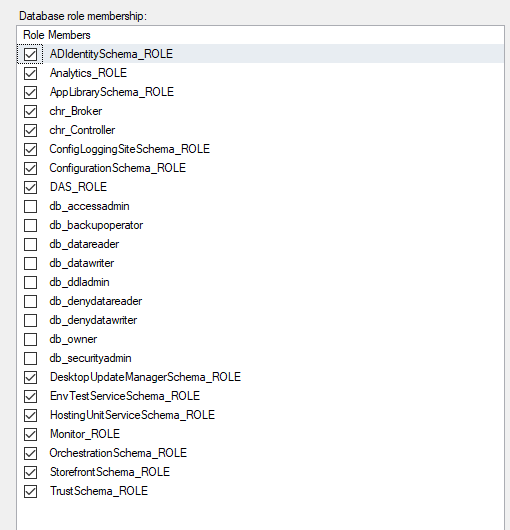
Once you complete step 10, You will need to set the permissions on each Database. I went and checked the roles on the Express DB first and made notes on what each one needed.
Logging DB
Monitoring DB

Site
NULL out the DB connection strings on both(all) DDCs
Now we need to log on to our Delivery controllers and NULL out the DB connection strings. Run the commands below. Do this on both Delivery Controllers. In my case, its DDC01 and DDC02
## Clear the current Delivery Controller database connections
## Note: AdminDBConnection must be the last command
Set-ConfigDBConnection -DBConnection $null
Set-AppLibDBConnection -DBConnection $null #7.8 and newer
Set-OrchDBConnection -DBConnection $null #7.11 and newer
Set-TrustDBConnection -DBConnection $null #7.11 and newer
Set-AcctDBConnection -DBConnection $null
Set-AnalyticsDBConnection -DBConnection $null # 7.6 and newer
Set-HypDBConnection -DBConnection $null
Set-ProvDBConnection -DBConnection $null
Set-BrokerDBConnection -DBConnection $null
Set-EnvTestDBConnection -DBConnection $null
Set-SfDBConnection -DBConnection $null
Set-MonitorDBConnection -DataStore Monitor -DBConnection $null #Monitoring Database
Set-MonitorDBConnection -DBConnection $null #Site Database
Set-LogDBConnection -DataStore Logging -DBConnection $null #Logging Database
Set-LogDBConnection -DBConnection $null #Site Database
Set-AdminDBConnection -DBConnection $null -force
Example

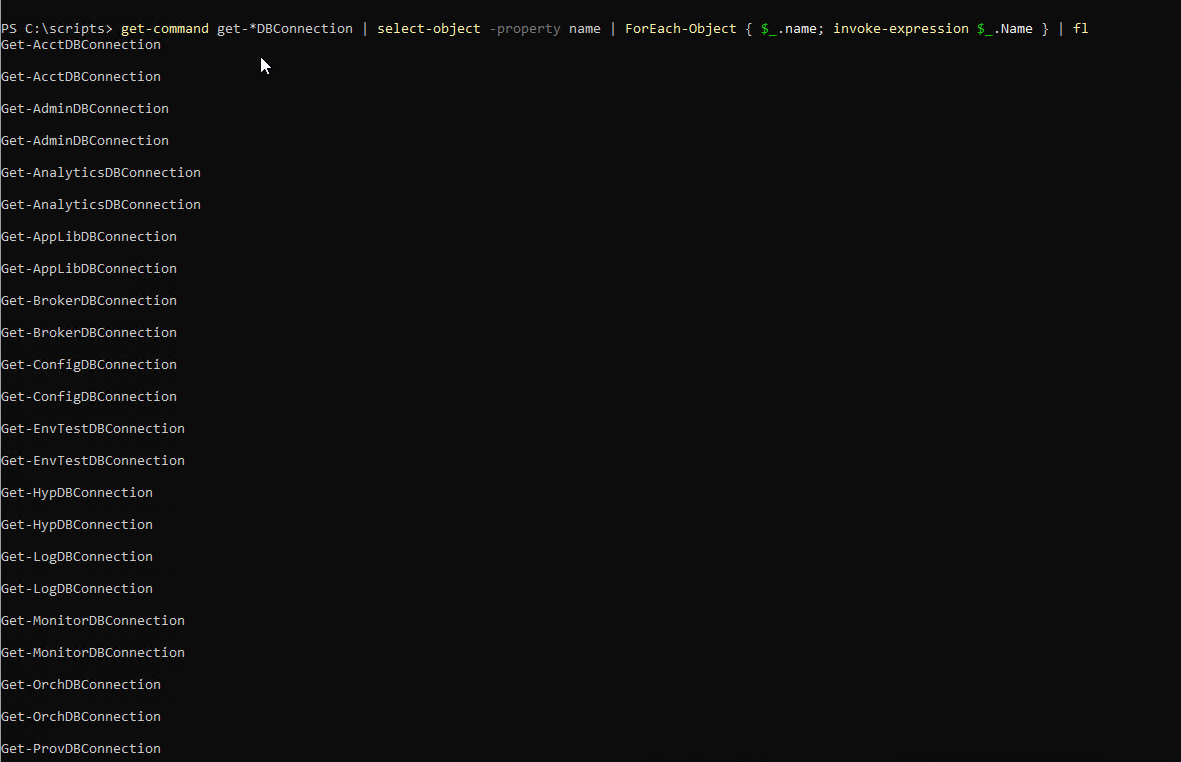
To check, run this.
get-command get-*DBConnection | select-object -property name | ForEach-Object { $_.name; invoke-expression $_.Name } | fl
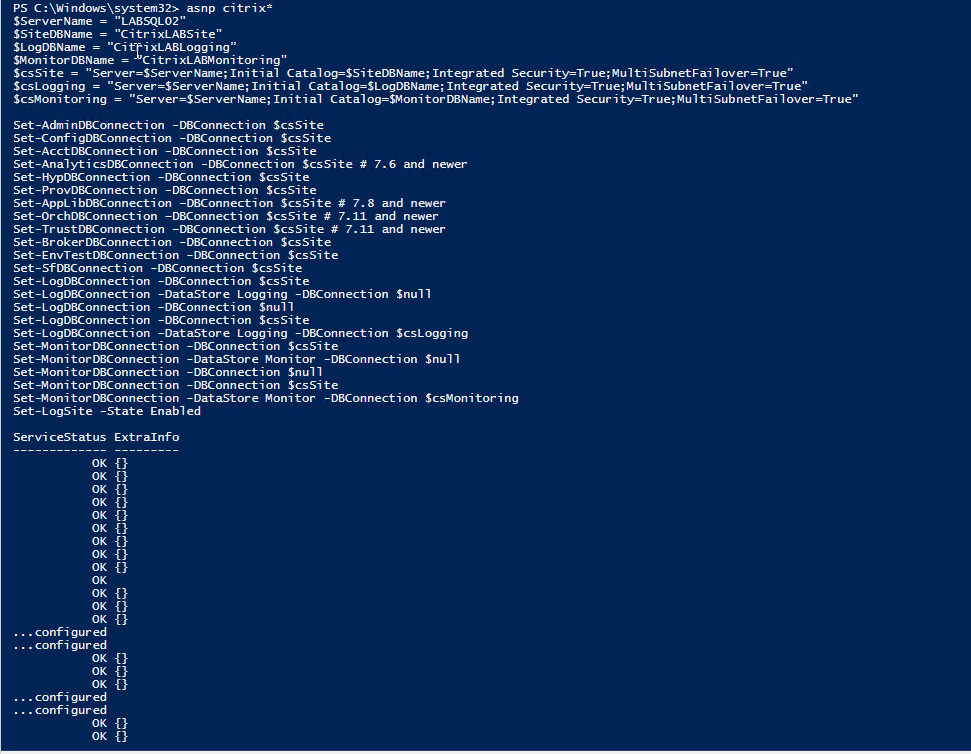
Set the new Database Strings
Note MultiSubnetFailover=True (is only needed for SQL DAG)
$ServerName = "LABSQL02"
$SiteDBName = "CitrixLABSite"
$LogDBName = "CitrixLABLogging”
$MonitorDBName = "CitrixLABMonitoring"
$csSite = "Server=$ServerName;Initial Catalog=$SiteDBName;Integrated Security=True;MultiSubnetFailover=True"
$csLogging = "Server=$ServerName;Initial Catalog=$LogDBName;Integrated Security=True;MultiSubnetFailover=True"
$csMonitoring = "Server=$ServerName;Initial Catalog=$MonitorDBName;Integrated Security=True;MultiSubnetFailover=True"
Set-AdminDBConnection -DBConnection $csSite
Set-ConfigDBConnection -DBConnection $csSite
Set-AcctDBConnection -DBConnection $csSite
Set-AnalyticsDBConnection -DBConnection $csSite # 7.6 and newer
Set-HypDBConnection -DBConnection $csSite
Set-ProvDBConnection -DBConnection $csSite
Set-AppLibDBConnection –DBConnection $csSite # 7.8 and newer
Set-OrchDBConnection –DBConnection $csSite # 7.11 and newer
Set-TrustDBConnection –DBConnection $csSite # 7.11 and newer
Set-BrokerDBConnection -DBConnection $csSite
Set-EnvTestDBConnection -DBConnection $csSite
Set-SfDBConnection -DBConnection $csSite
Set-LogDBConnection -DBConnection $csSite
Set-LogDBConnection -DataStore Logging -DBConnection $null
Set-LogDBConnection -DBConnection $null
Set-LogDBConnection -DBConnection $csSite
Set-LogDBConnection -DataStore Logging -DBConnection $csLogging
Set-MonitorDBConnection -DBConnection $csSite
Set-MonitorDBConnection -DataStore Monitor -DBConnection $null
Set-MonitorDBConnection -DBConnection $null
Set-MonitorDBConnection -DBConnection $csSite
Set-MonitorDBConnection -DataStore Monitor -DBConnection $csMonitoring
Double-check with this command.
get-command get-*DBConnection | select-object -property name | ForEach-Object { $_.name; invoke-expression $_.Name } | fl

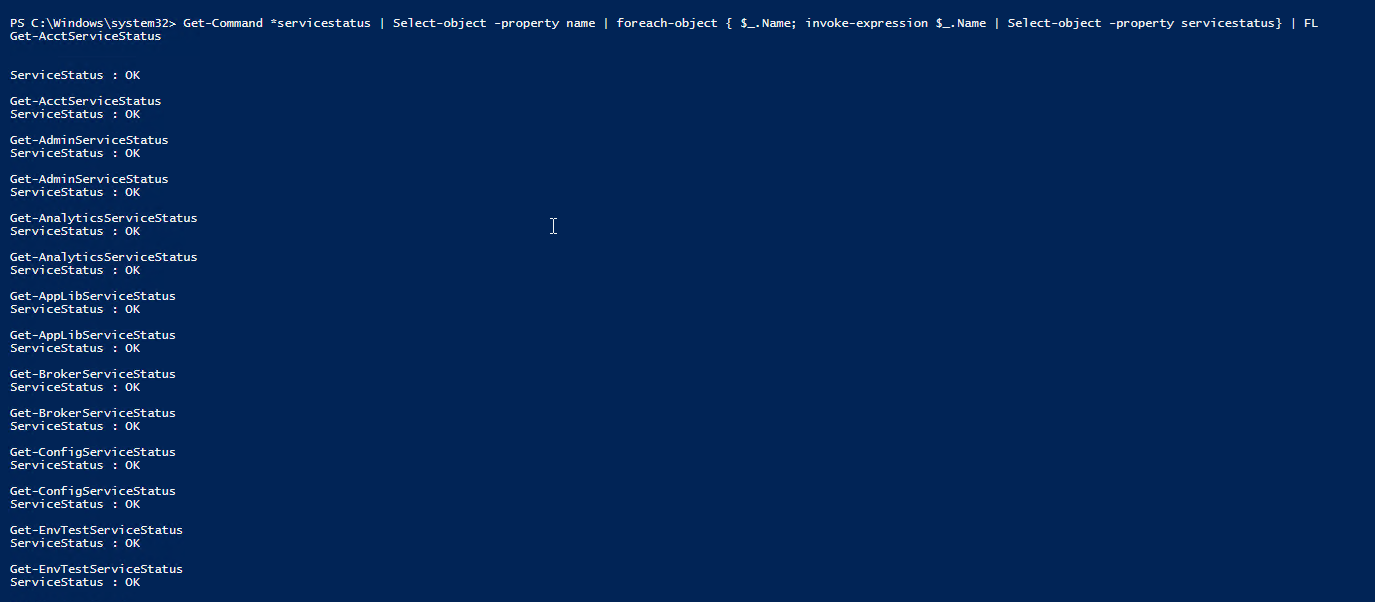
Double Check Services
Get-Command *servicestatus | Select-object -property name | foreach-object { $_.Name; invoke-expression $_.Name | Select-object -property servicestatus} | FL
Note: there are more services than in the screenshot. Here is an example.
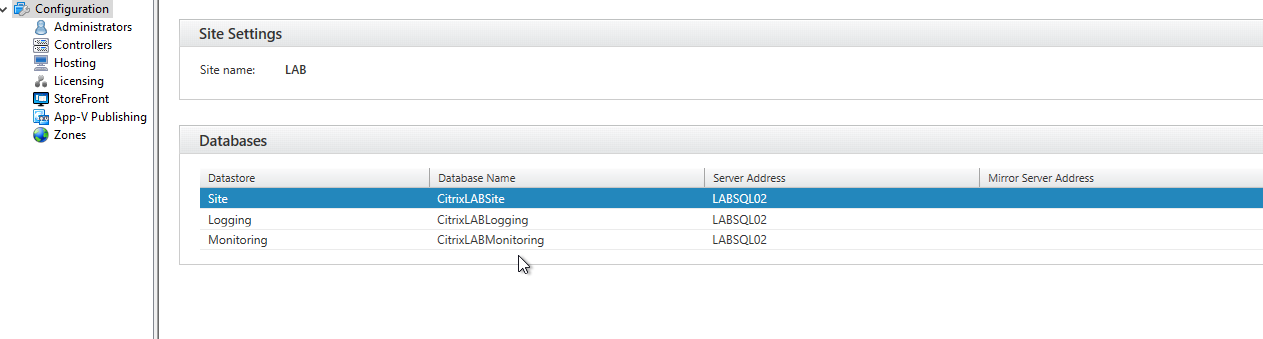
Now open Citri studio to verify the SQL connection.
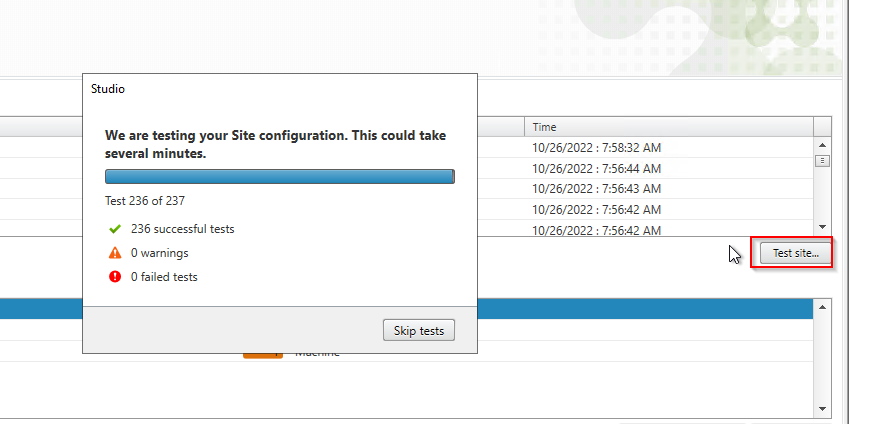
Run some tests in Citrix Studio to make sure things look ok.
Cleanup- (SQL isn’t my expertise)
You can clean up the SQL Express data points now that things are on a native SQL server.
You still have the Full backups you created, if needed. Although if restored, the data may be off, and you are returning to an express database. No really ideal.
Detach the SQL Express Database
Wait some time, and remove them.
And there you have it. It seems easy enough, right? Many probably have done this and have scripts and all sorts of tricks. But for those who are not sure. The goal here was to share it and help those in need.
No comments:
Post a Comment