
Update MCS dedicated Images
I recently ran into having to create a chunk of MCS dedicated machines for this COVID-19 situation the world is in. MCS Dedicated machines are very different from MCS Pool machines. One of the HUGE differences is updating the images of the machines and updating the targets. As you are aware MCS Pooled is very similar to PVS and it’s a nice update feature for the PVS/MCS targets. But MSC dedicated machines are not the same. As you can’t update the already created targets, only newly created targets.
This Blog is around MCS Dedicated Full Clones only and updating the Master image to update only newly created machines.
Dedicated desktops are assigned to individual users and the data and settings will persist on the desktops. Optionally, the Citrix Profile Management solution can be used to store the user profile and data on central file servers. For dedicated desktops, there is a new option available under Desktop OS Catalogs virtual machine copy mode, “Use full copy for better data recovery and migration support, with potentially reduced IOPS after the machines are created”.

“When you deploy the image, you will notice that MCS will do a full VMDK copy of your snapshot chain into a folder of every datastore that is defined in your hosted XenDesktop environment. This makes desktop creations extremely quick when scaling out additional VMs because it 1) negates the need to potentially copy VMDKs across datastores during desktop creation and 2) negates the need to consolidate snapshots during creation. The folder will typically be the machine catalog name + base disk + random datastore identifier assigned by XenDesktop. This applies to all MCS images; static and pooled.”
You can see the base Snapshot MCS create called “ Citrix_XD_Name”. This is the initial snapshot Studio-MCS makes. But ideally can keep them all around. So my steps are as outlined below
Deleting all Snapshots. (Deleted All Yes) I didn’t want any old stuff floating around.

Create new snapshot

Now I update all tools, software, and whatever I need to update.
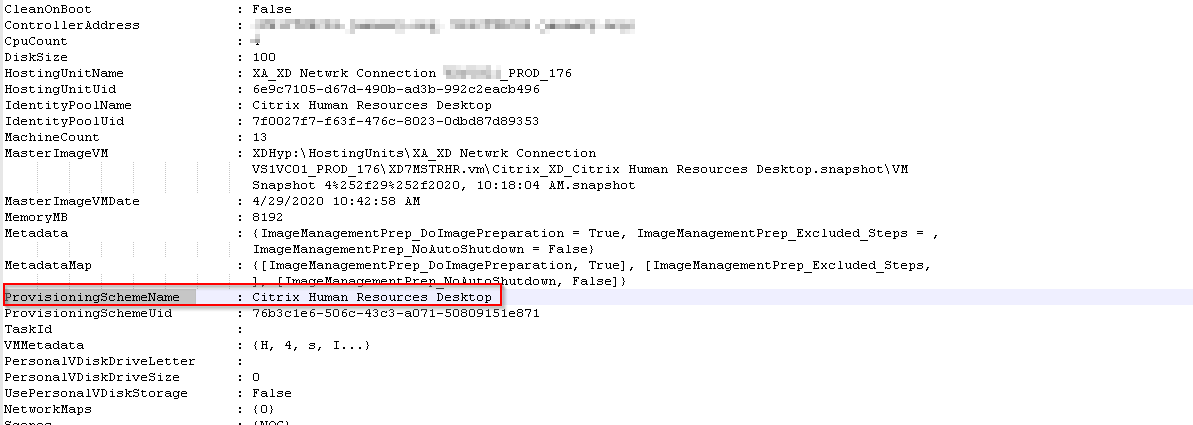
Let's check the Provision Scheme so I can get the Provisioning Scheme and the XDhyp information and display the list of snapshots on the virtual machine:

I copied it from PowerShell and put it in OneNote so I could see what I was looking for. As you can see here it still shows my old snapshots. We will update that.

Note to find the ProvisiongSchemeName (Its list in the Get-ProveSheme) Command. Keep this name for later
Now at this time I need to run this
a. Get-ChildItem -Recurse -Path 'XDHyp:\hostingunits\%hostName%\%vmName%.vm'
b. This will list the Snapshot that is associated to the VM itself
c. For me it’s this:
d. get-childitem -Recurse -Path "XDHyp:\HostingUnits\XA_XD Netwrk Connection VS1VC01_PROD_176\XD7MSTRHR.vm"
Then my output is

*Note* you can see that it shows my snapshot listed
I need to take the “Full Path” and note it for the next command.
Second command is:
Publish-ProvMasterVmImage -ProvisioningSchemeName "%provisioningSchemeName%" -MasterImageVM "%templatePSPath%"
For me Its:
Publish-ProvMasterVmImage -ProvisioningSchemeName "Citrix Human Resources Desktop" –masterimagevm "XDHyp:\HostigUnits\XA_XD Netwrk Connection VS1VC01_PROD_176\XD7MSTRHR.vm\ImageUpdate.snapshot"
While this is running in my Hypervisor you will see this.

Once it’s completed you will see


Now Run Get-ProvScheme

These updates will only apply to new machines created from the MCS full Clones. It will not update previously created ones. That is the downfall of MCS Dedicated full clones.
However, it will make sure the image is maintained and this can be scripted automatically if needed.
References
http://nicksitblog.com/2017/02/update-a-staticdedicated-mcs-image-vsphere/
https://docs.citrix.com/en-us/tech-zone/design/reference-architectures/image-management.html
No comments:
Post a Comment